Art & Craft
Art Class at Insight Colearning Fall 2025
Course overview
The purpose of this course is to give students an introduction to a range of hands-on skills through project-based learning. We will focus on the following central projects throughout the semester.
The course title refers to the combination of artistic exploration combined with attention to “craft” that we might associate with fine tailoring. This class will introduce students to ongoing self directed art practice outside of the classroom through engagement with the sketchbook alongside focused and rigorous work during our studio hours to create project that demonstrate a strong iterative design process combined with proficient use of tools and techniques.
By the end of the course, it is my hope and intention that students will gain a deeper level of understanding of how to approach technical skill development and a sense of agency in continuing this practice in other disciplines. It is also my intention and hope that students will engage in this opportunity for creative exploration to learn more about their own creative voice and visual vocabulary.
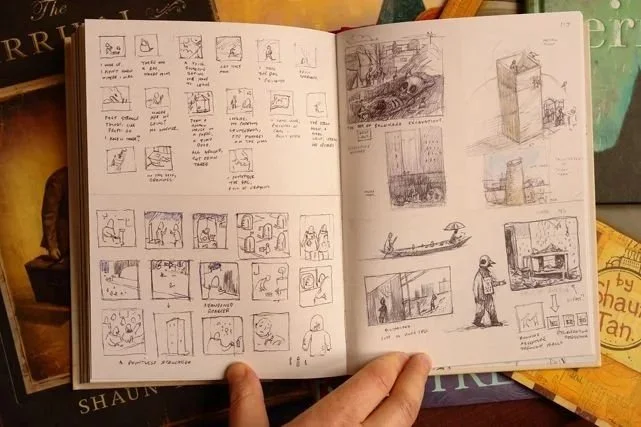
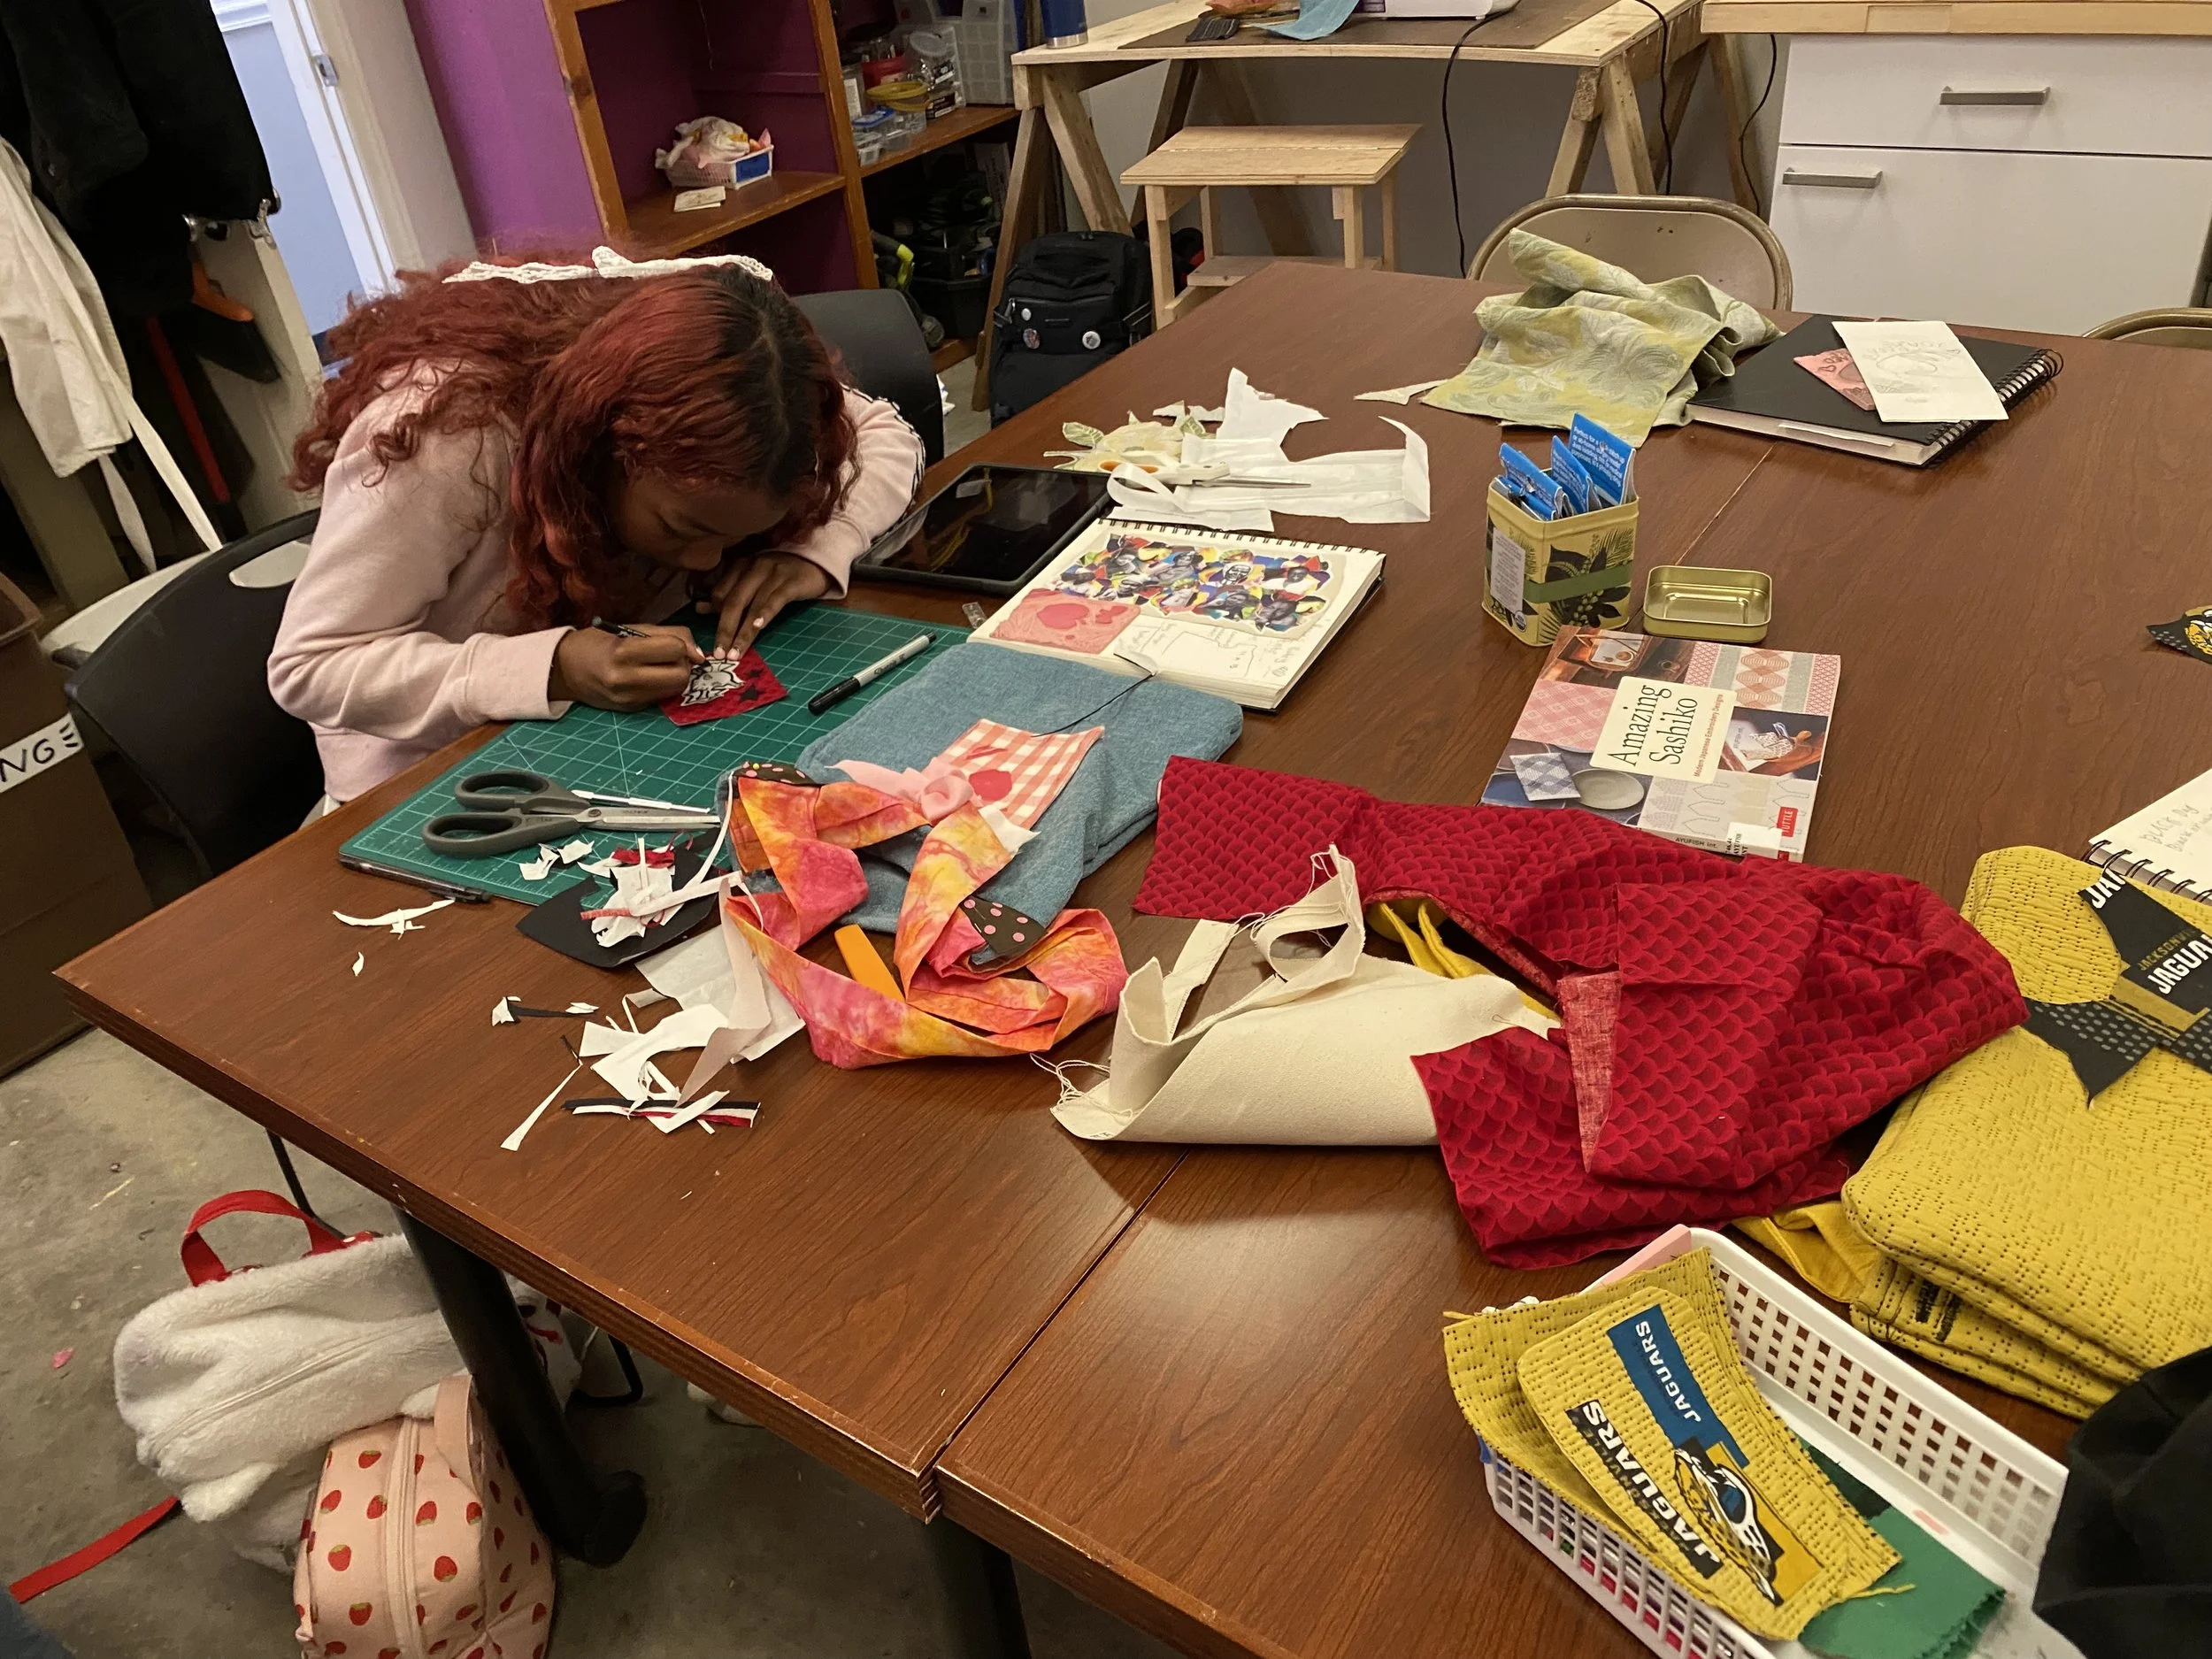
Ongoing work in Sketchbooks: Drawing/Sketching/Iteration as part of design process/Creative notetaking/Ongoing art practice. (Image source)
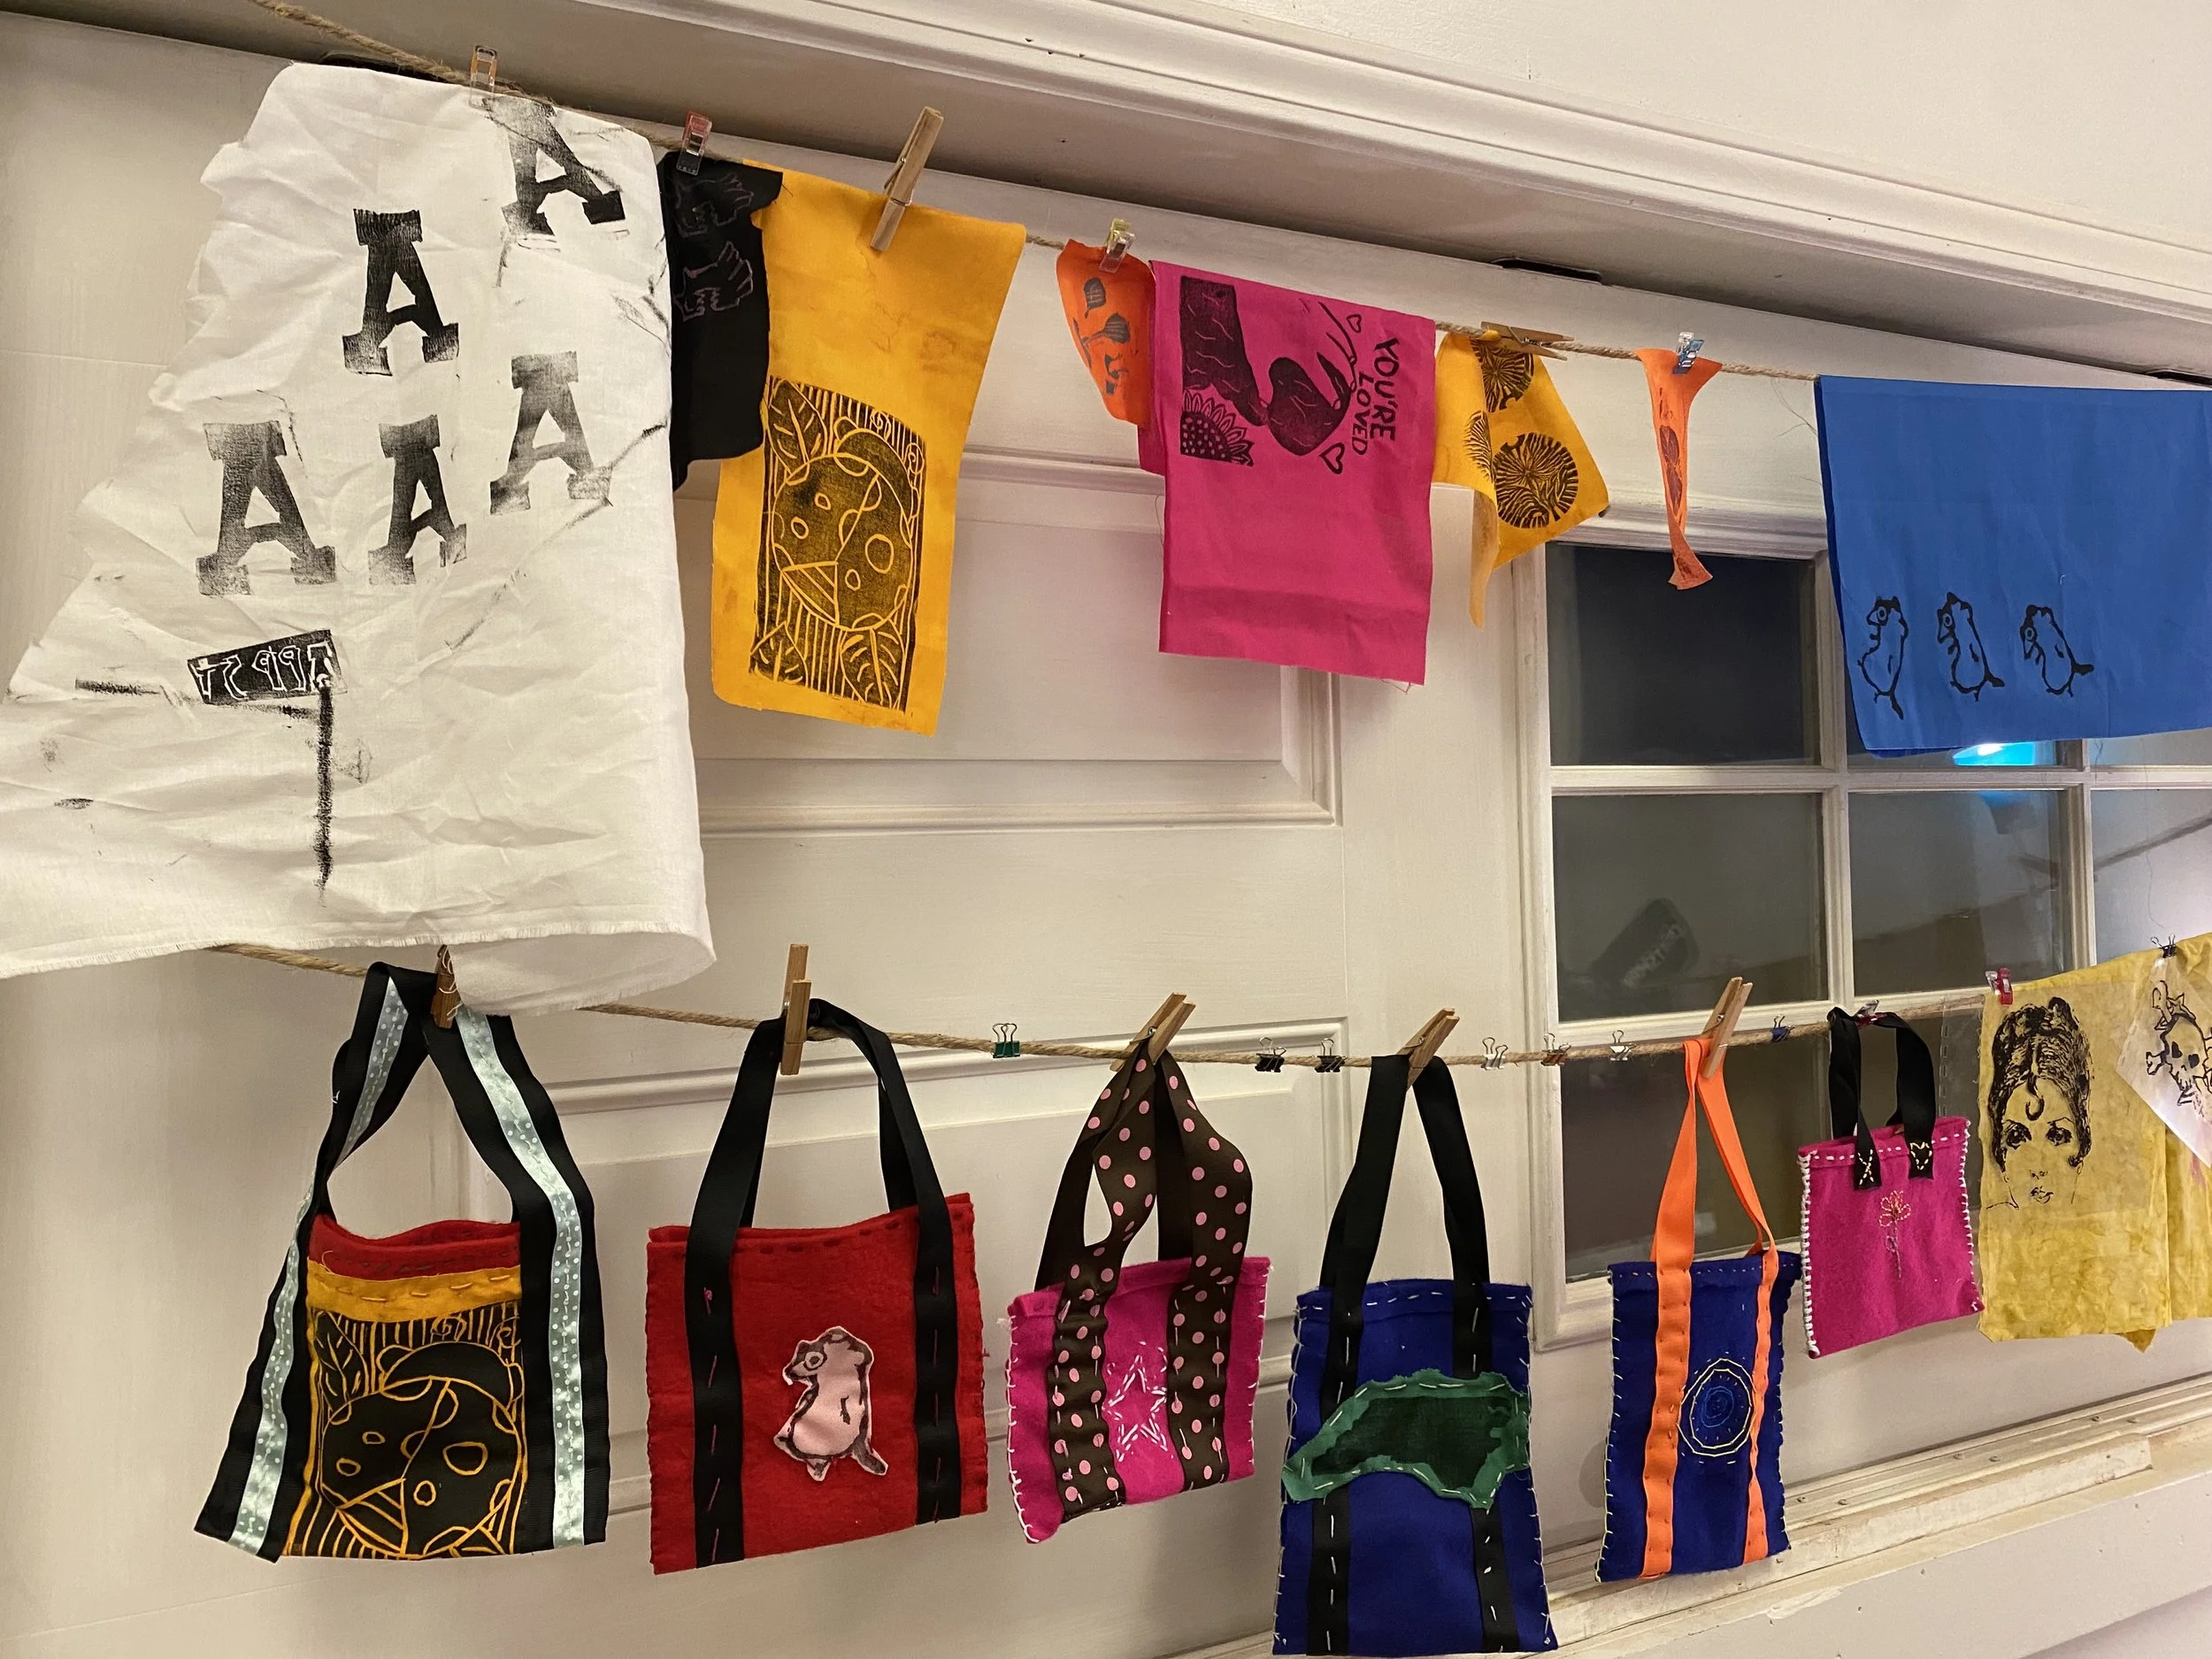
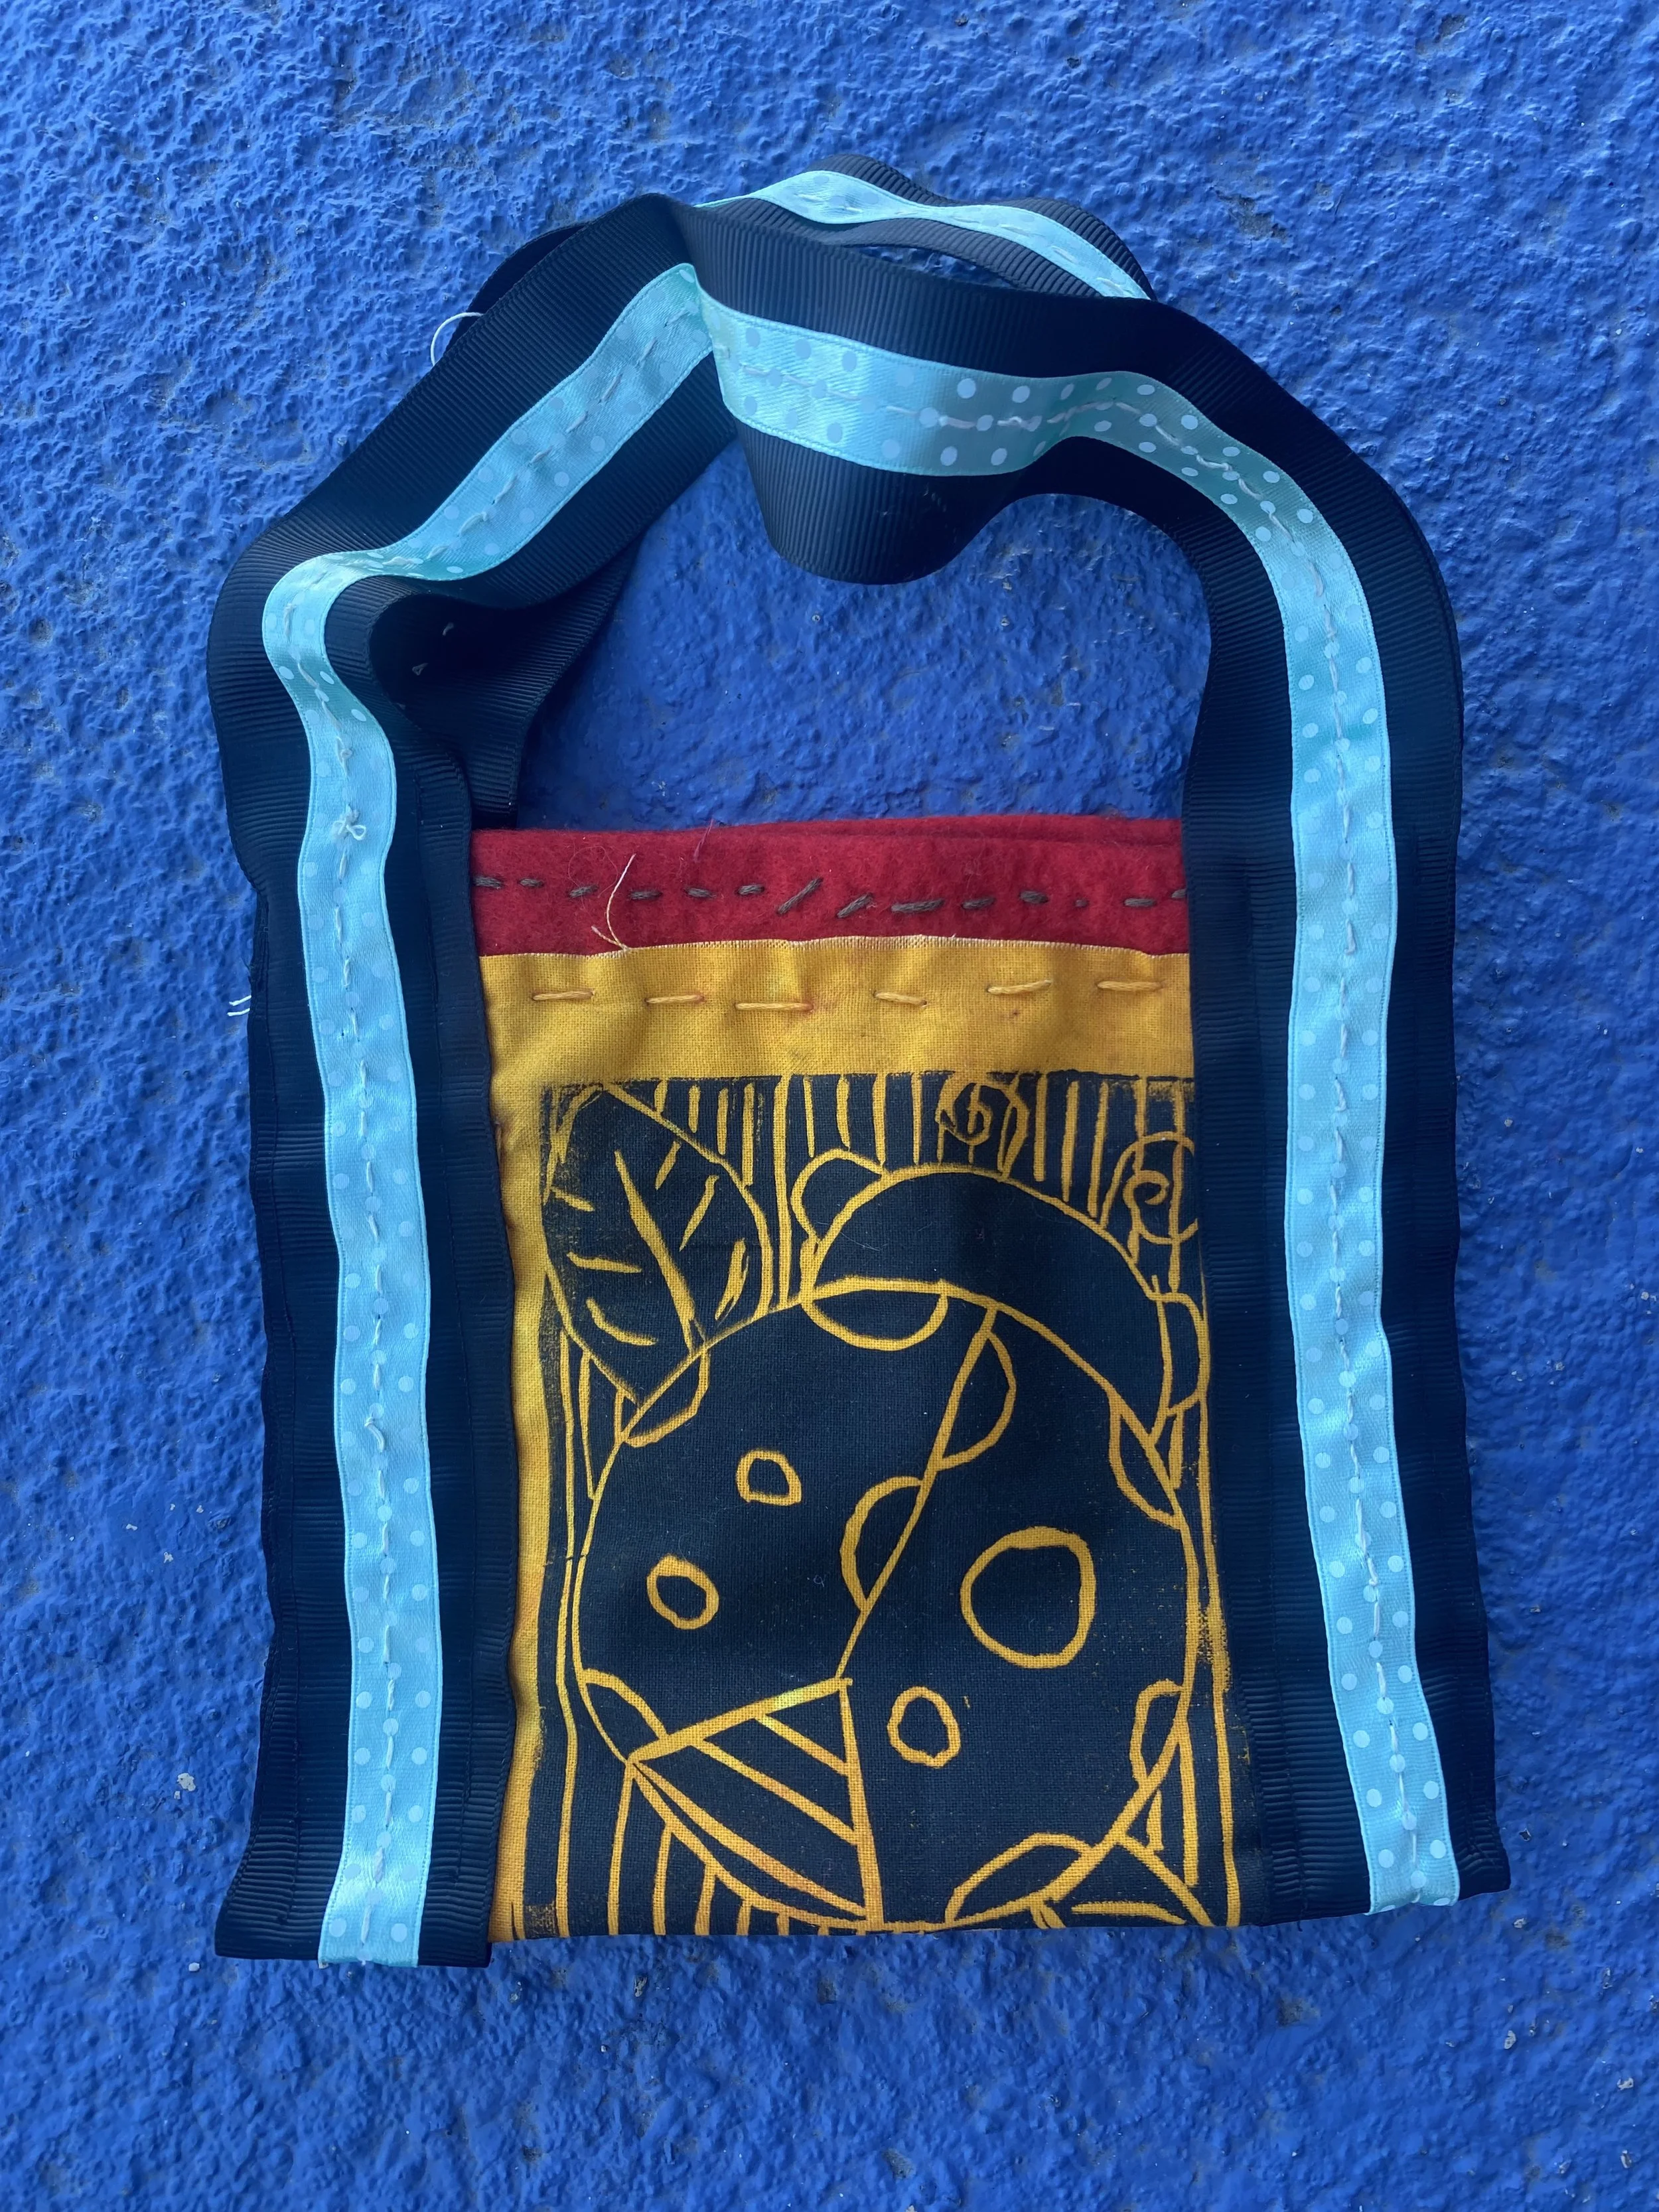
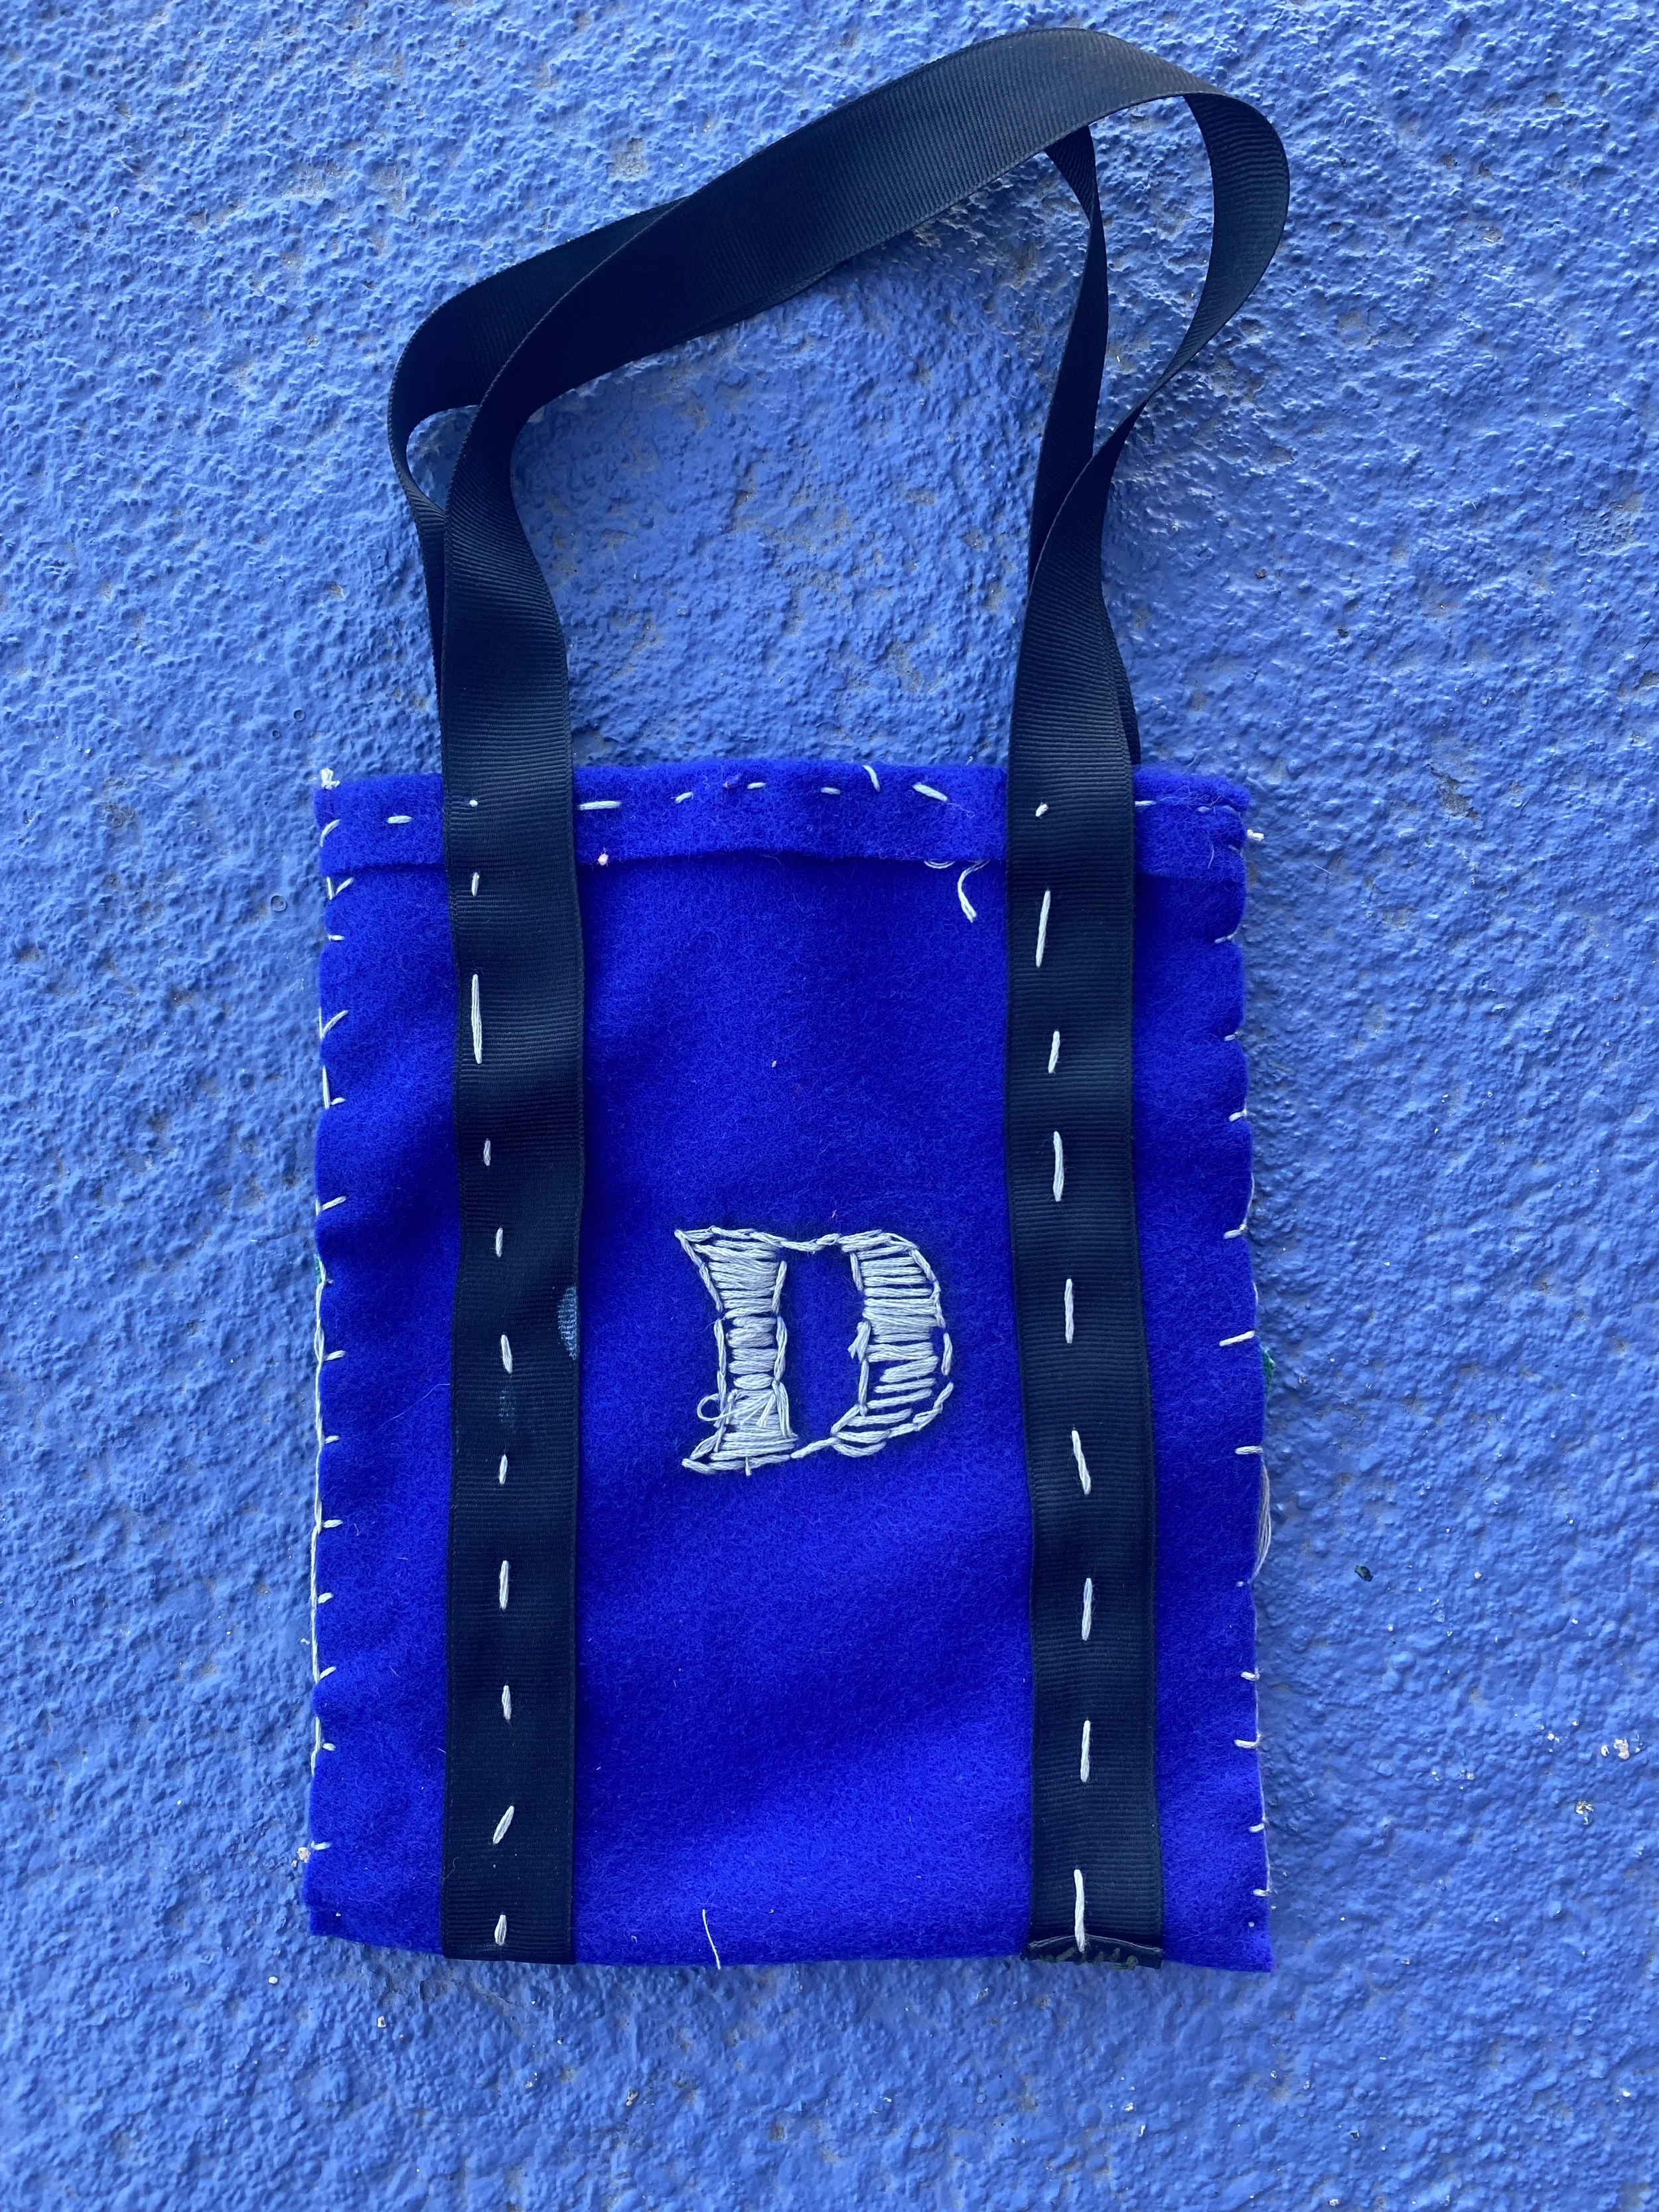
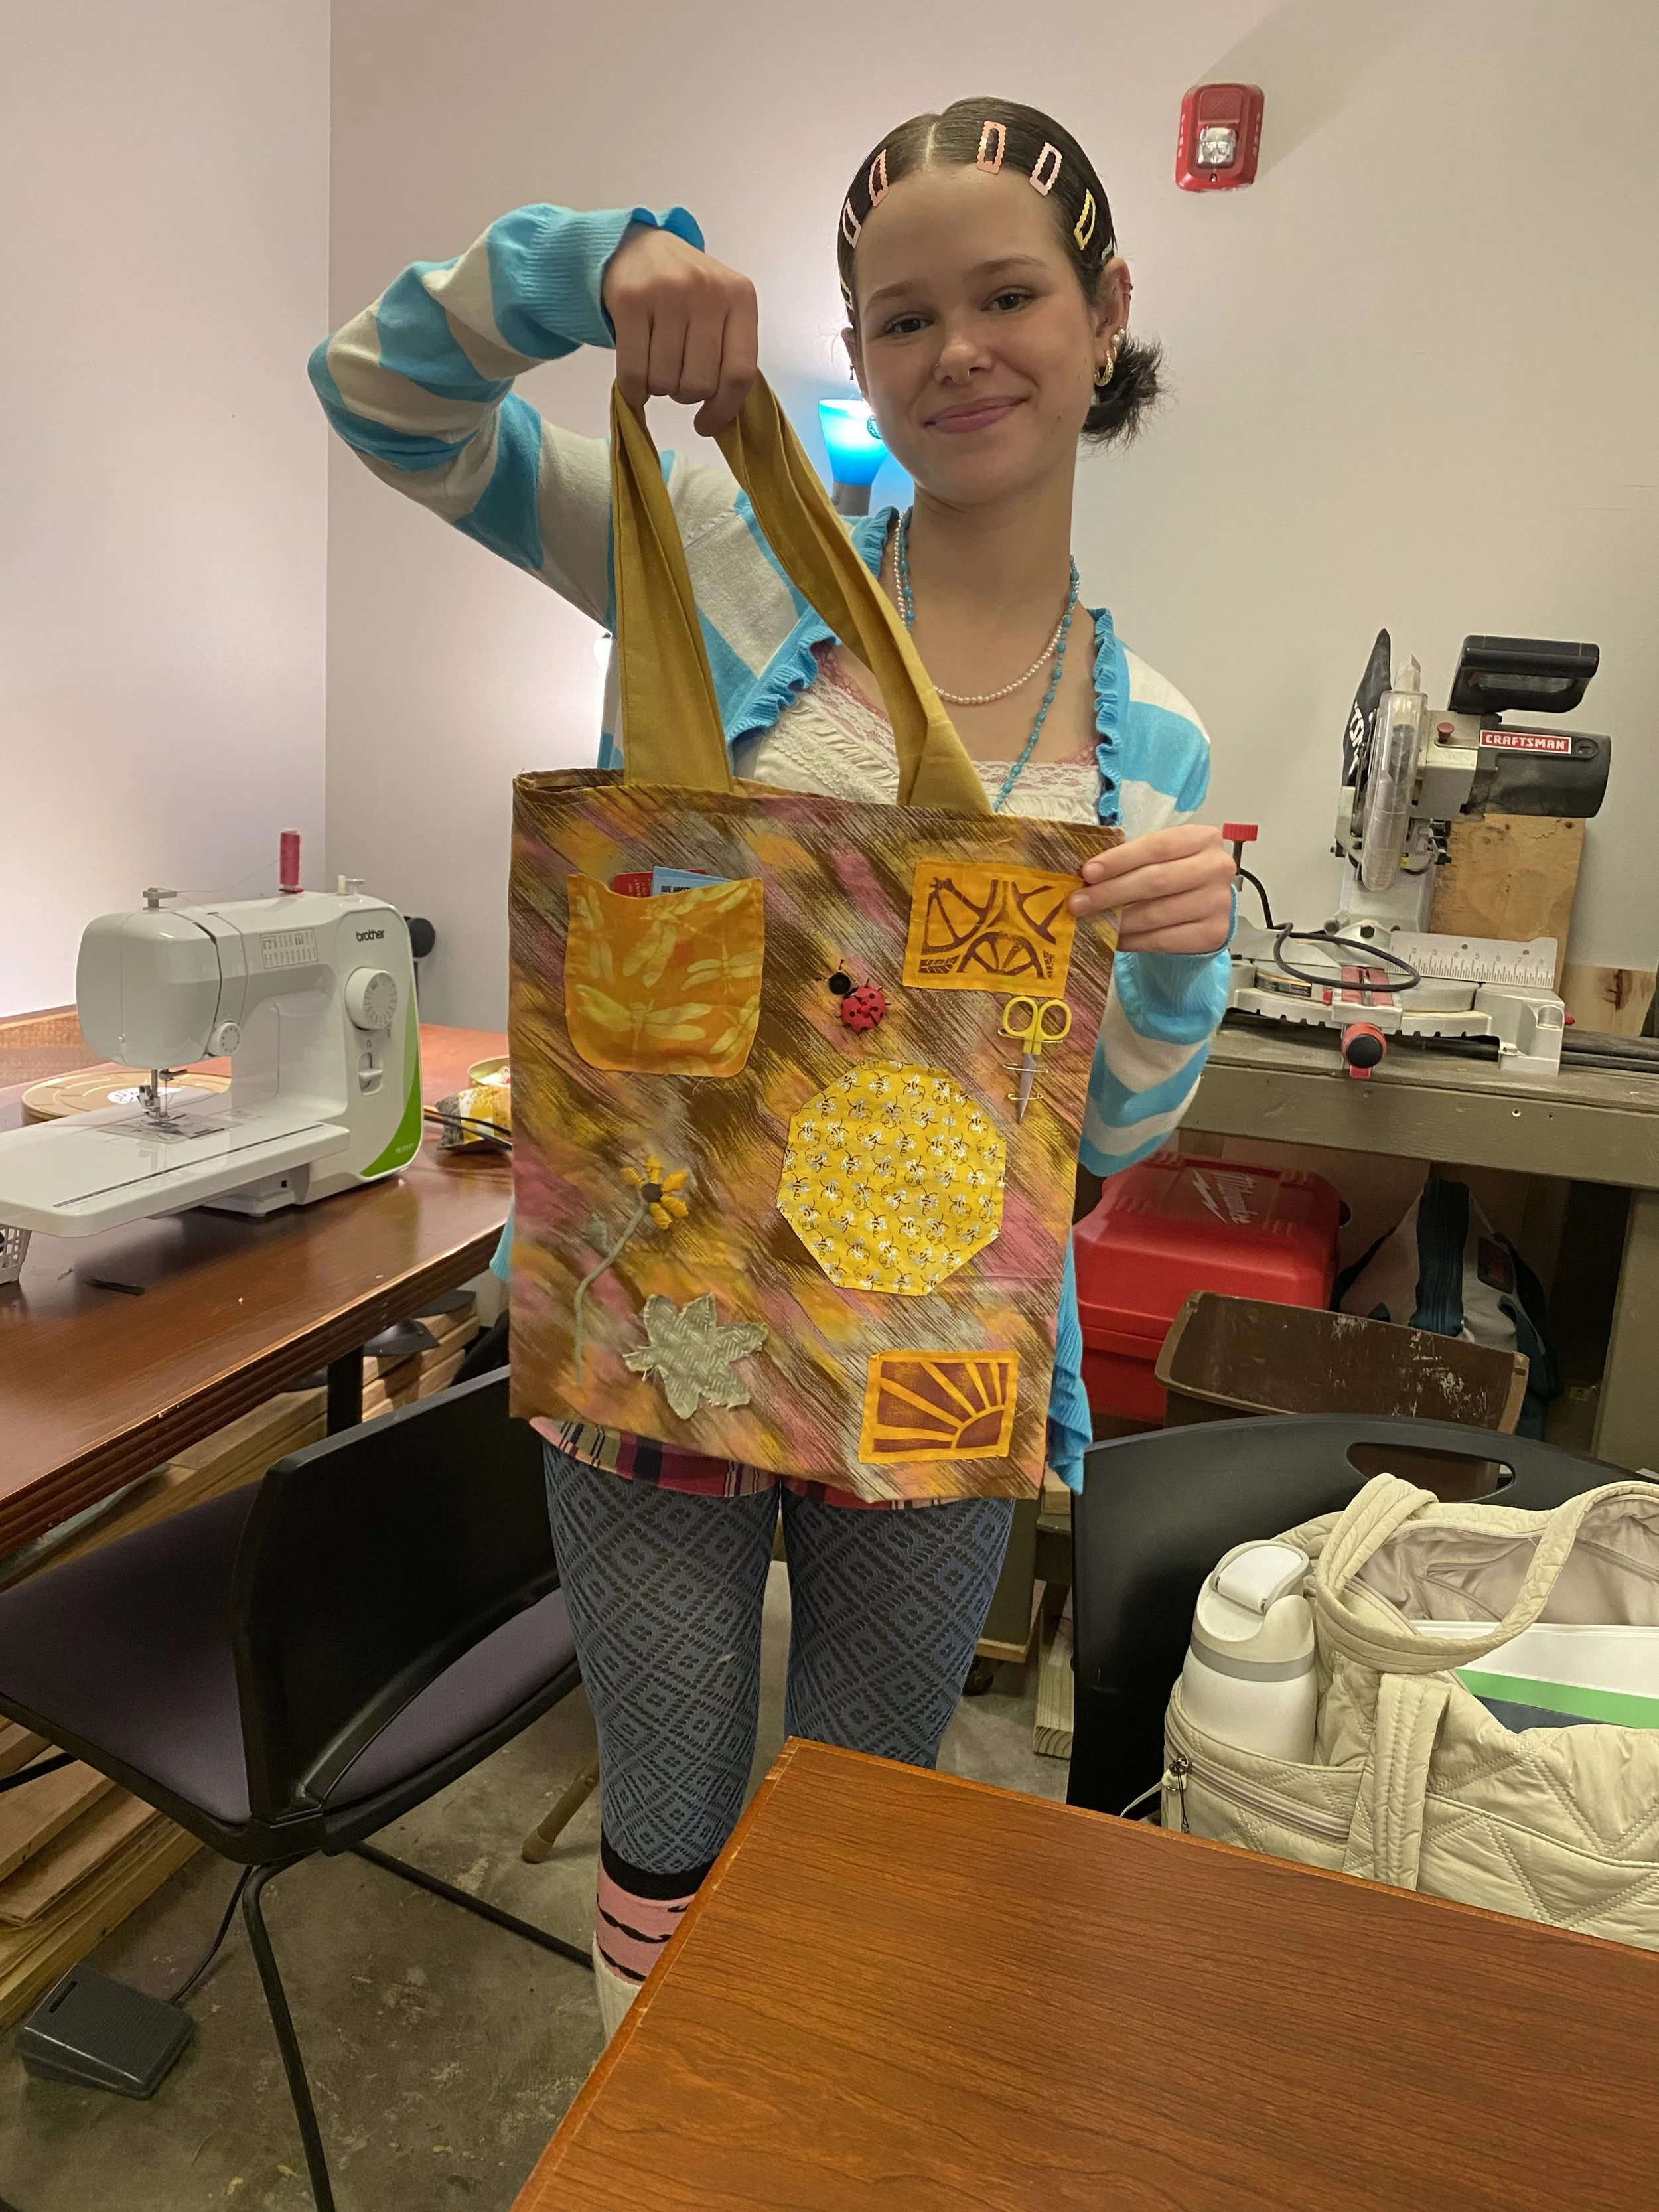
Hand-sewn bags: Design process, Iteration, linoleum block printing (bag by Naomi!)
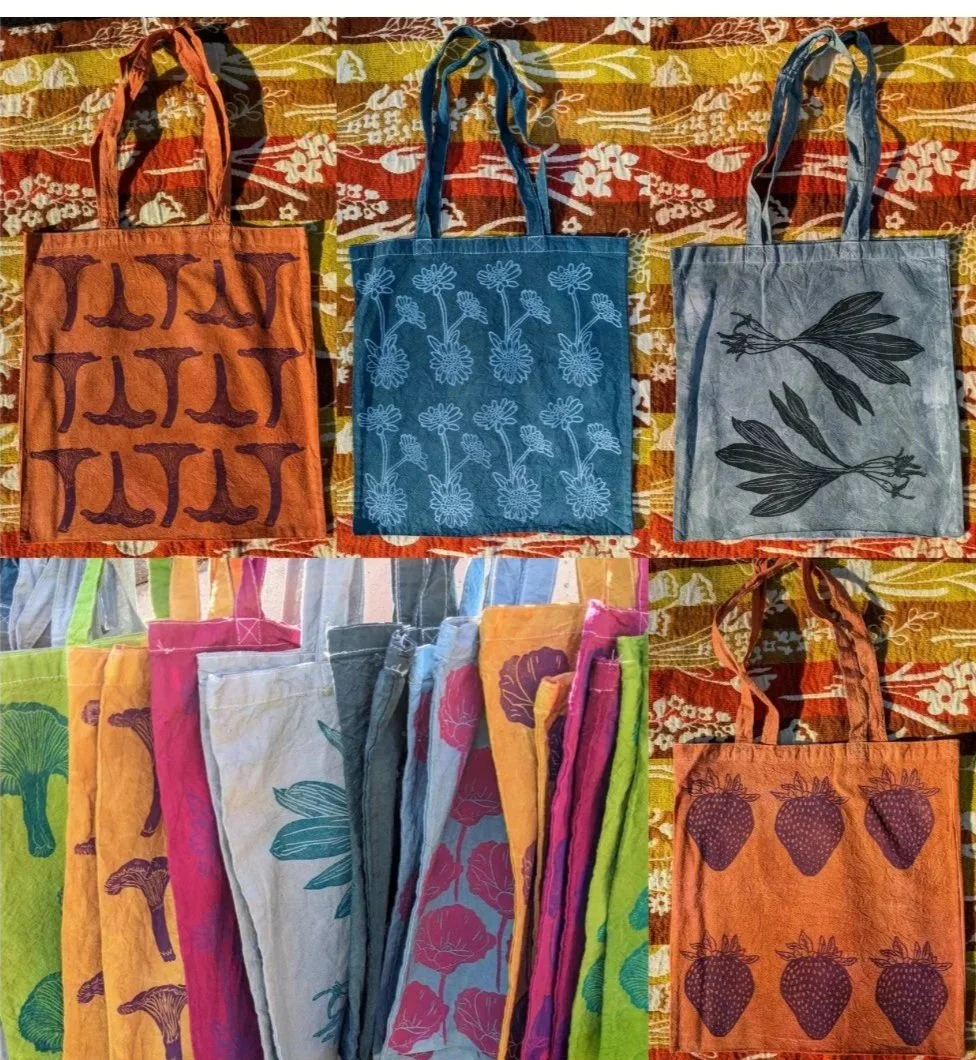

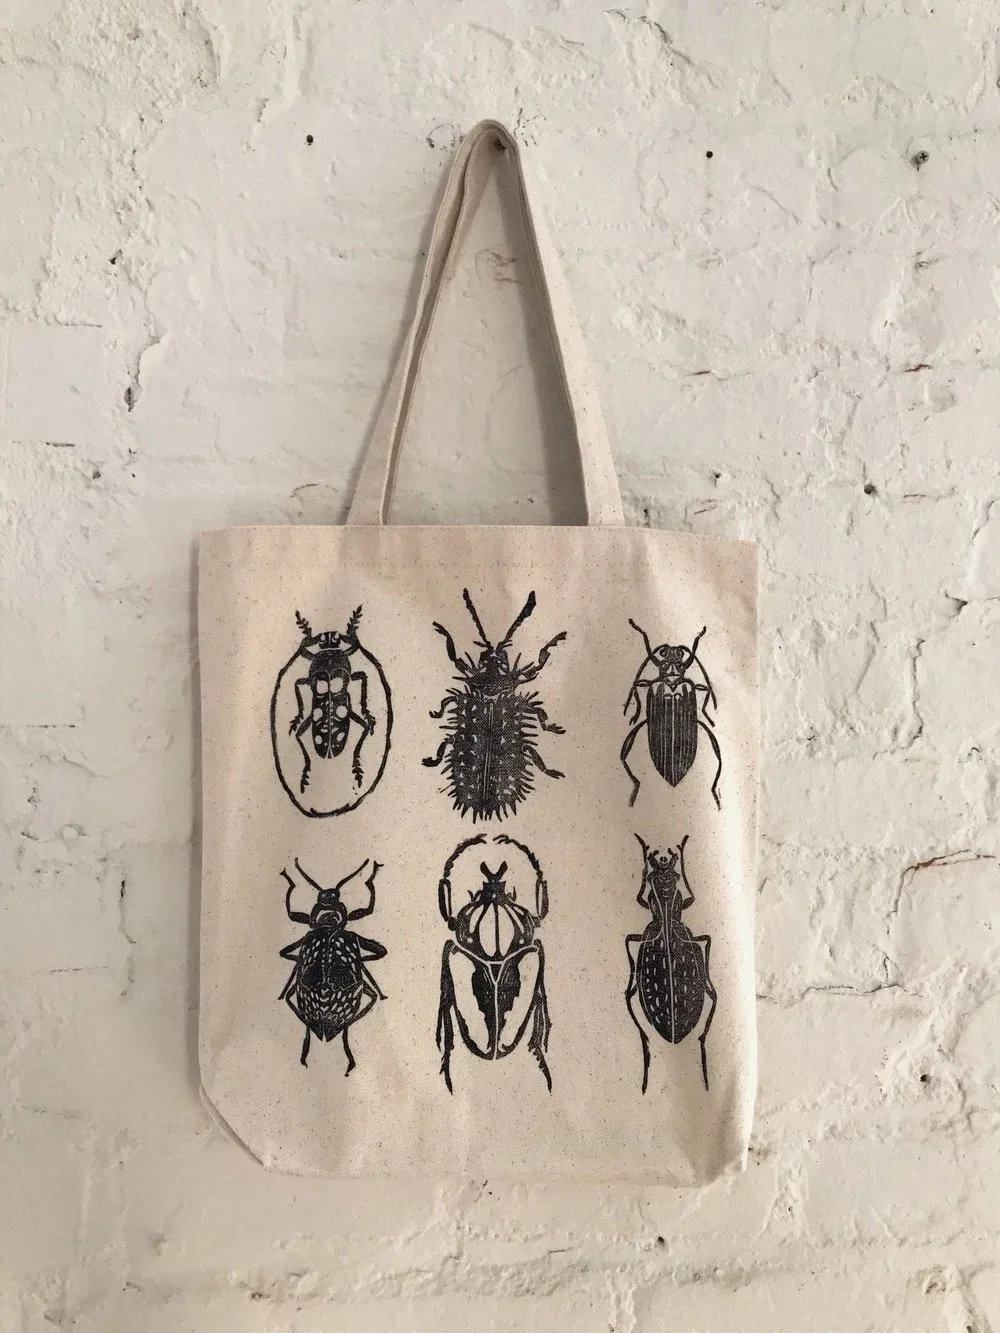
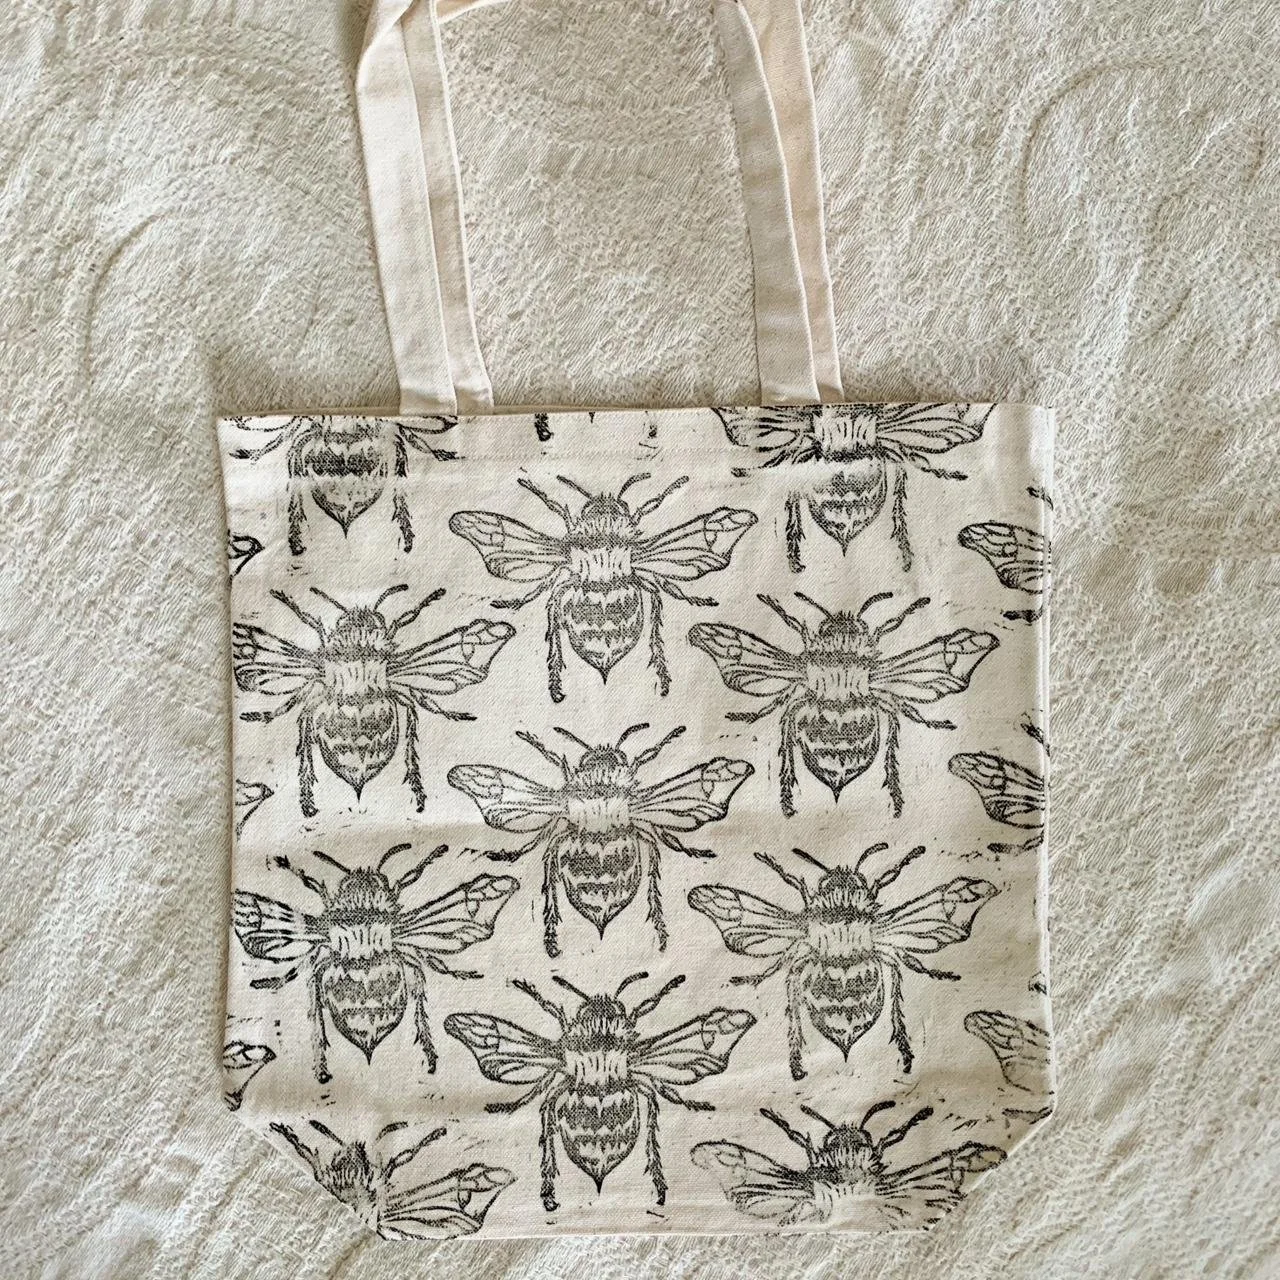
Machine Sewn Tote Bags with Linoleum Block Printed Designs: Hand sewing, use of sewing machine, use of template to create a textile piece, iterative design process, linoleum block printing (Image source)
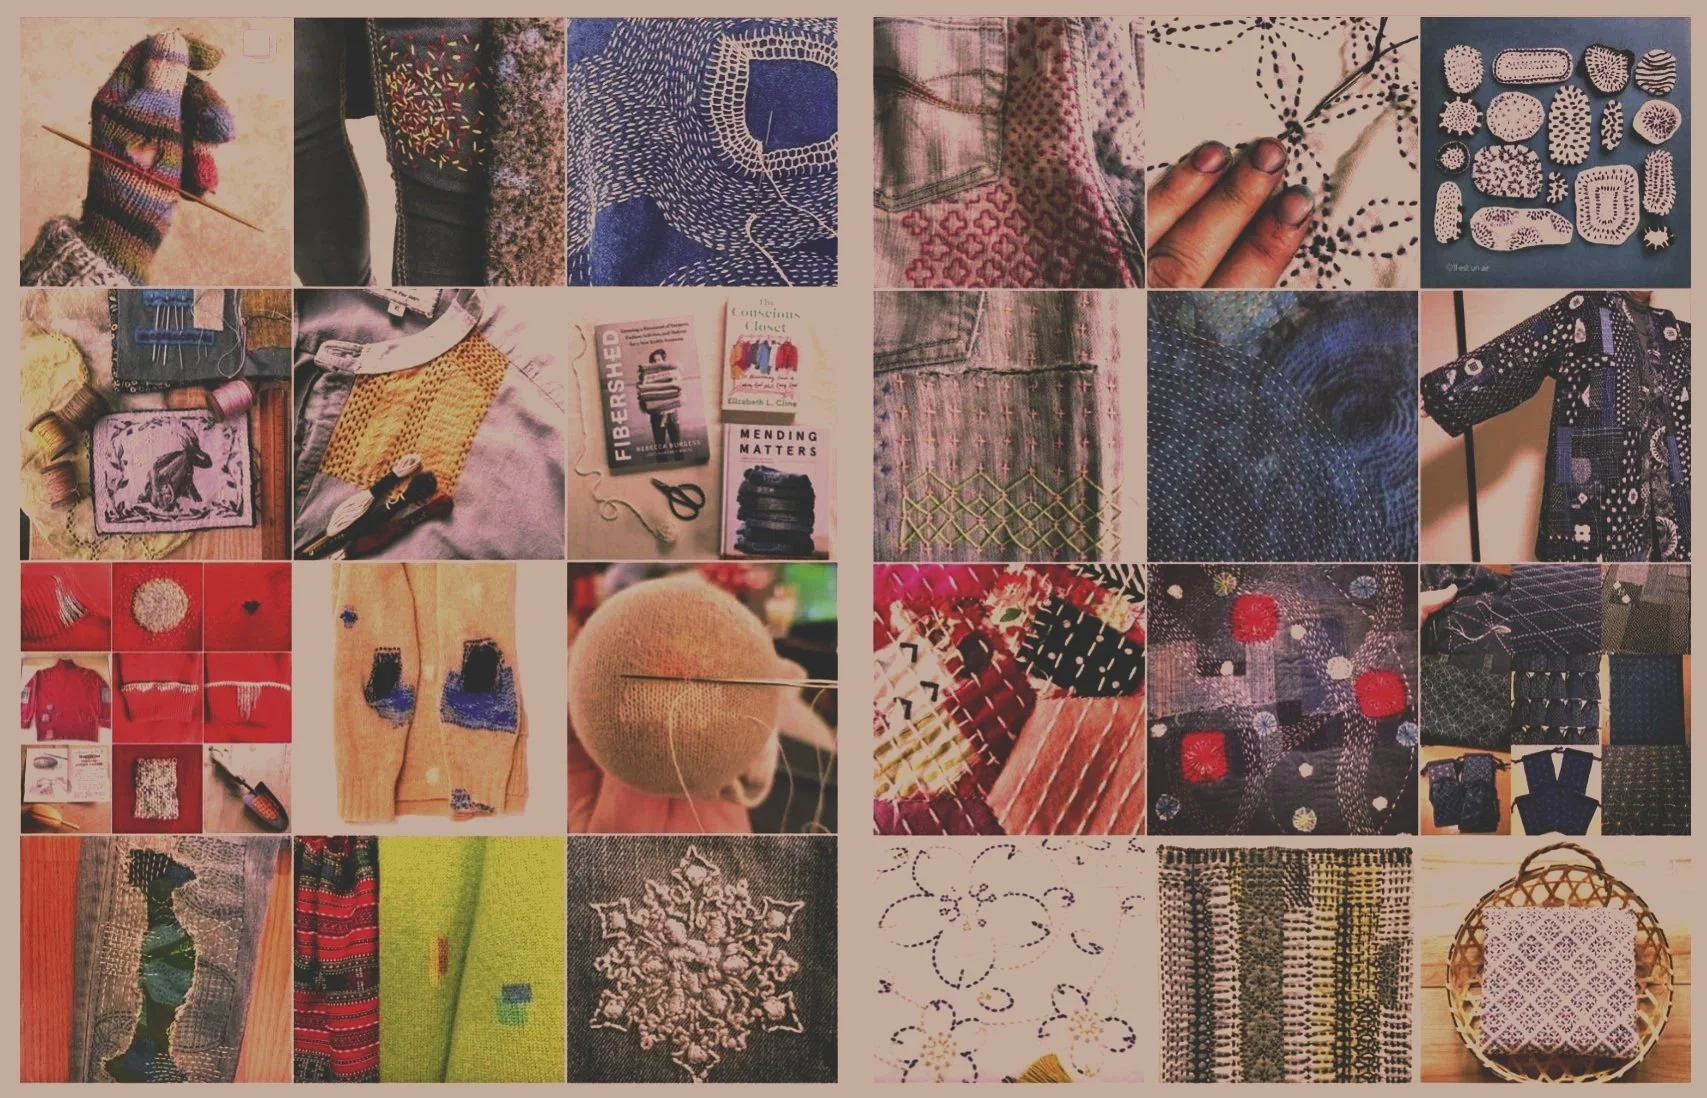
Visible & DecorativeMending, Garment Transformation: Design Process, Iteration, Mending, Tailoring, Embroidery, Sashiko Inspired visible mending, Reuse and Repair practices. (Image Source)

Assignment 1:
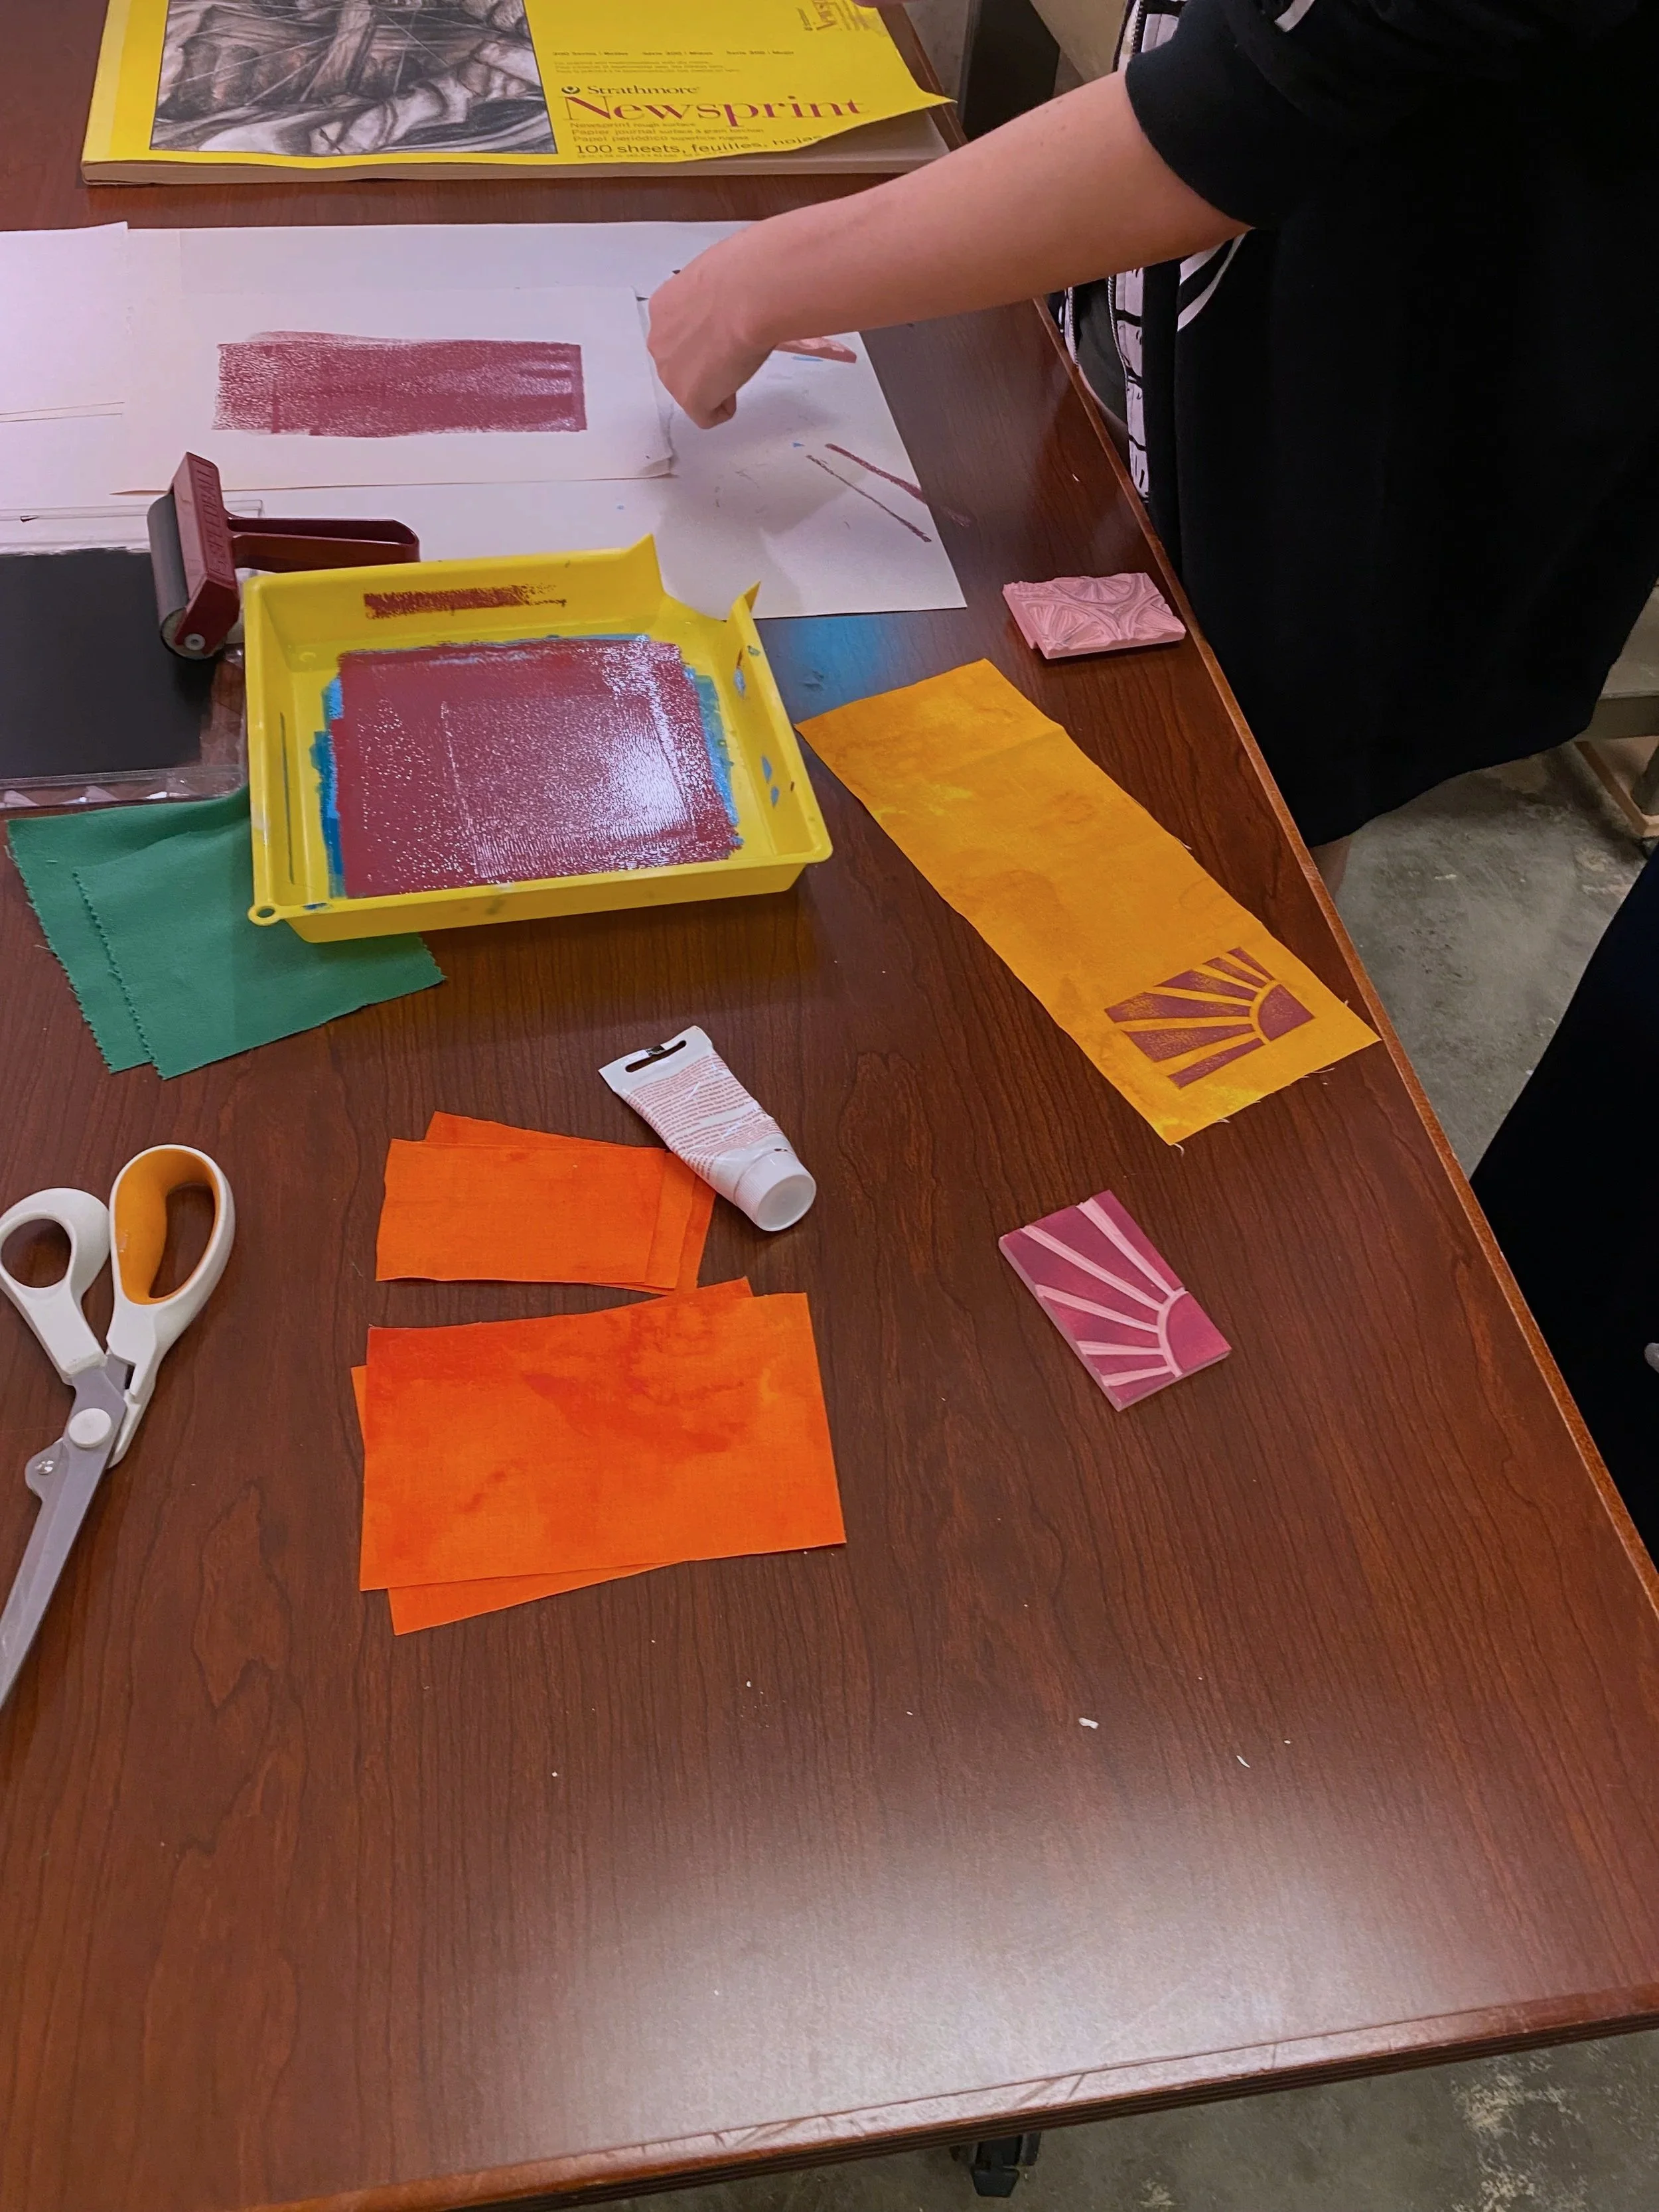
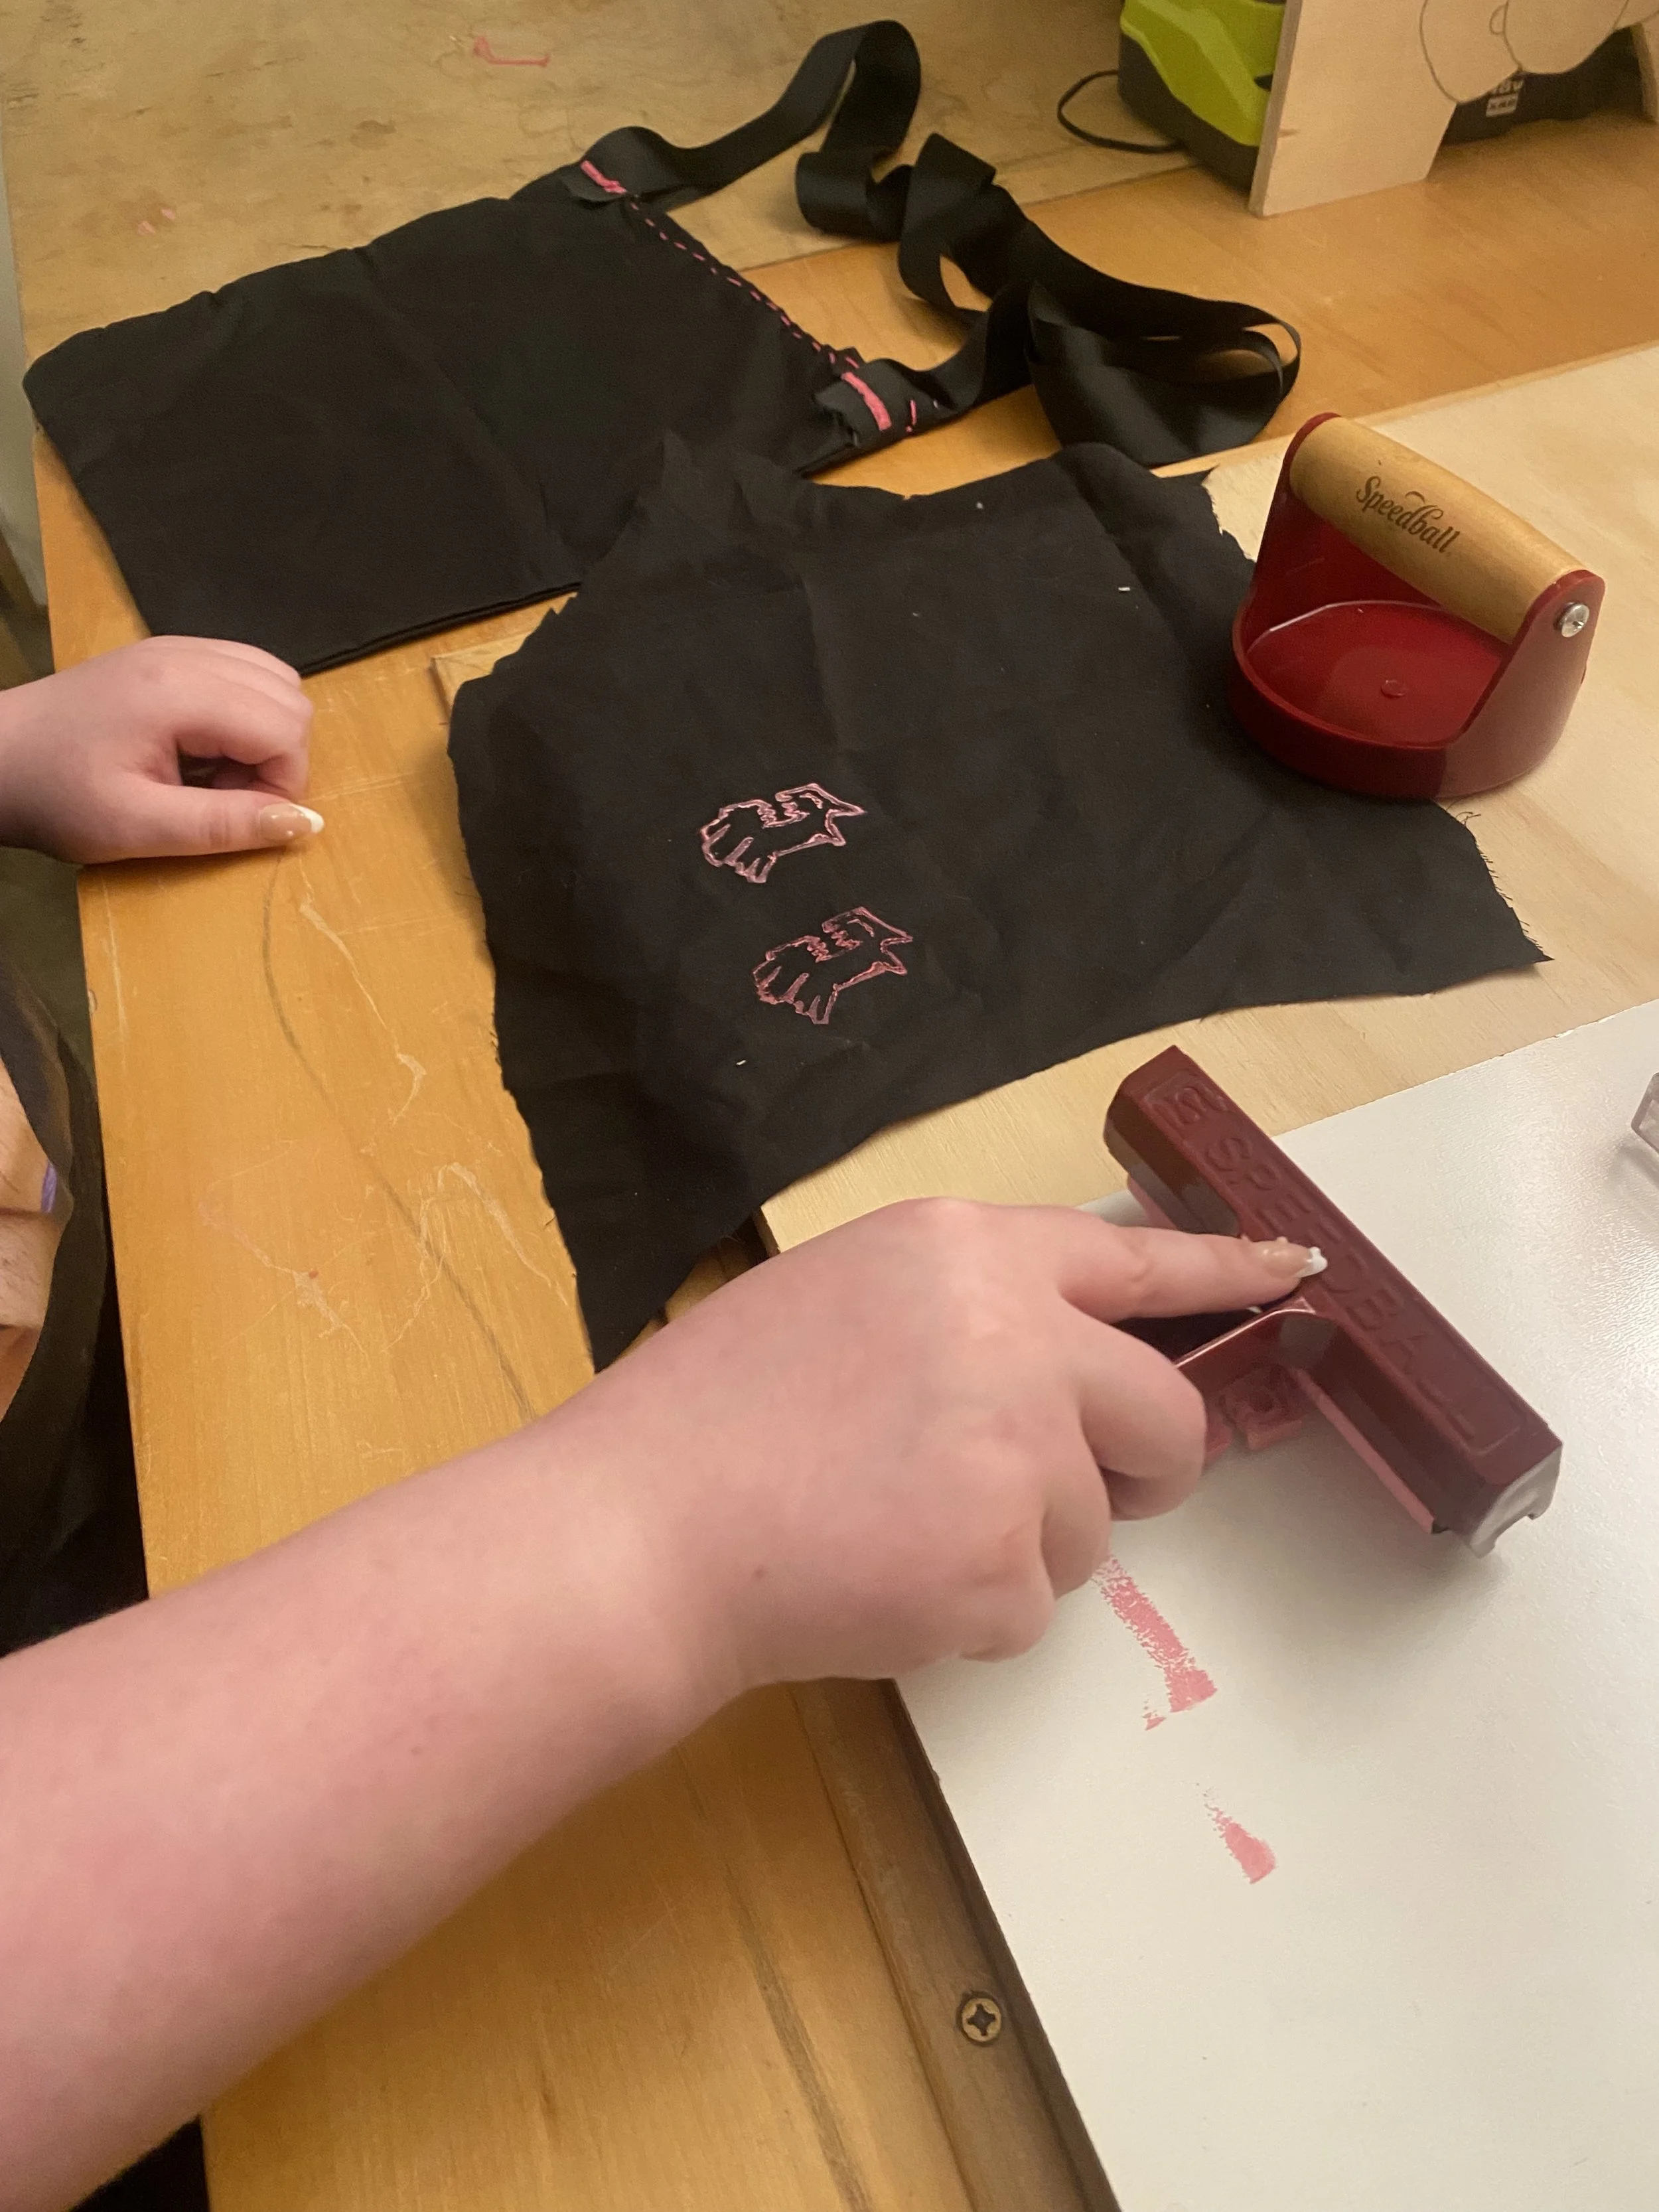
Linoleum Block Printing
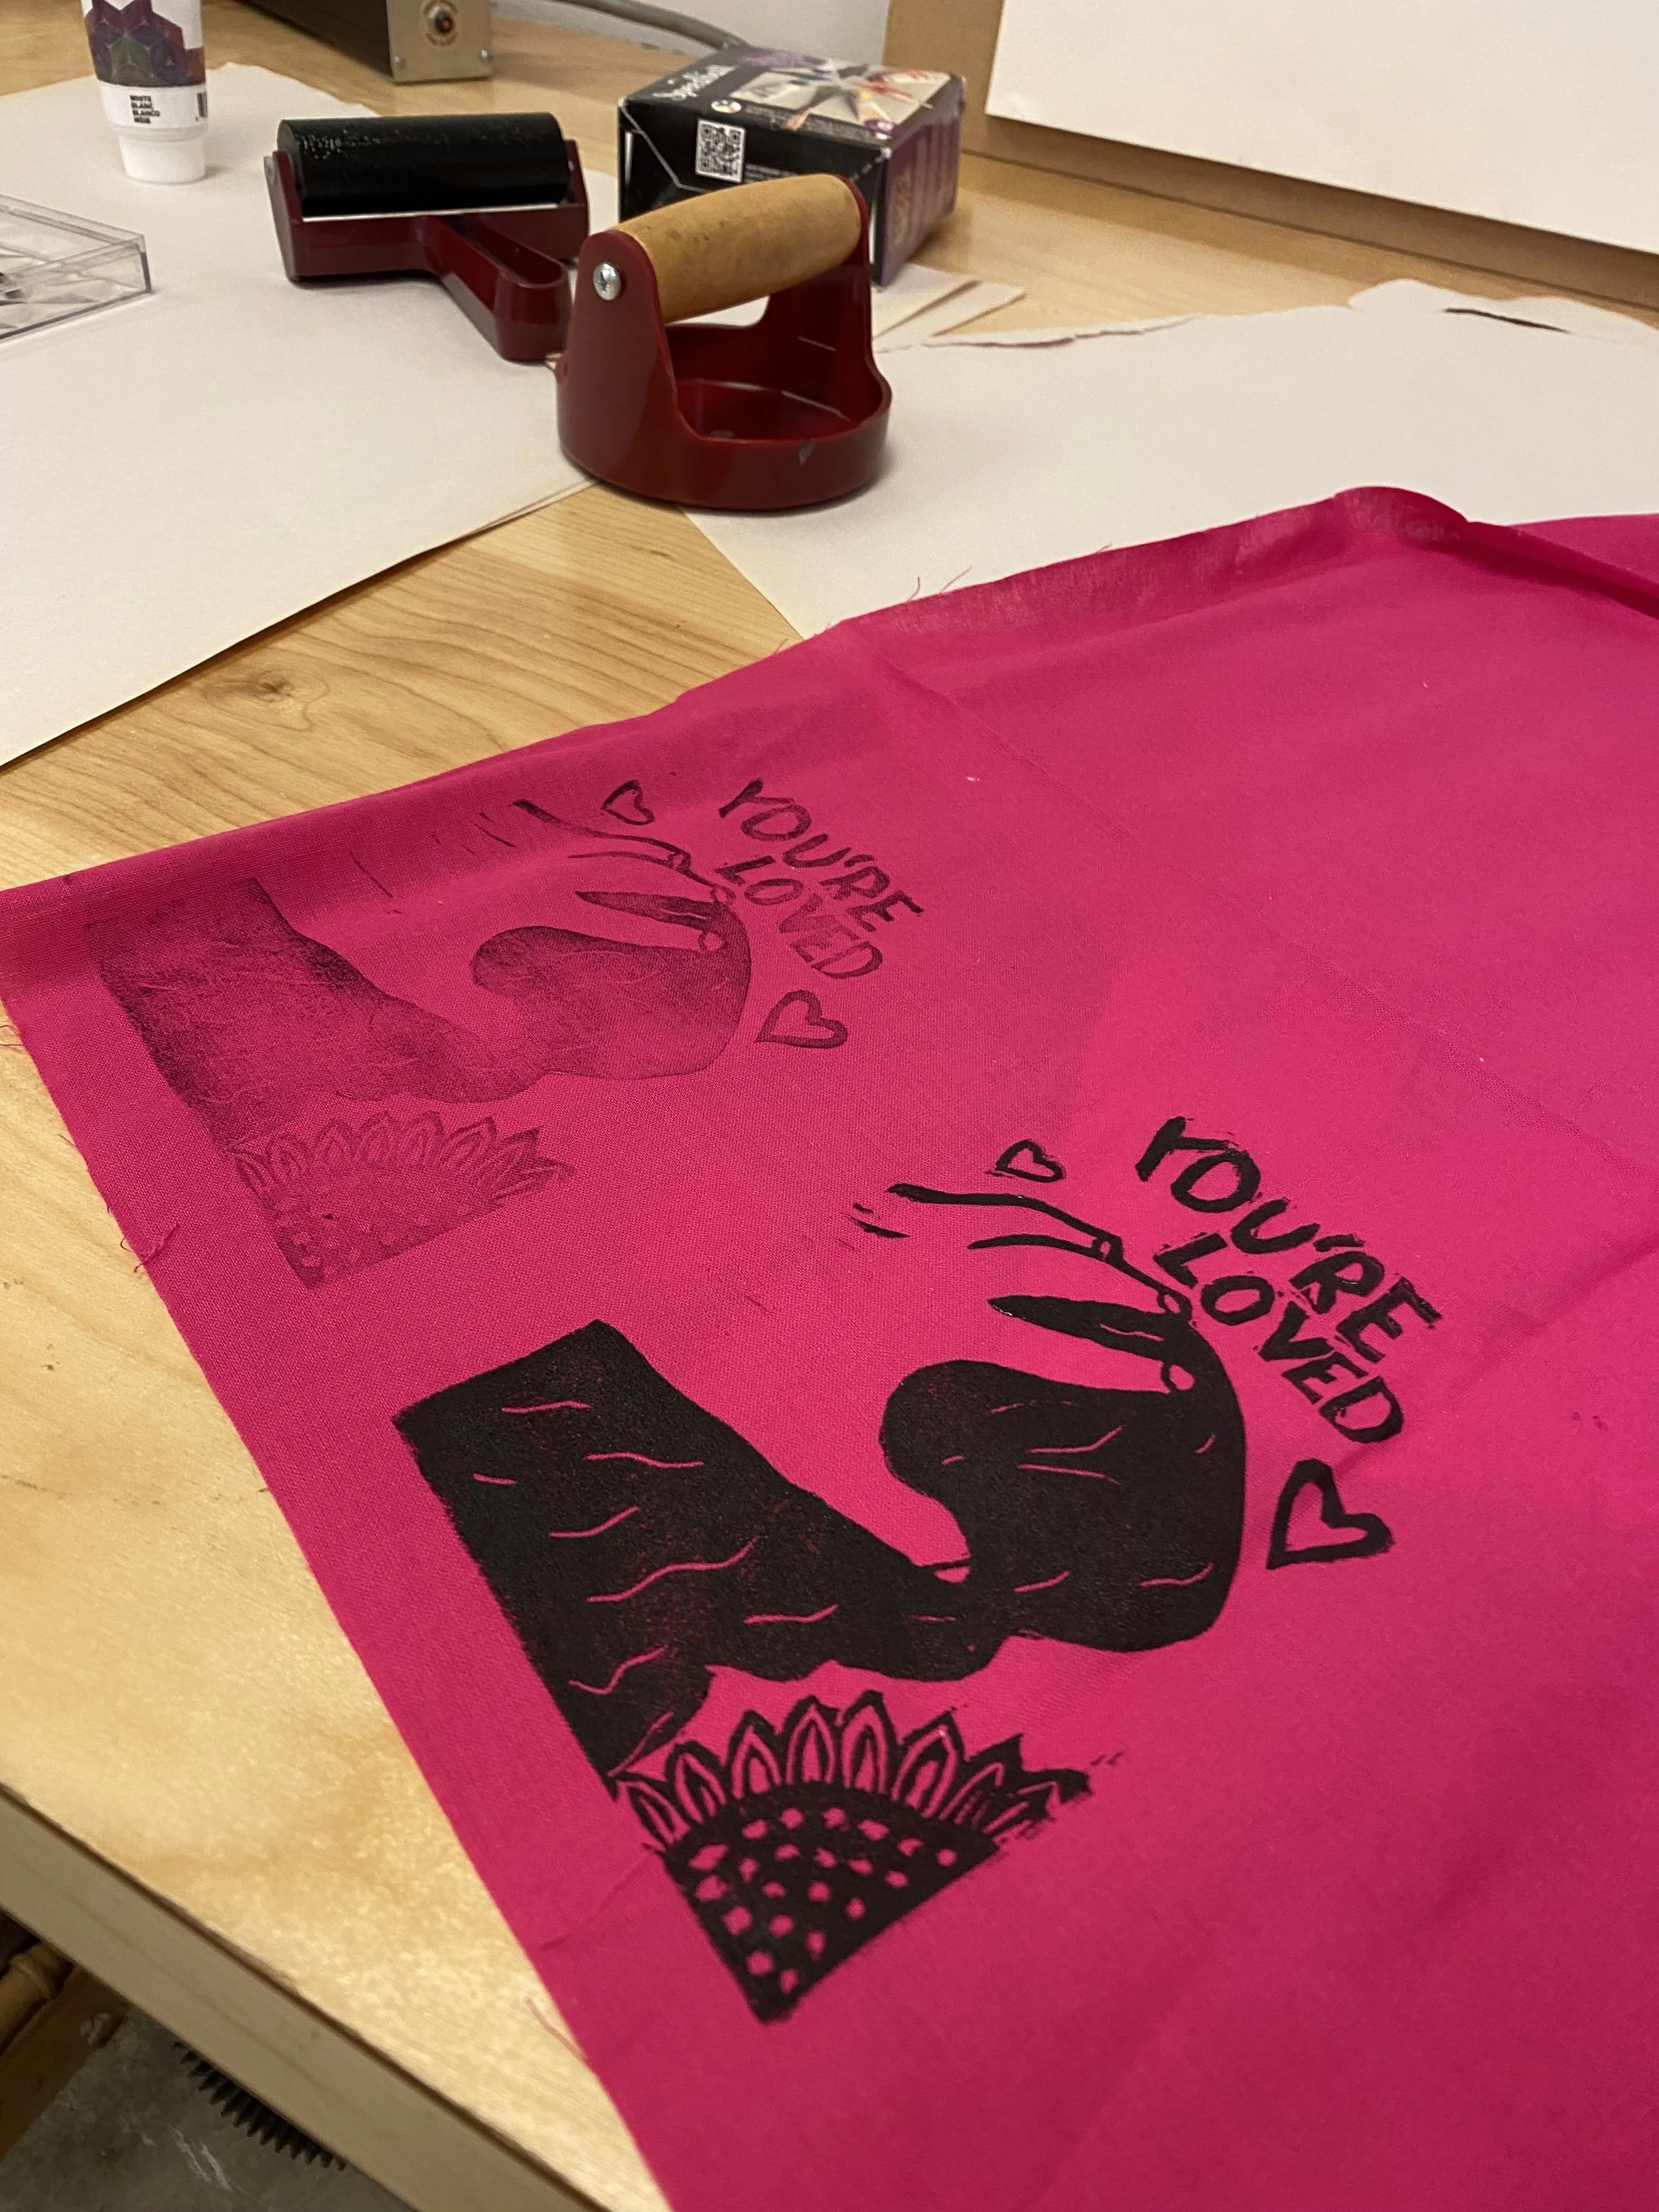
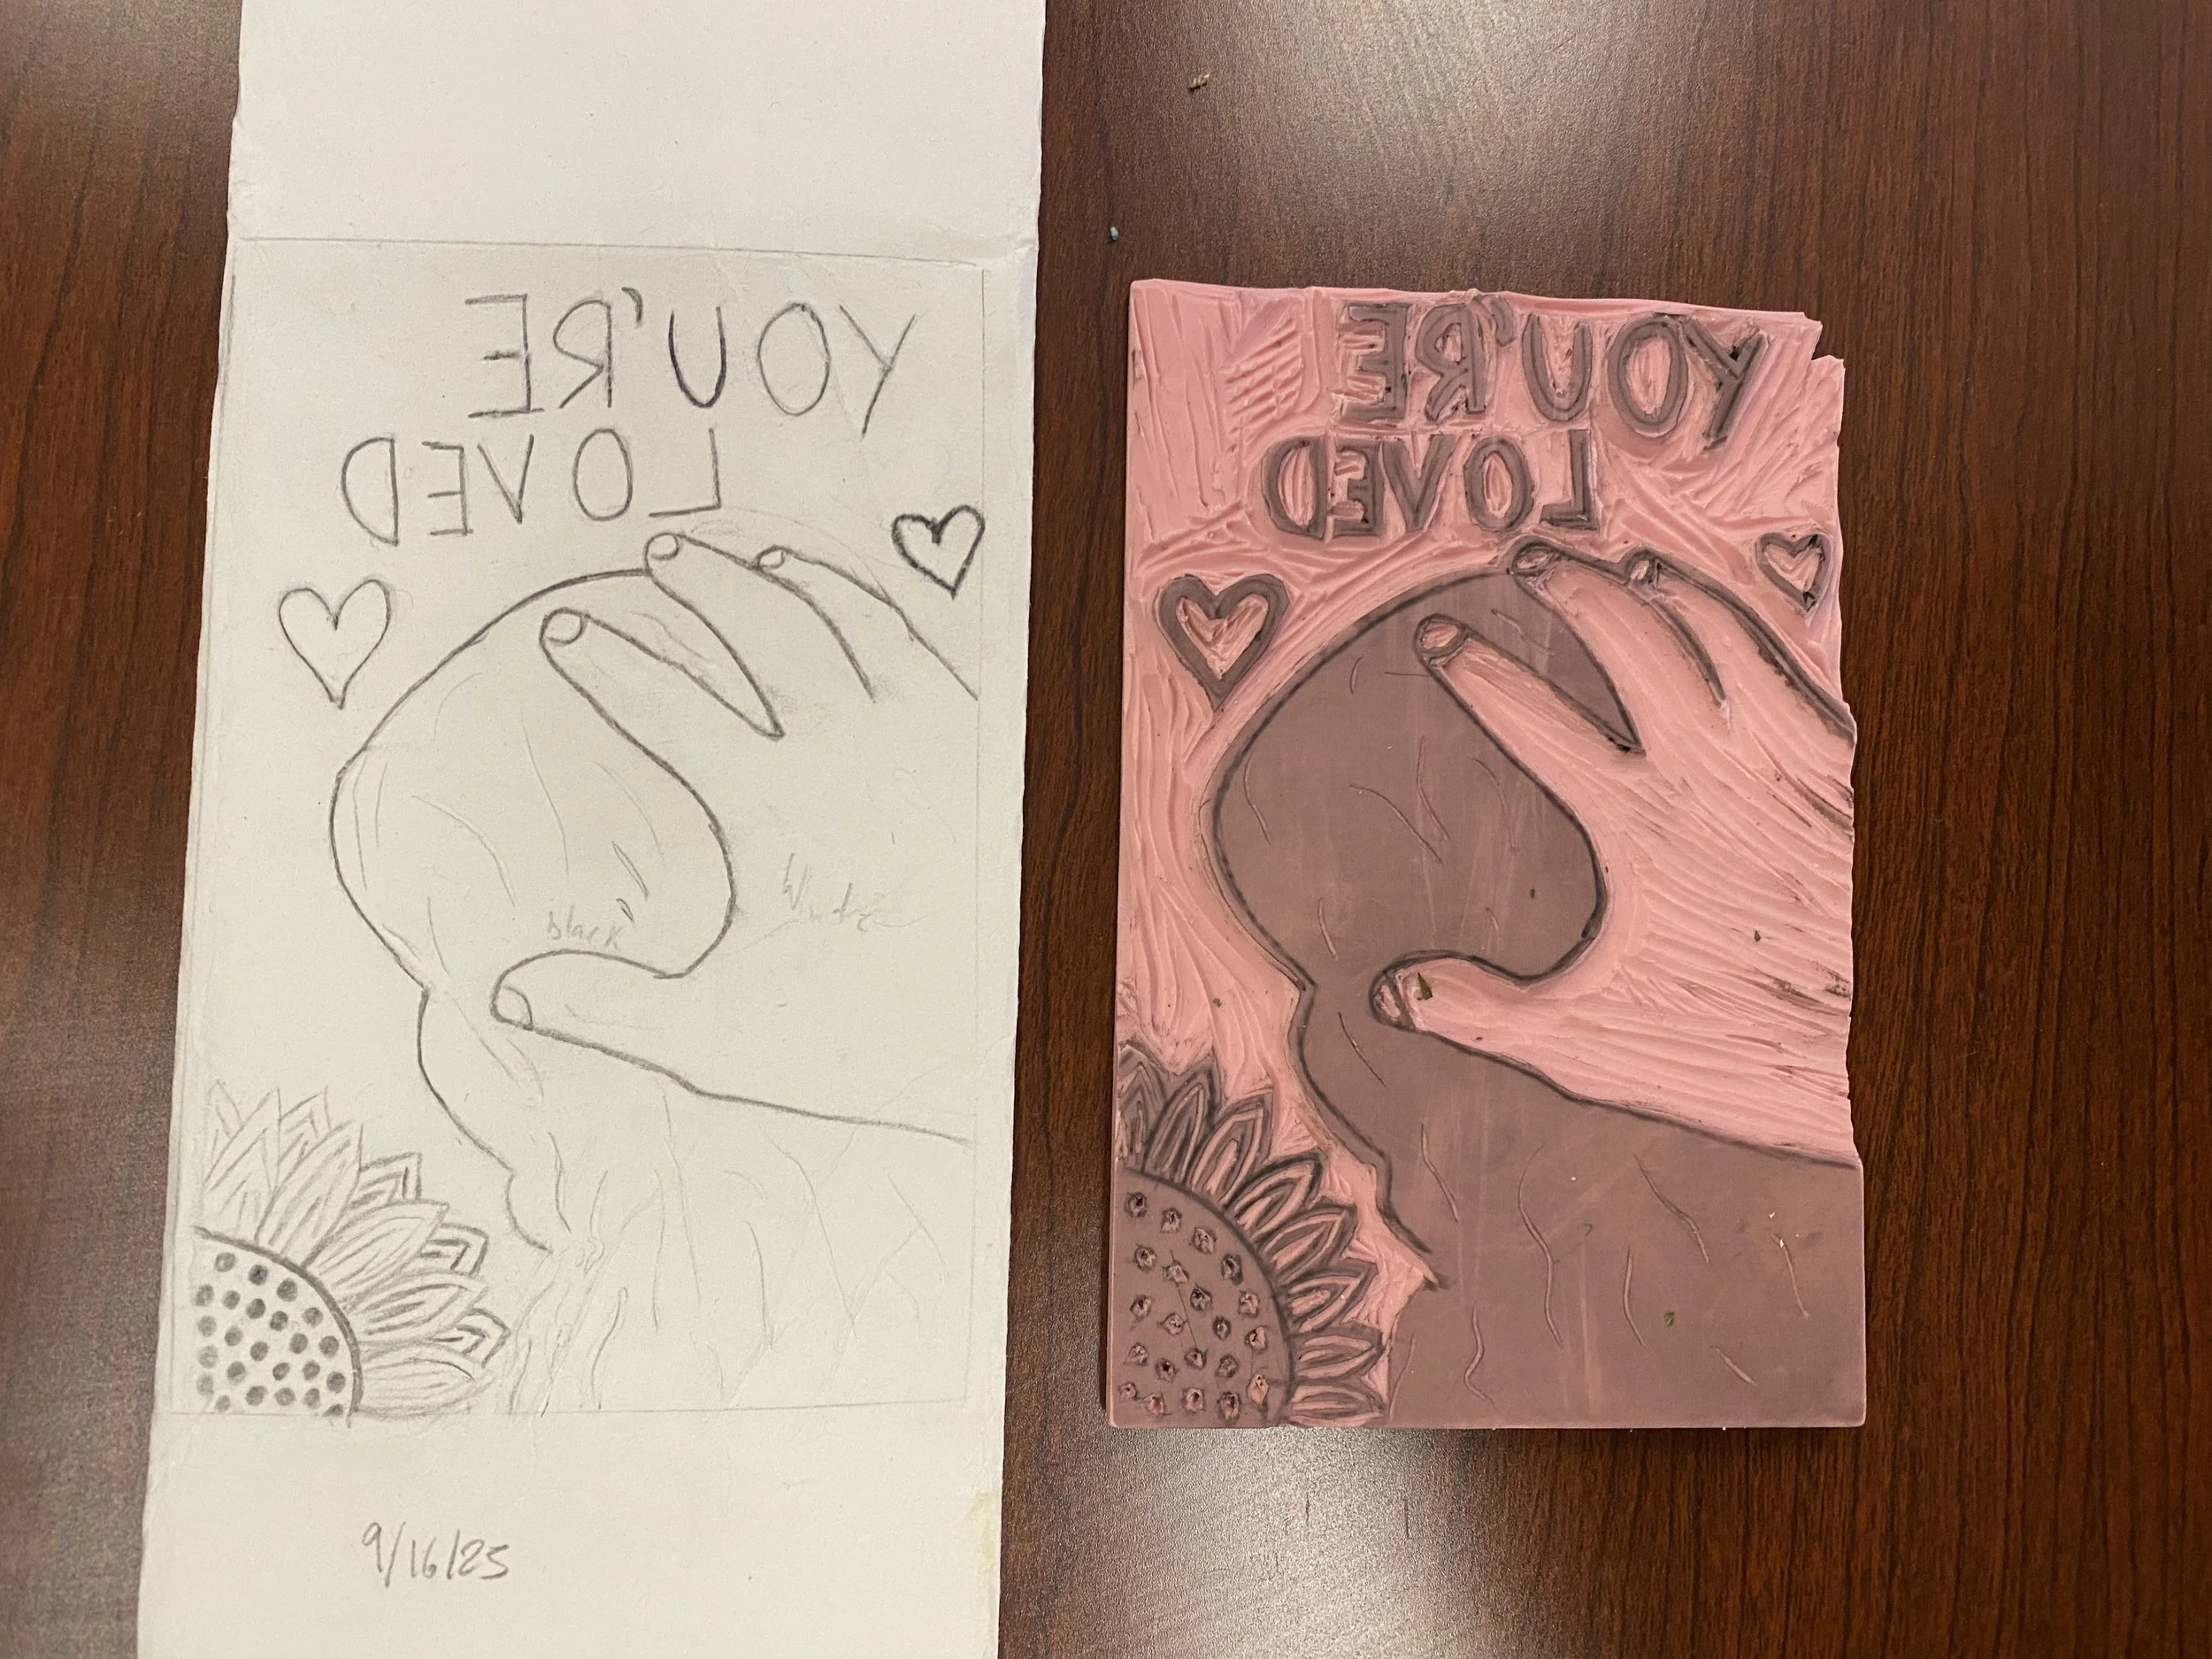
For our first assignment, students learned how to create linoleum block prints. We started by trying this technique by simple blocks on small pieces of linoleum which we printed on paper. Each student was then asked to sketch a design for a block they would like to print on their tote bags. Once they came up with a design, they carved that design into a larger linoleum block and then printed on fabric using specialized fabric inks.
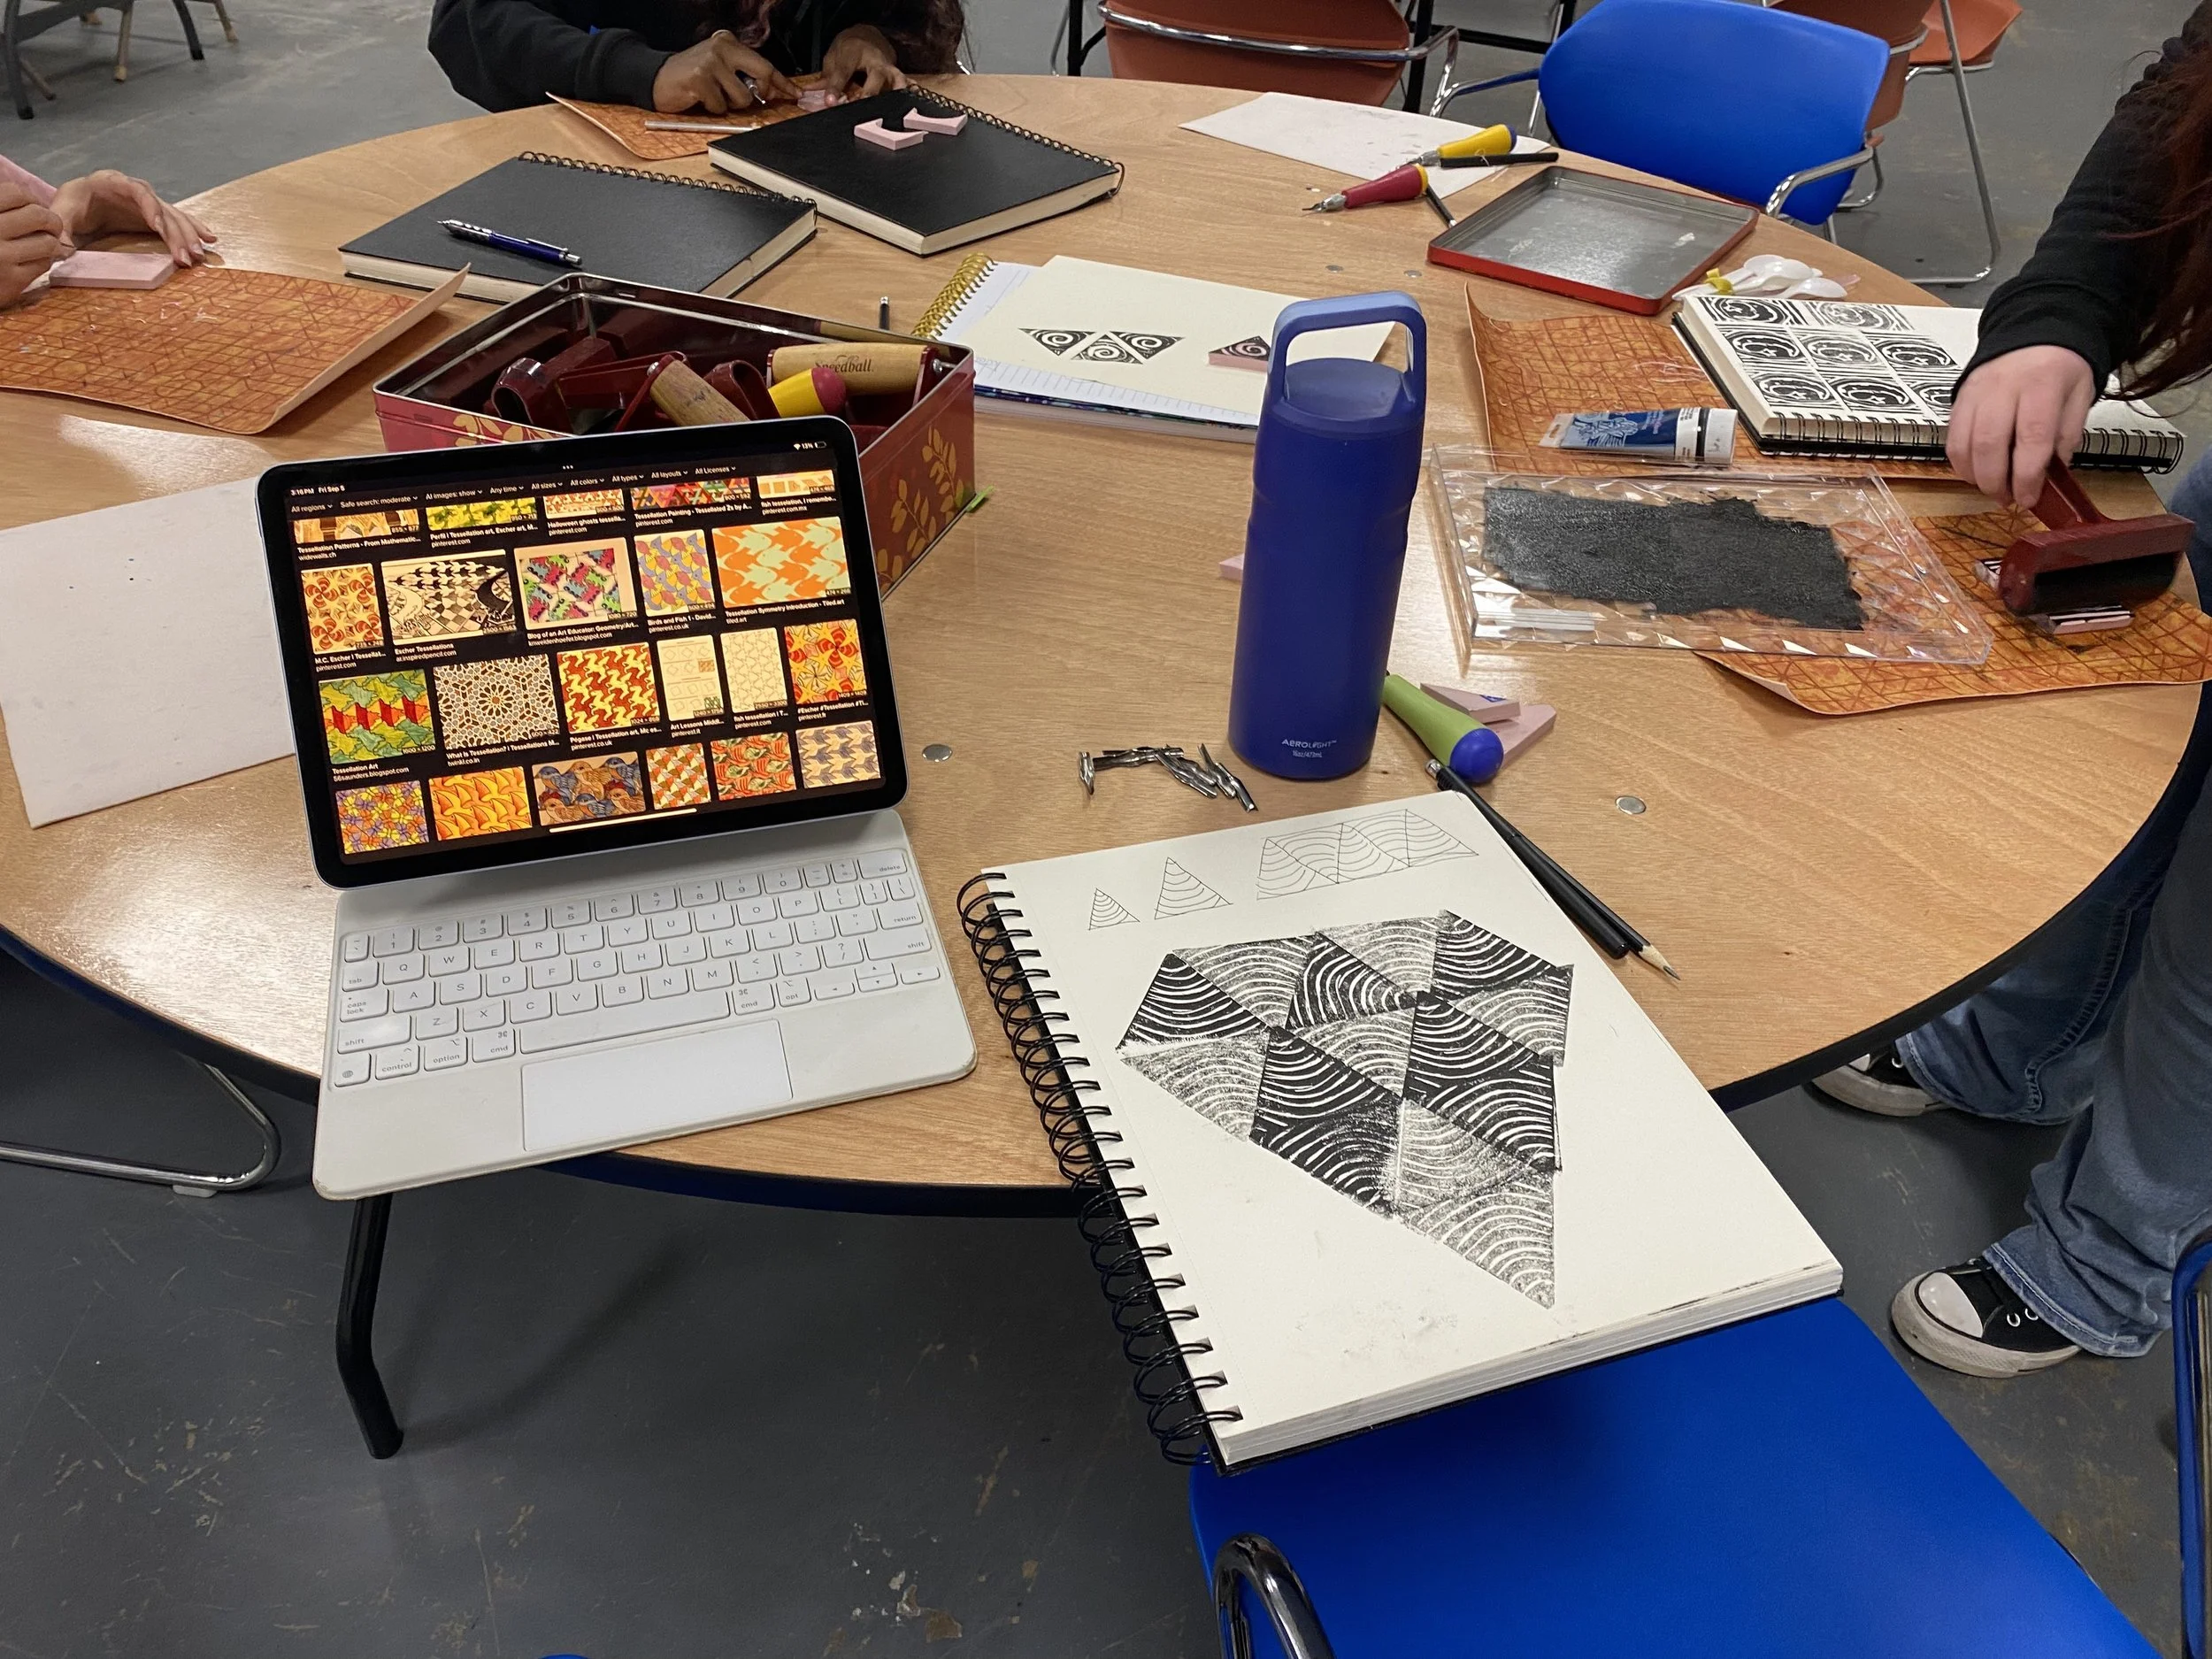
Works in Progress…


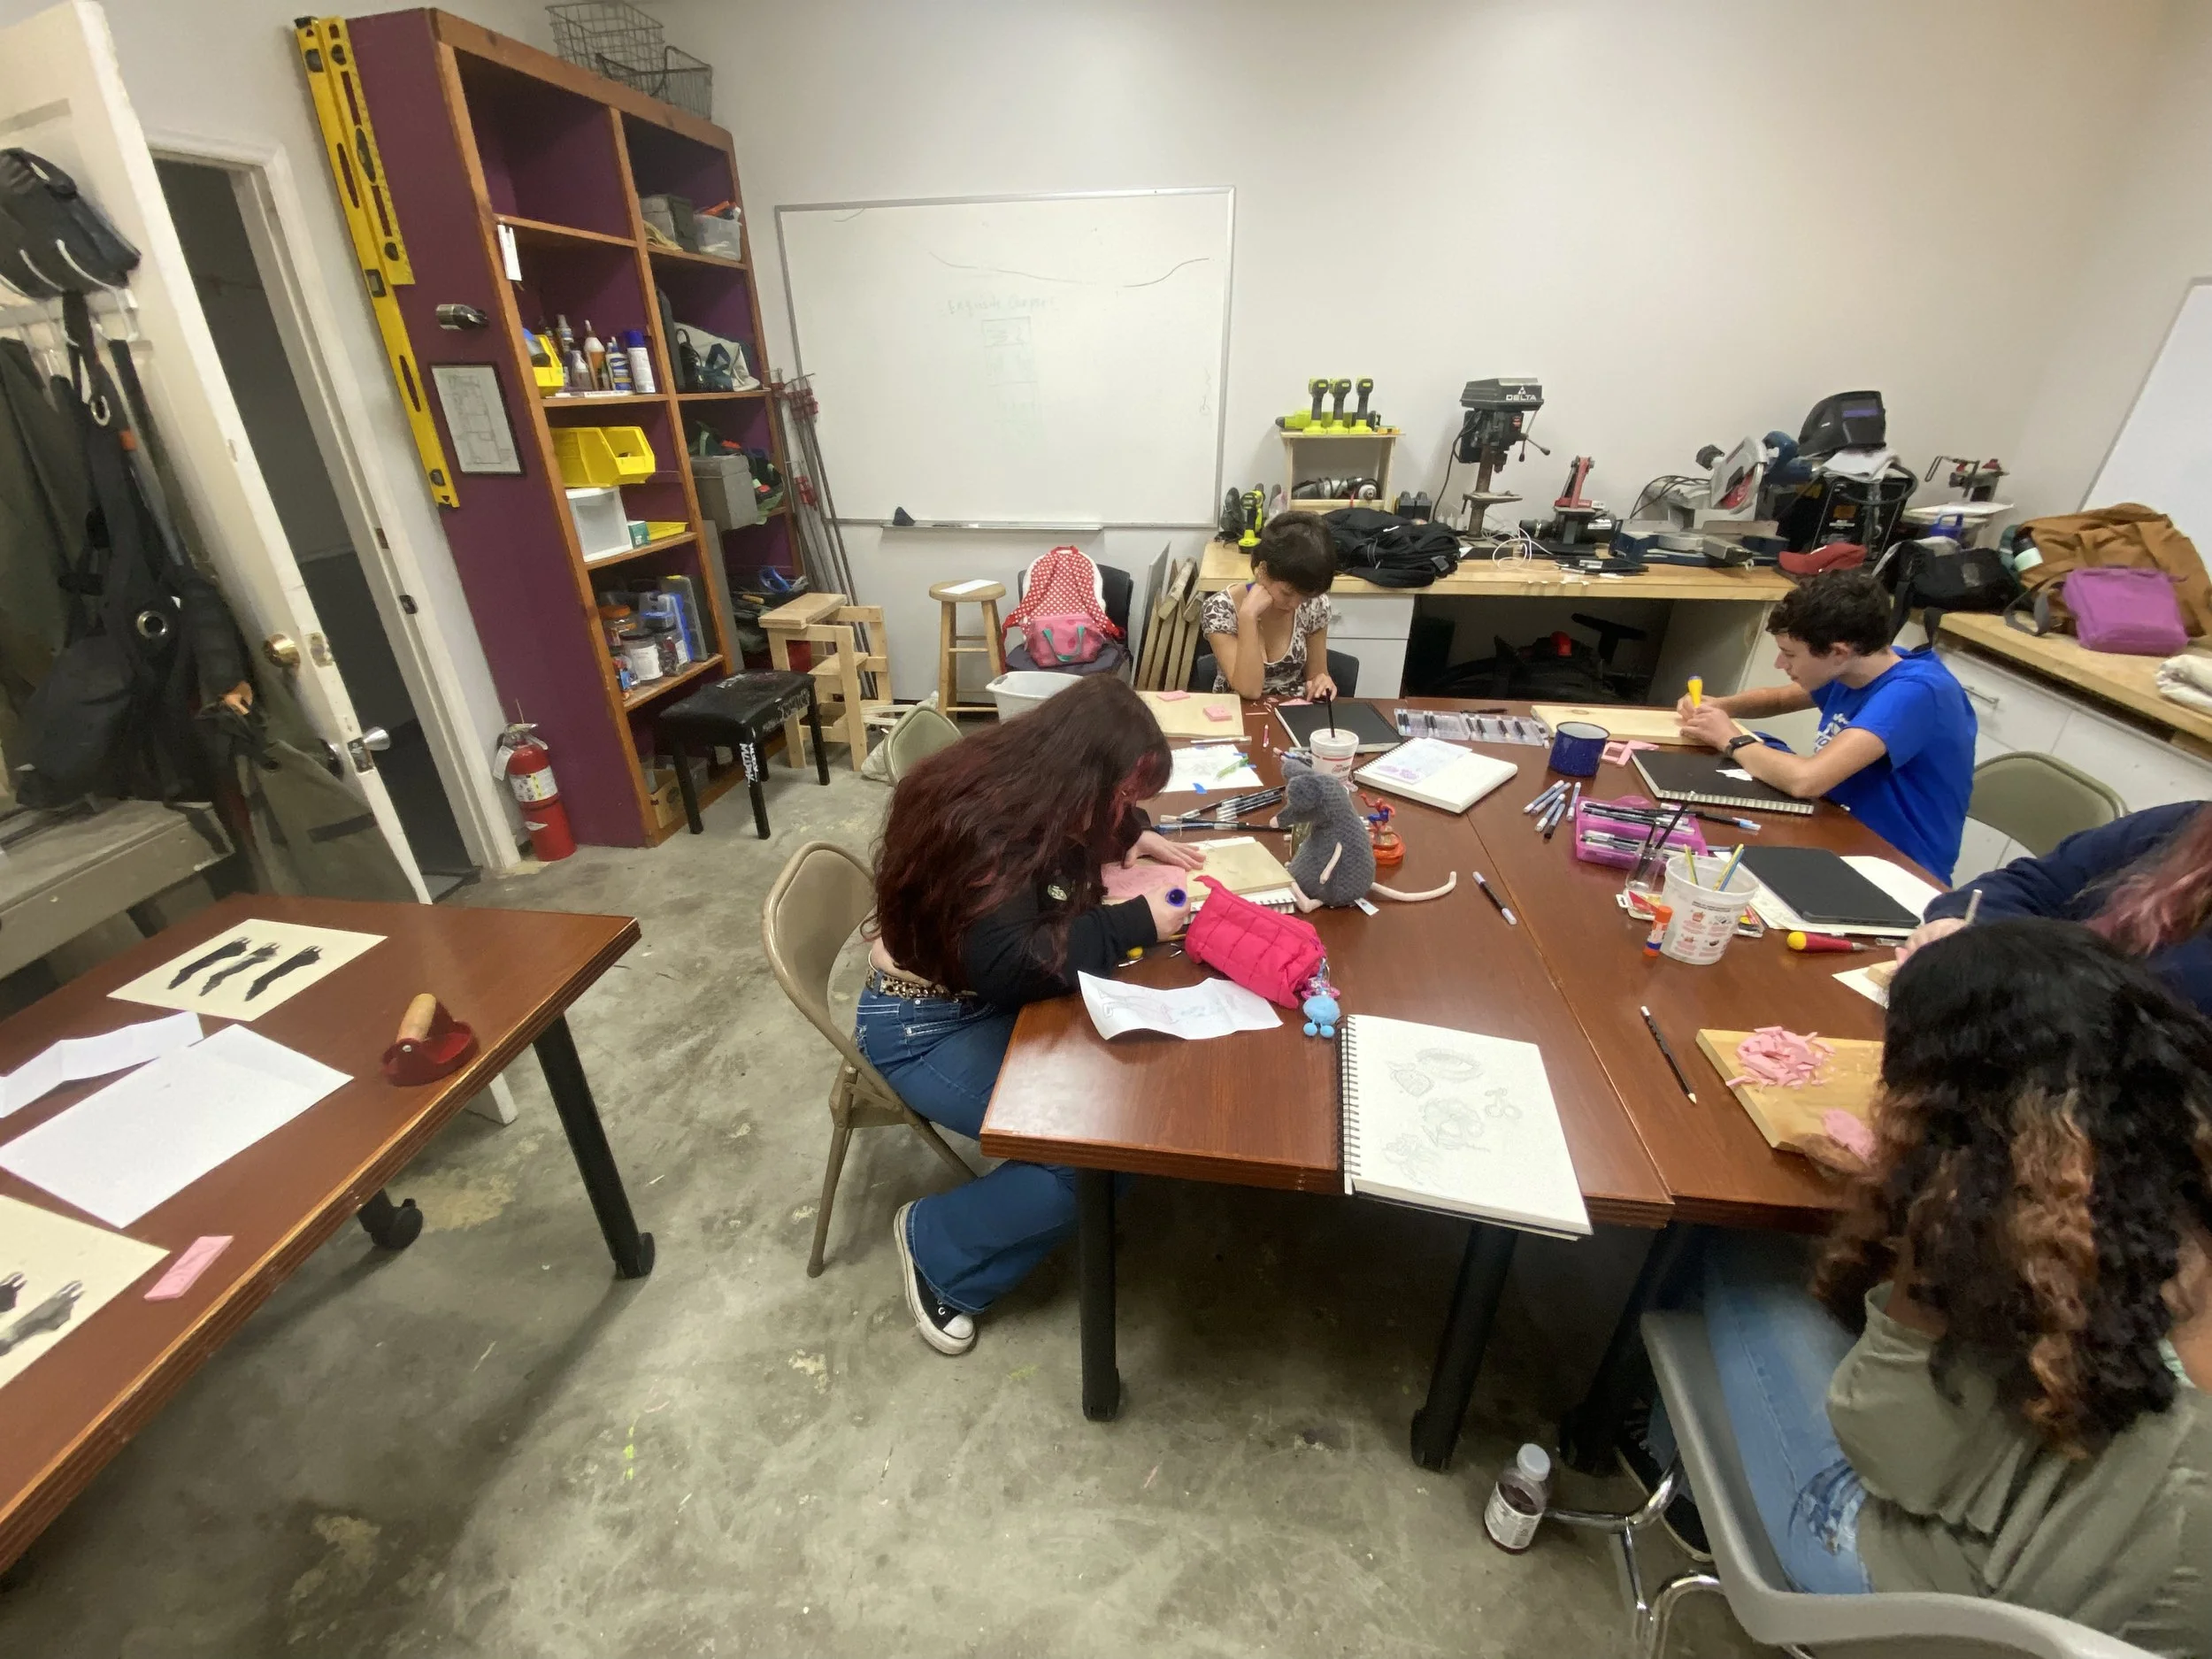
Third day of class: Riley prints on Fabric using fabric printing inks!
First day of class: Connor tests out an interlocking triangle pattern and Naomi inks a fresh linoleum block!
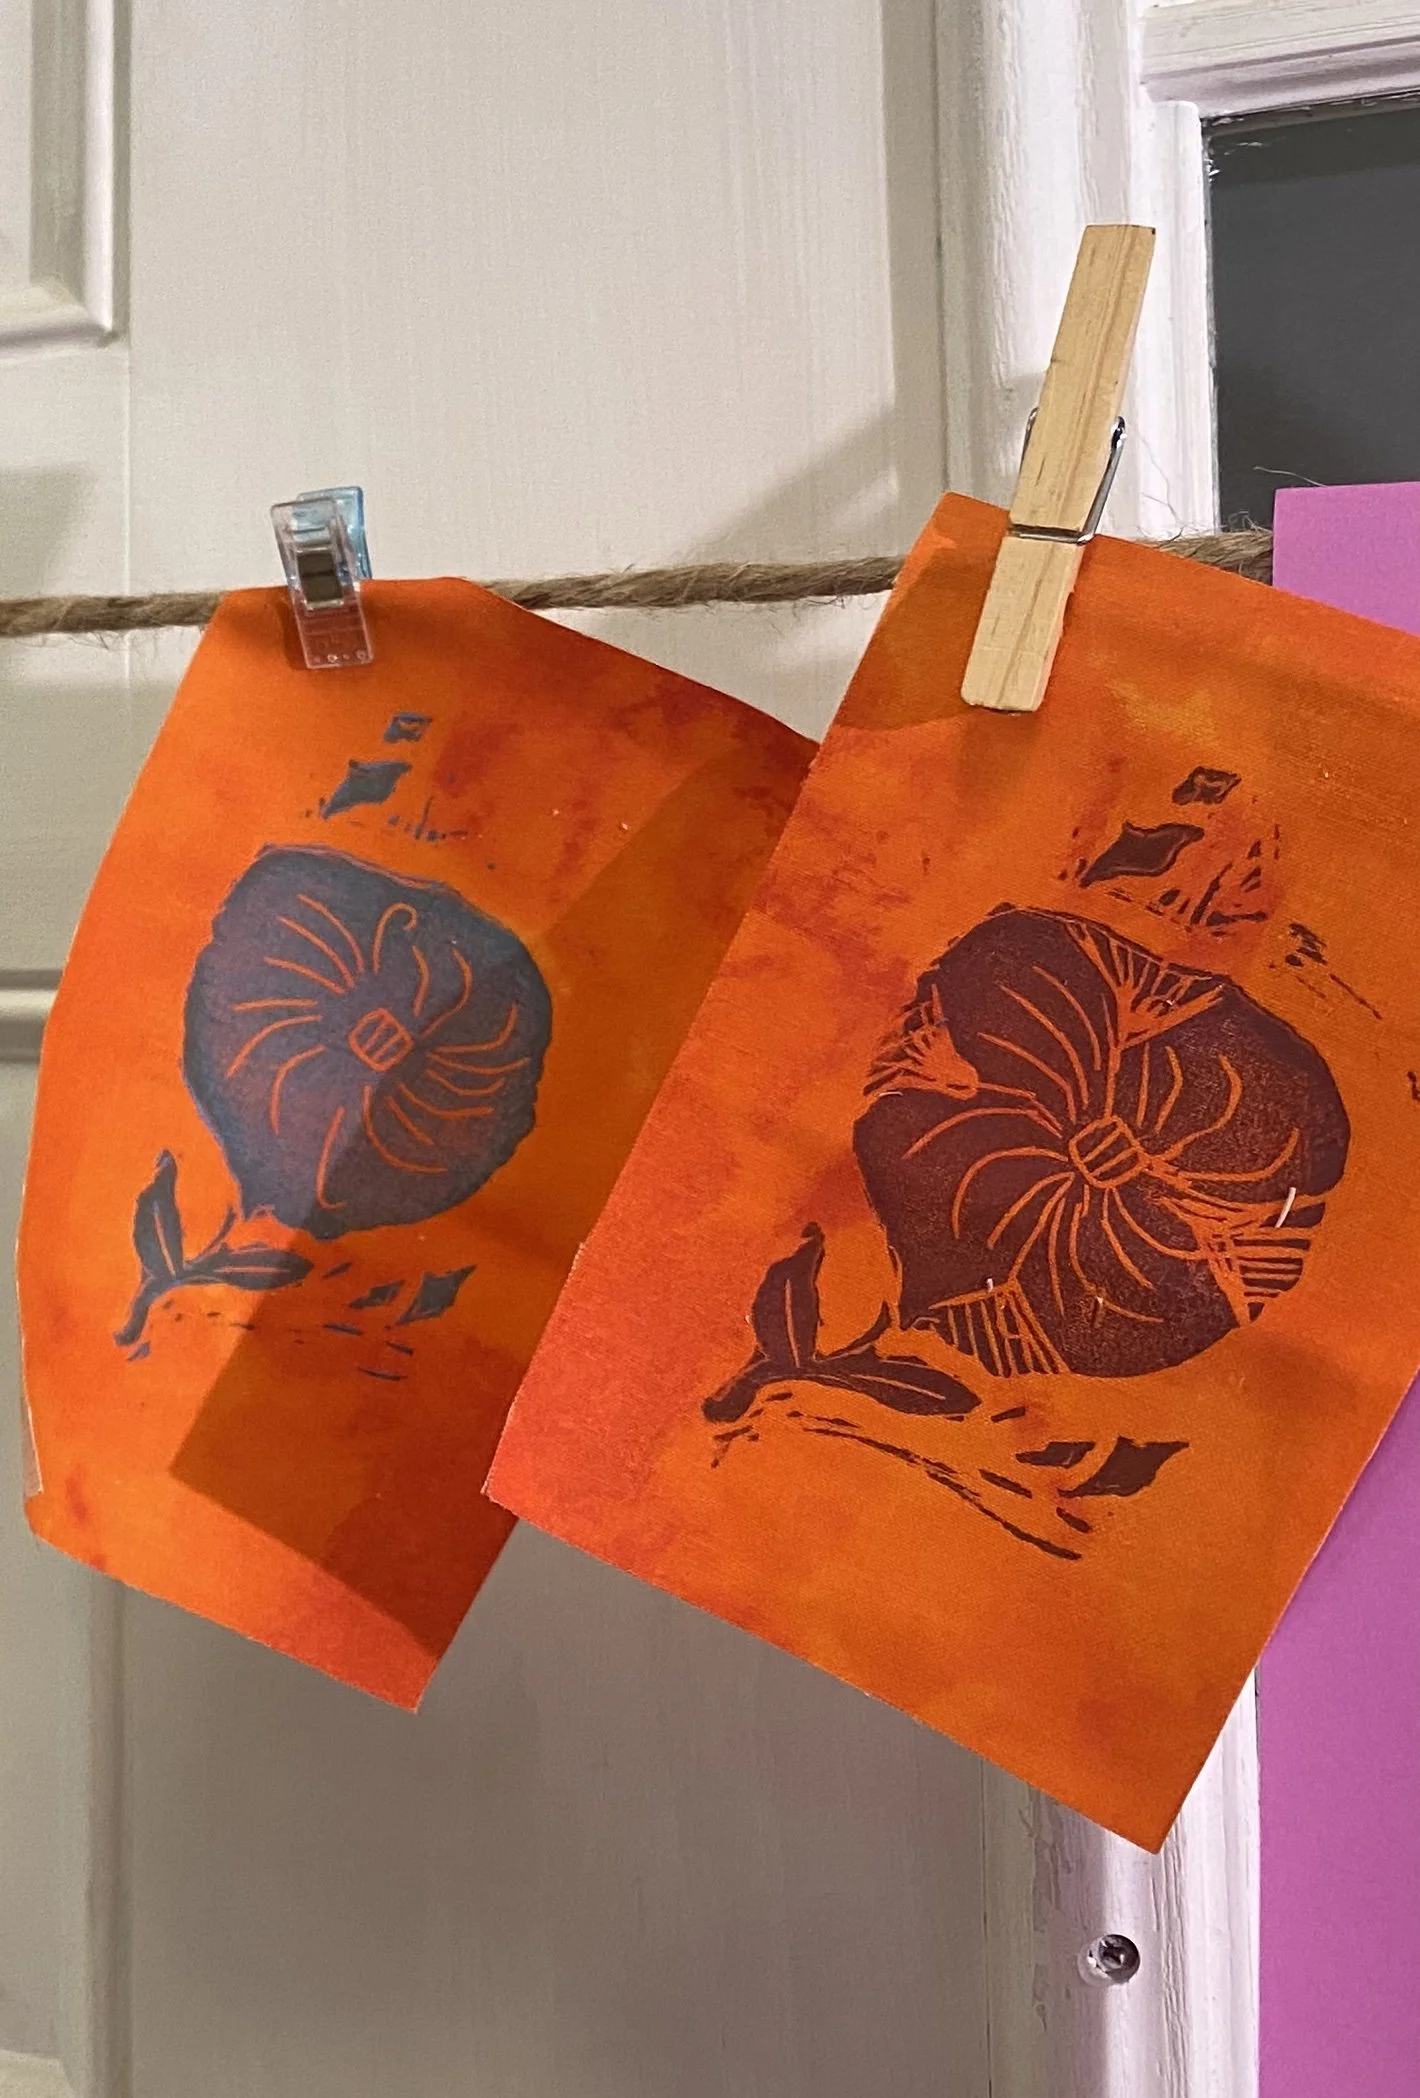
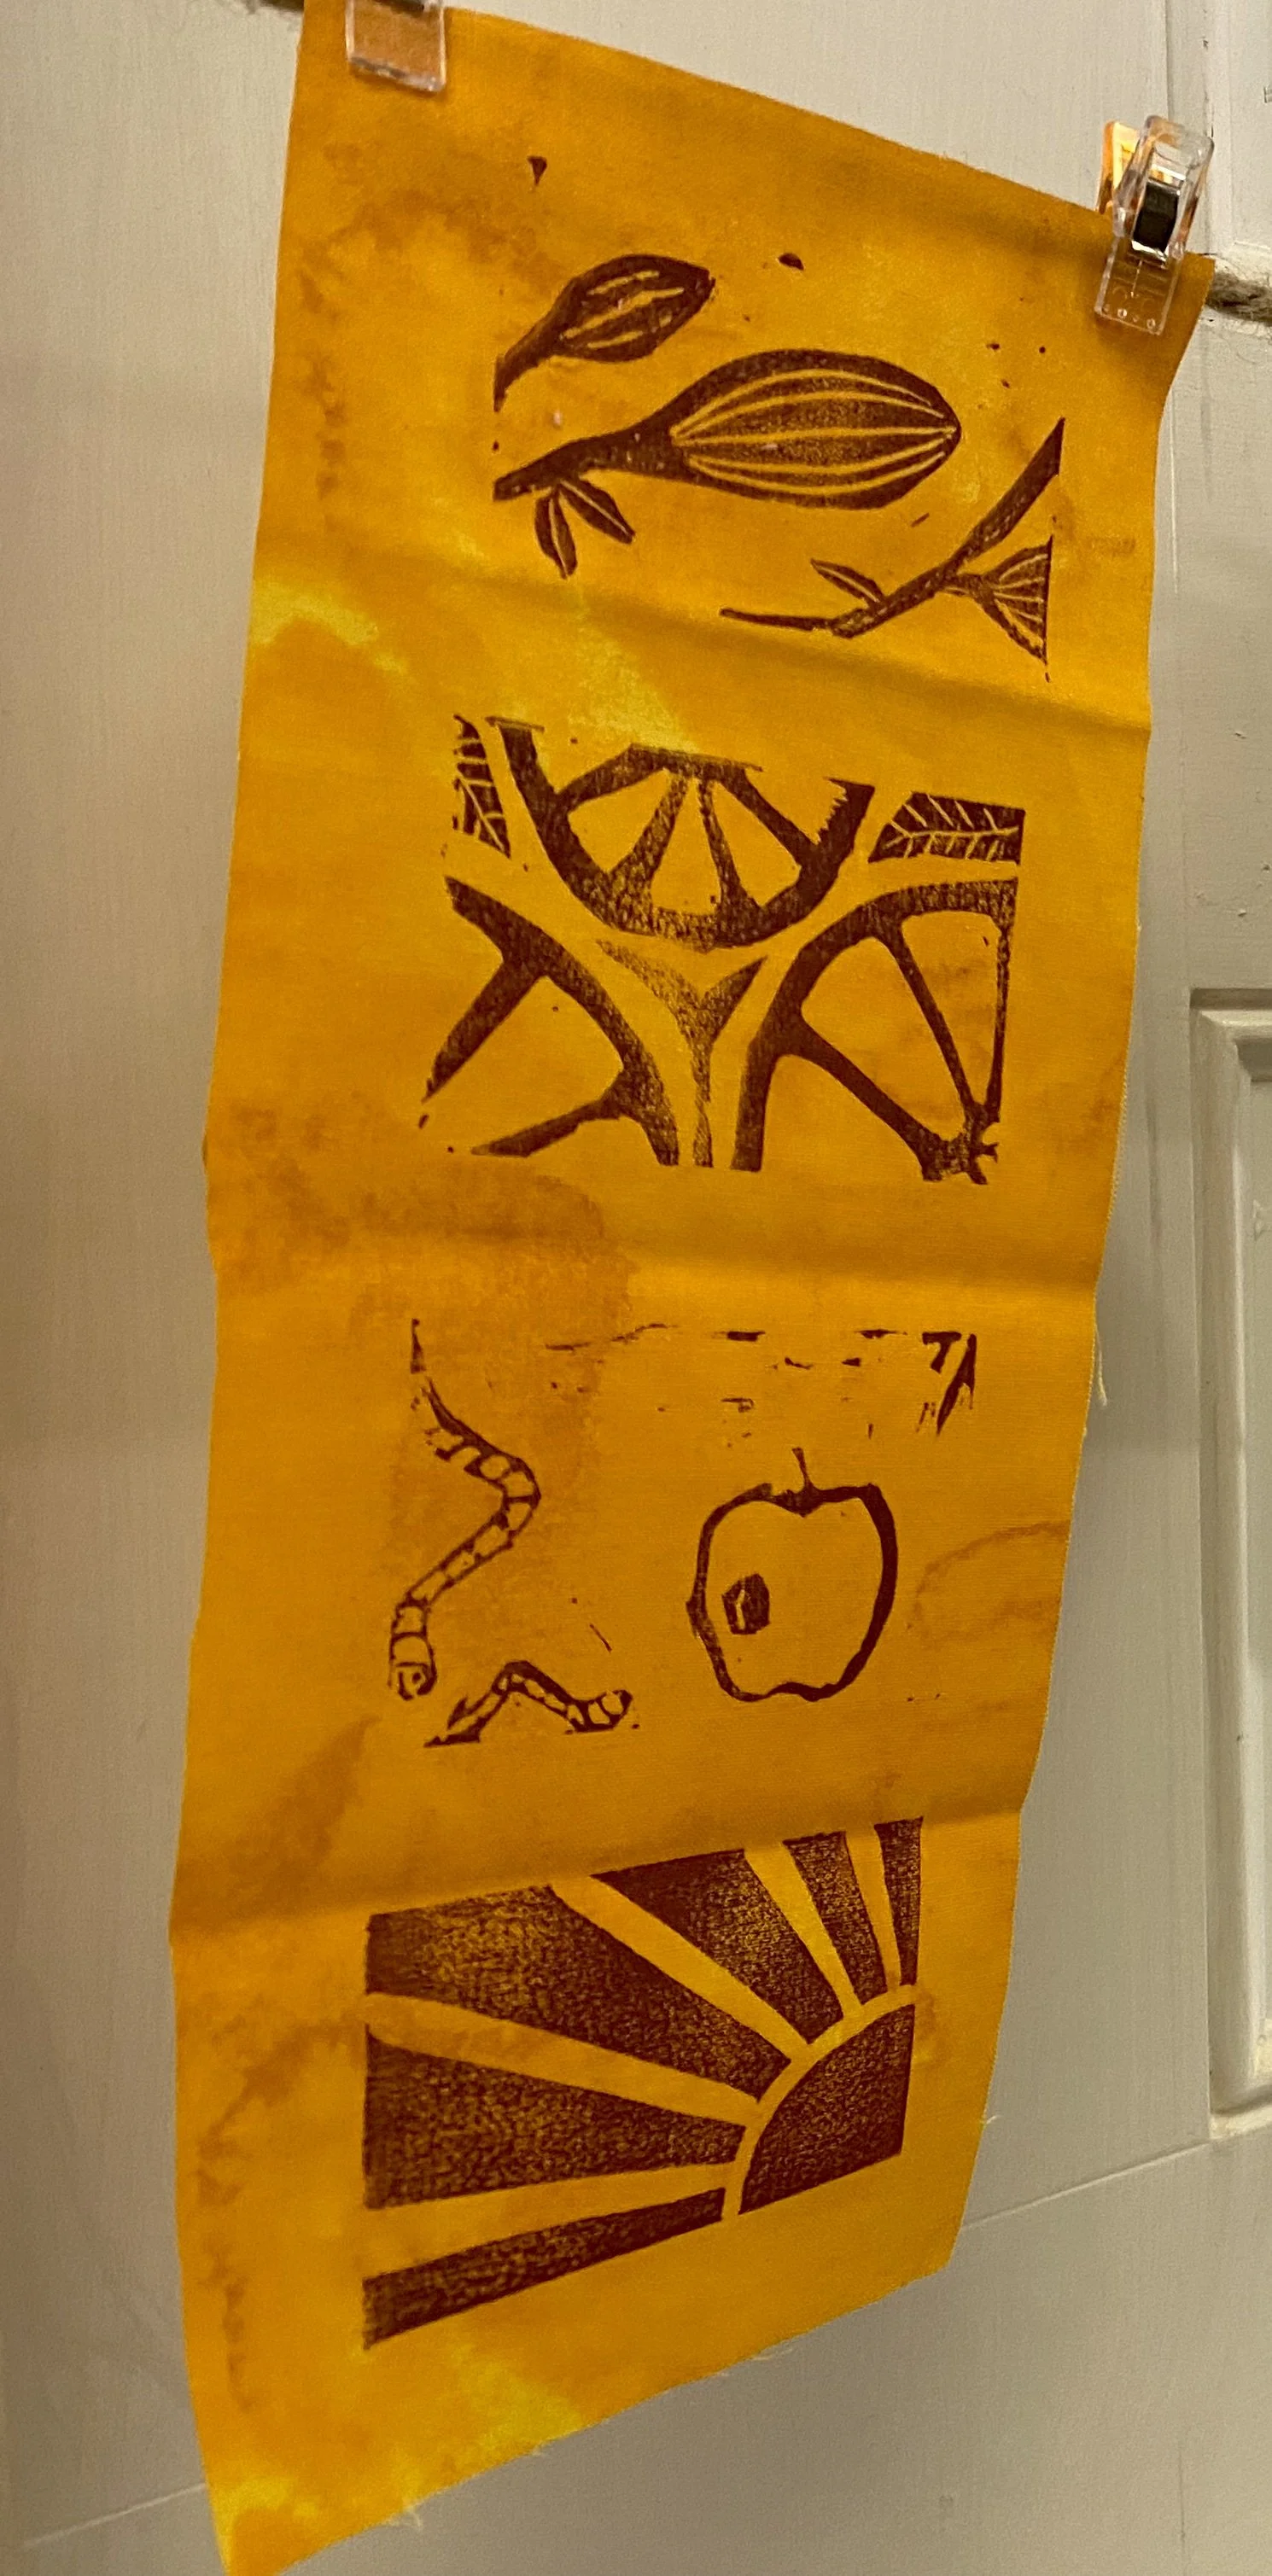
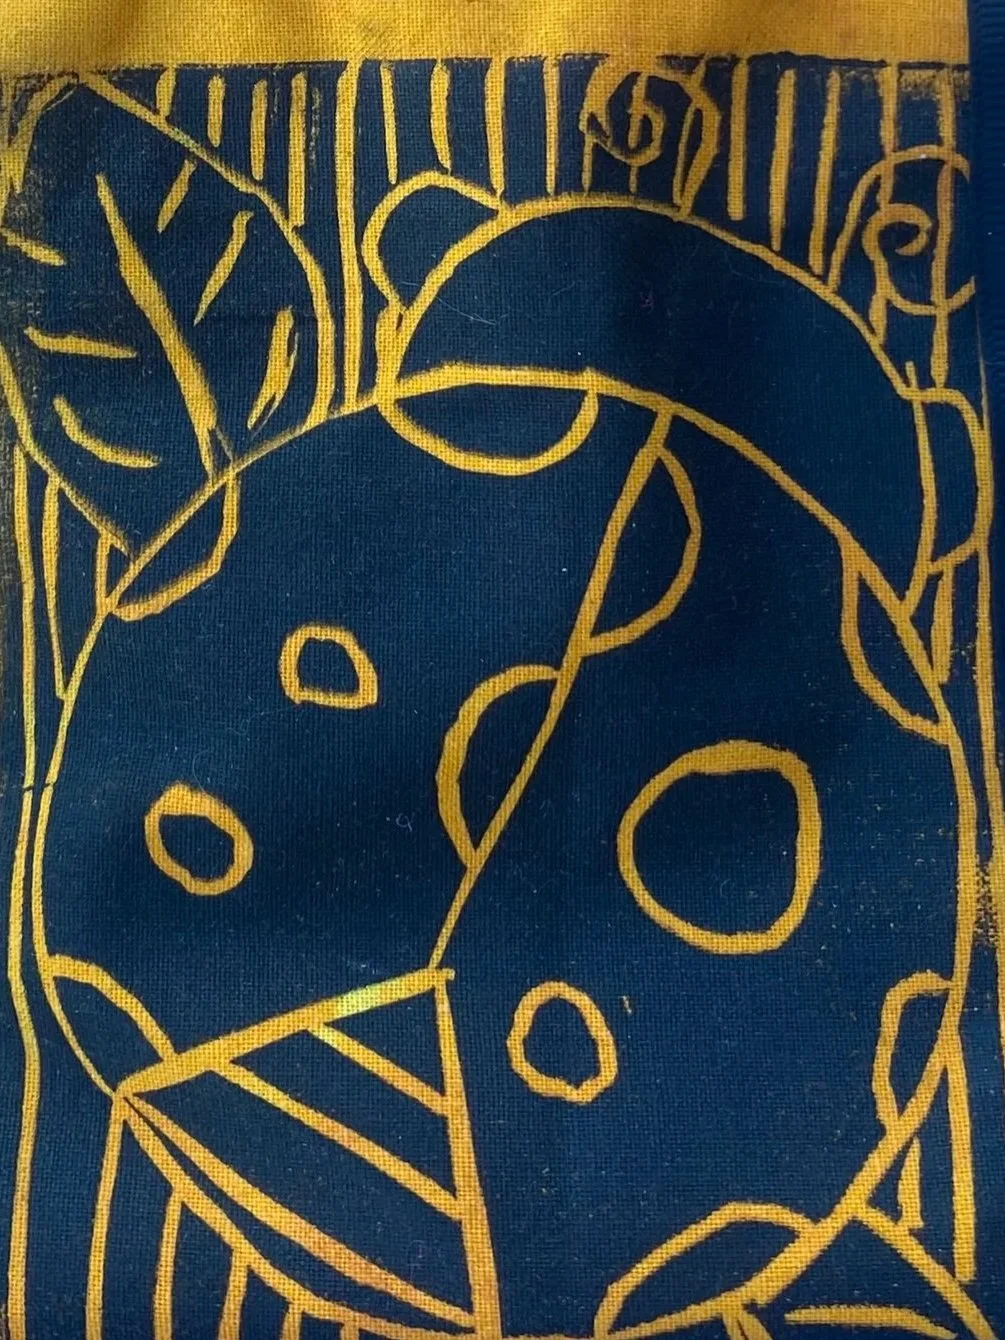
Student Work

For this assignment, each student first sketched out a design, and then created a linoleum block print on fabric. Here are each person’s sketches and block prints!
ROSIE

EILA
RILEY
NAOMI
CONNOR
MIRHANDA

Assignment 2:
HAND SEWN TOTE BAGS
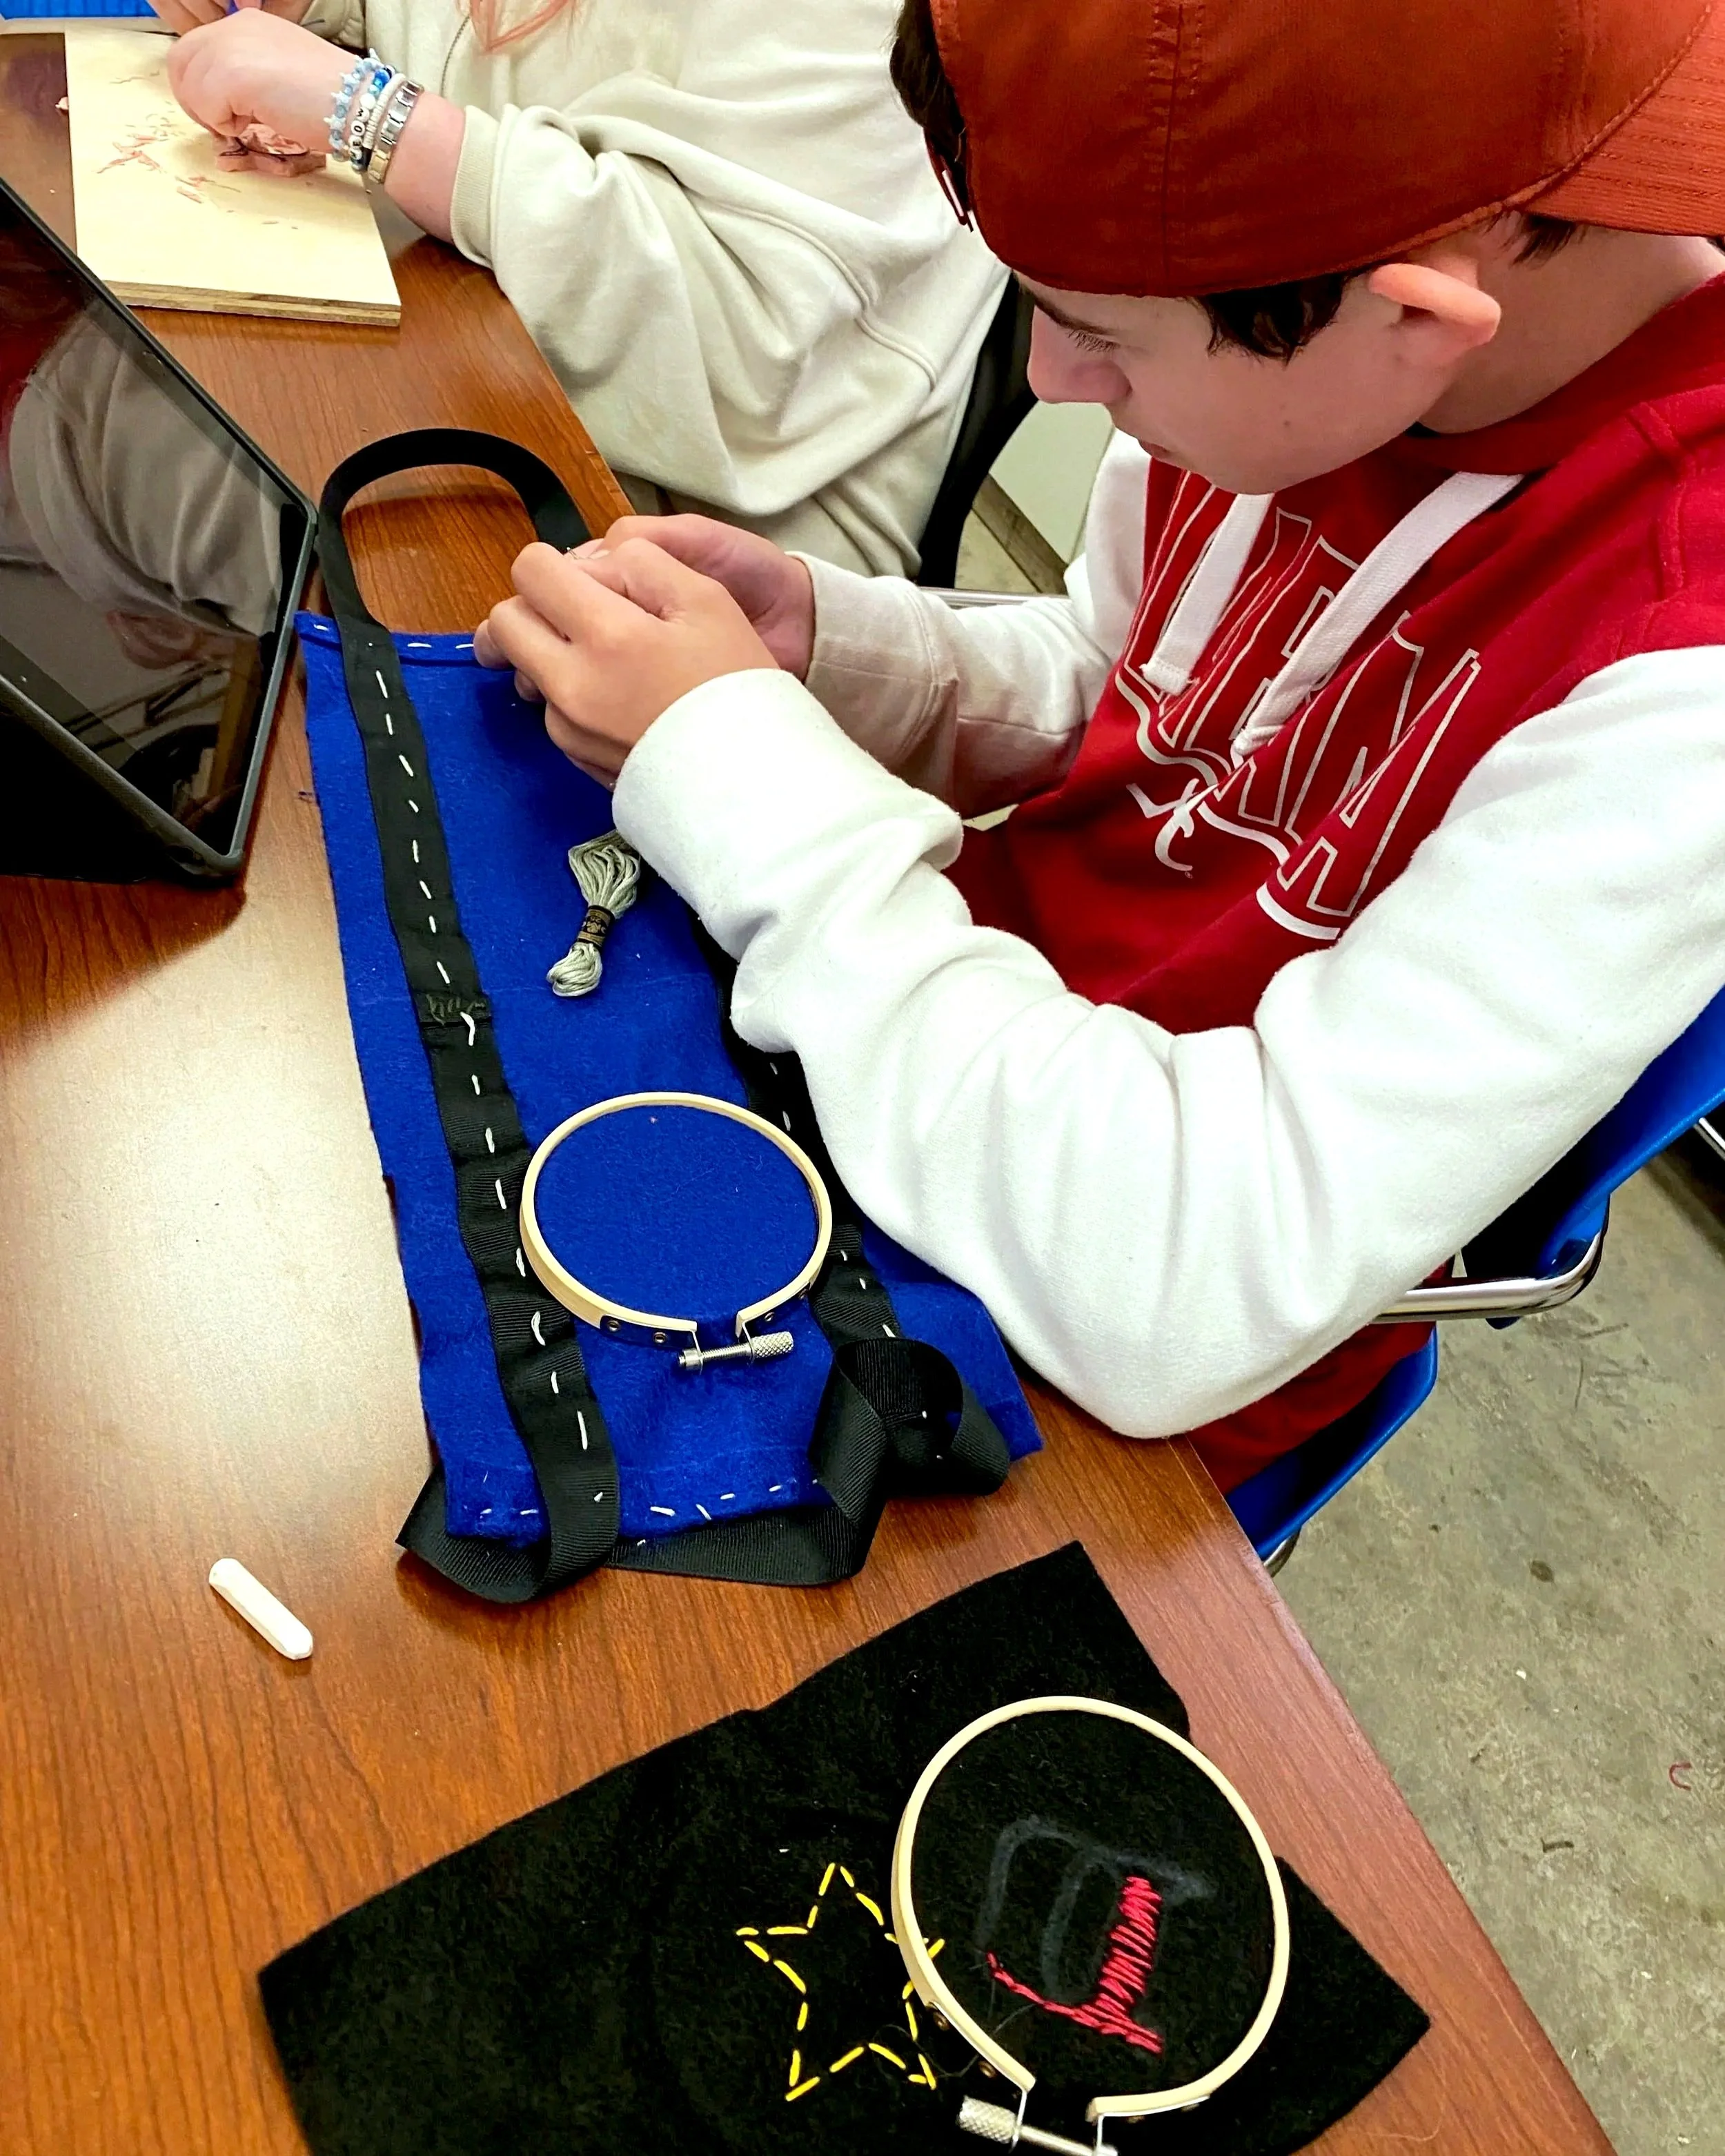
To prepare for our more complex tote bag assignment, and to get a chance to learn some hand sewing and embroidery techniques, students first made a simple tote bag by hand.
How to make a hand-sewn tote bag

For this project we are using felt so that we don’t have to create seams on all edges before starting. The folded rectangle of felt will be the size of the bag.
Although we arent stitching all seams, stitch the top edge of your fabric using running stitch or back-stitch (pictured here)— this will reinforce the edge and make the opening of the bag nice and sturdy .
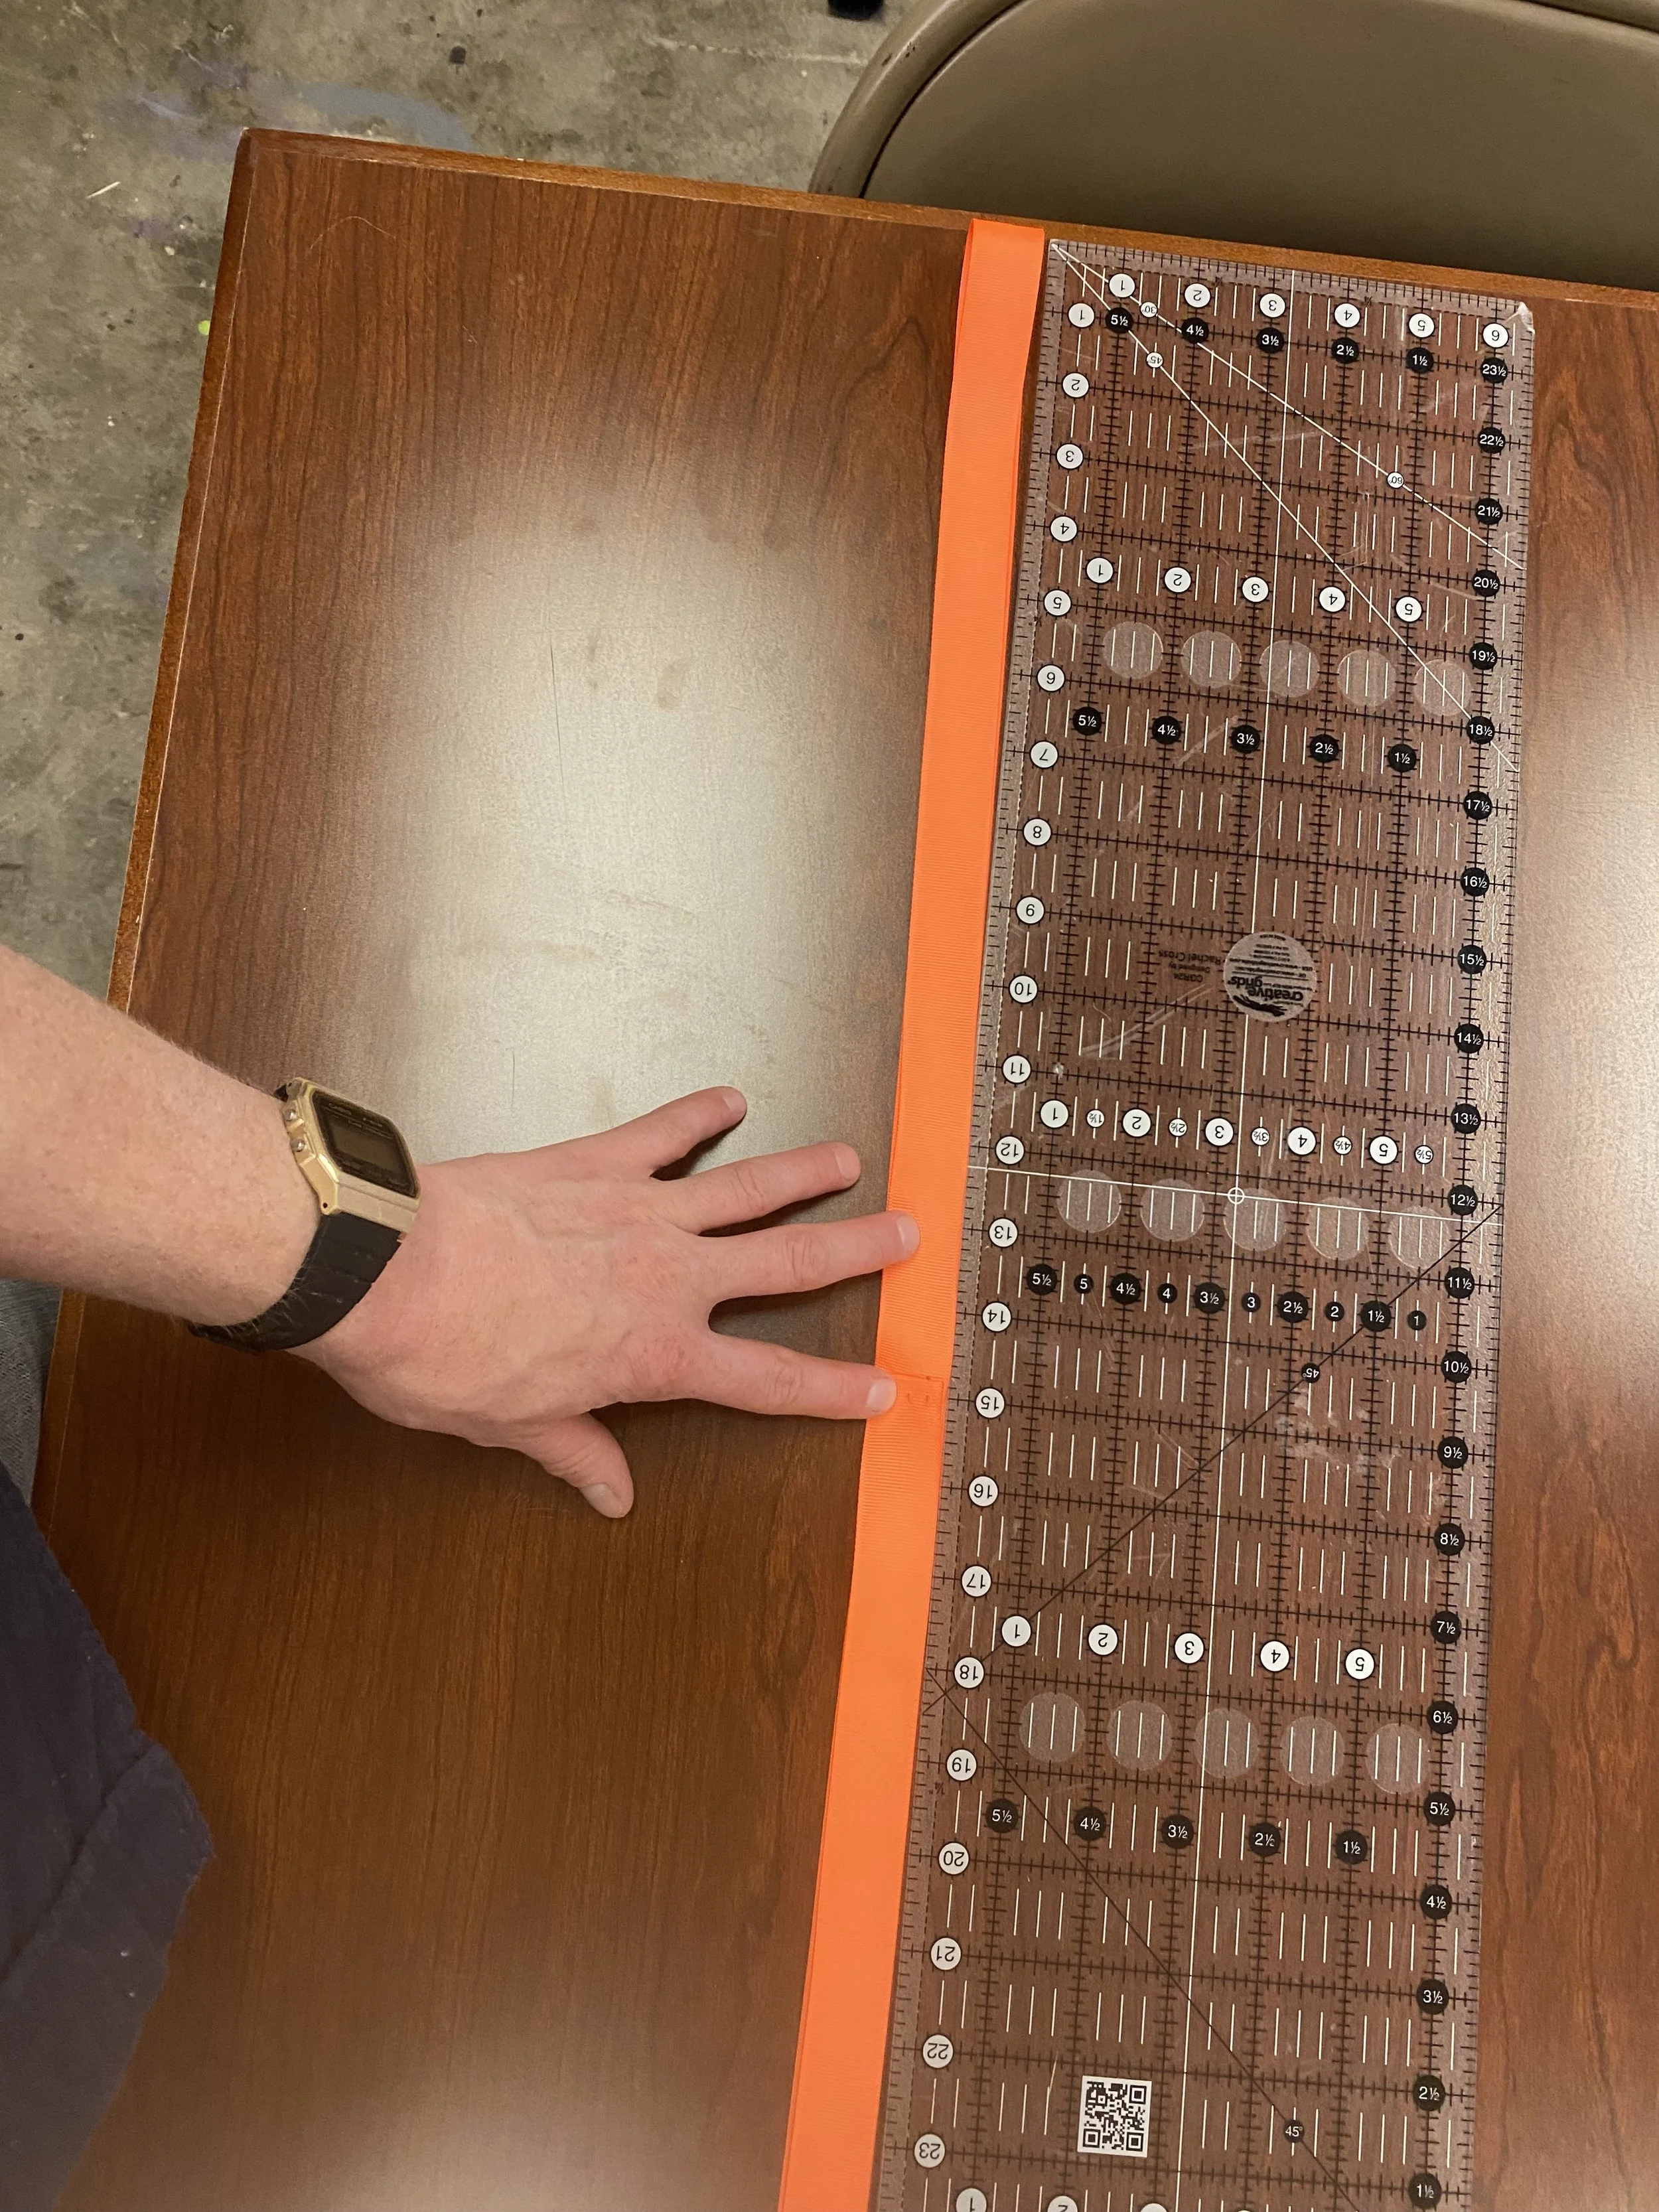
Lay your loop of ribbon flat on the work table and measure it to find the center point. To hide the stitches part of the loop, use that as one of your center lines, make a mark on the other side of the loop. If this does not make sense, look ahead a few images to see where we are going with this.

Check it out! Successfully marked center line.
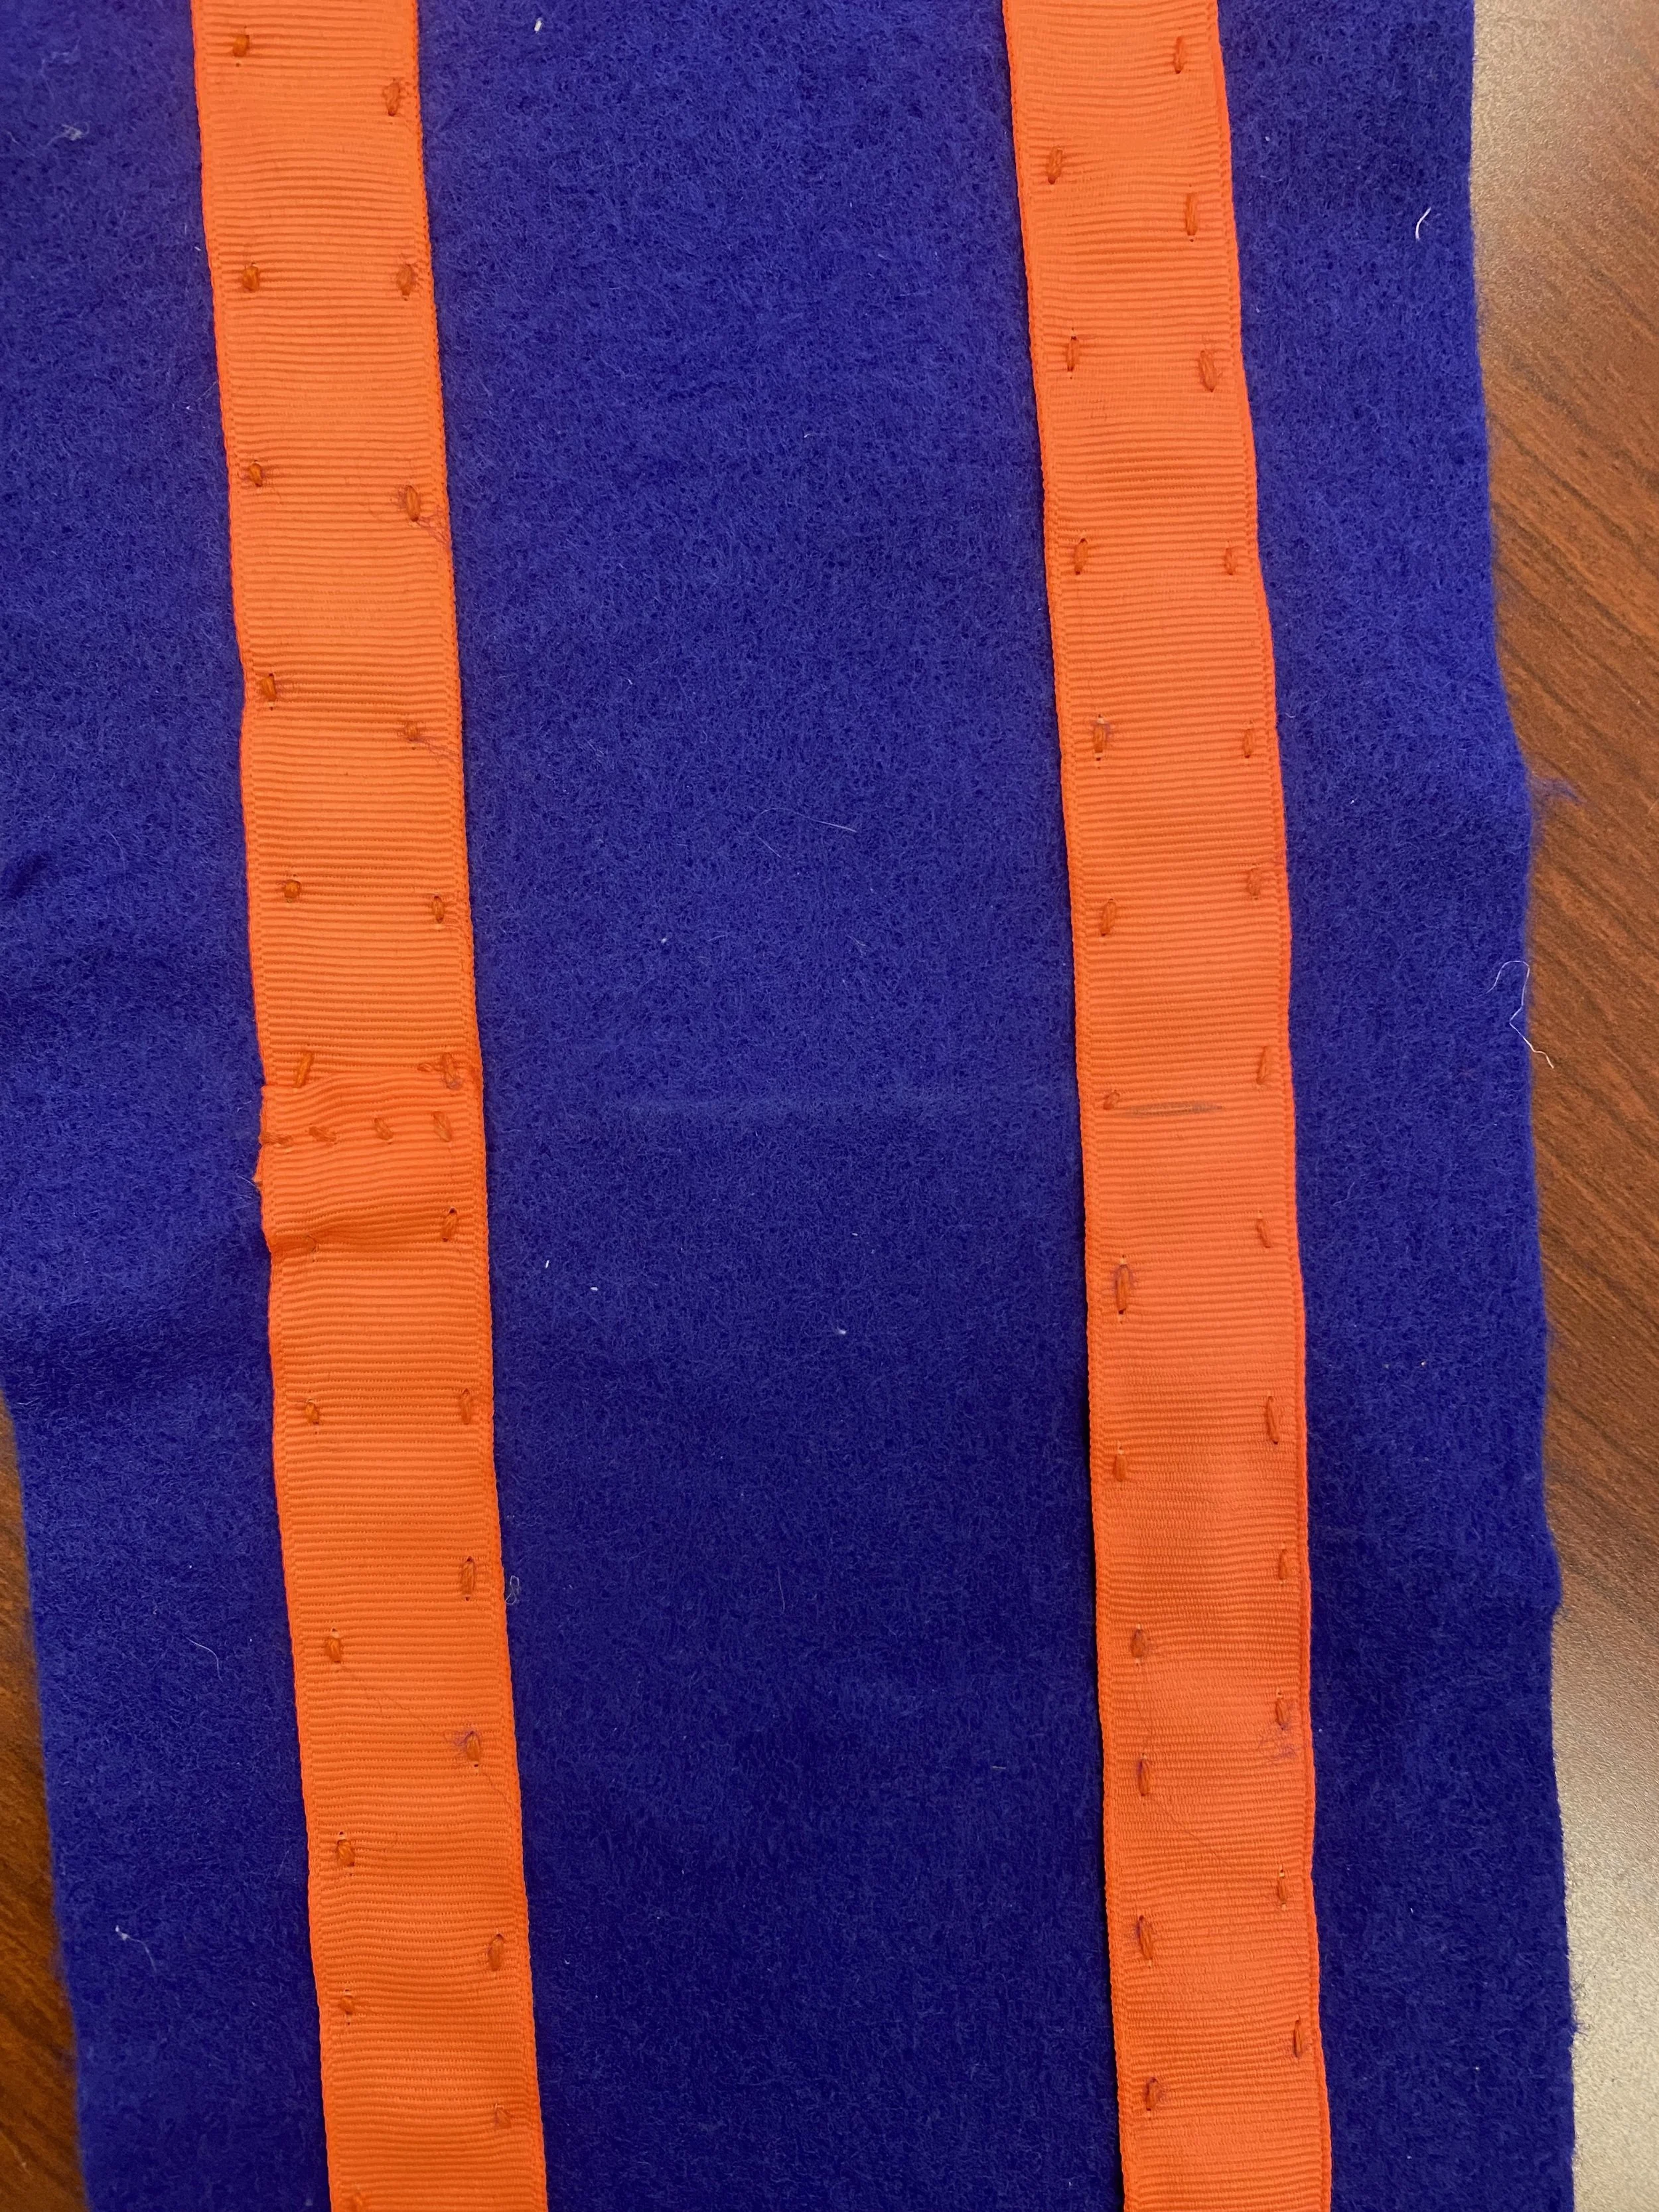
I chose to sew the ribbon with a similar color of thread, and stitched along each side so that it was more sturdy. You can use a running stitch or back-stitch for this part.

Here is my finished design. I am now ready to pin the sides of the bag together in order to use quilt-stitch to close the sides of the bag. I made a knot in my yellow thread which I was able to hide by starting the stitch at the inside corner of the bag, and then stitching along the side.
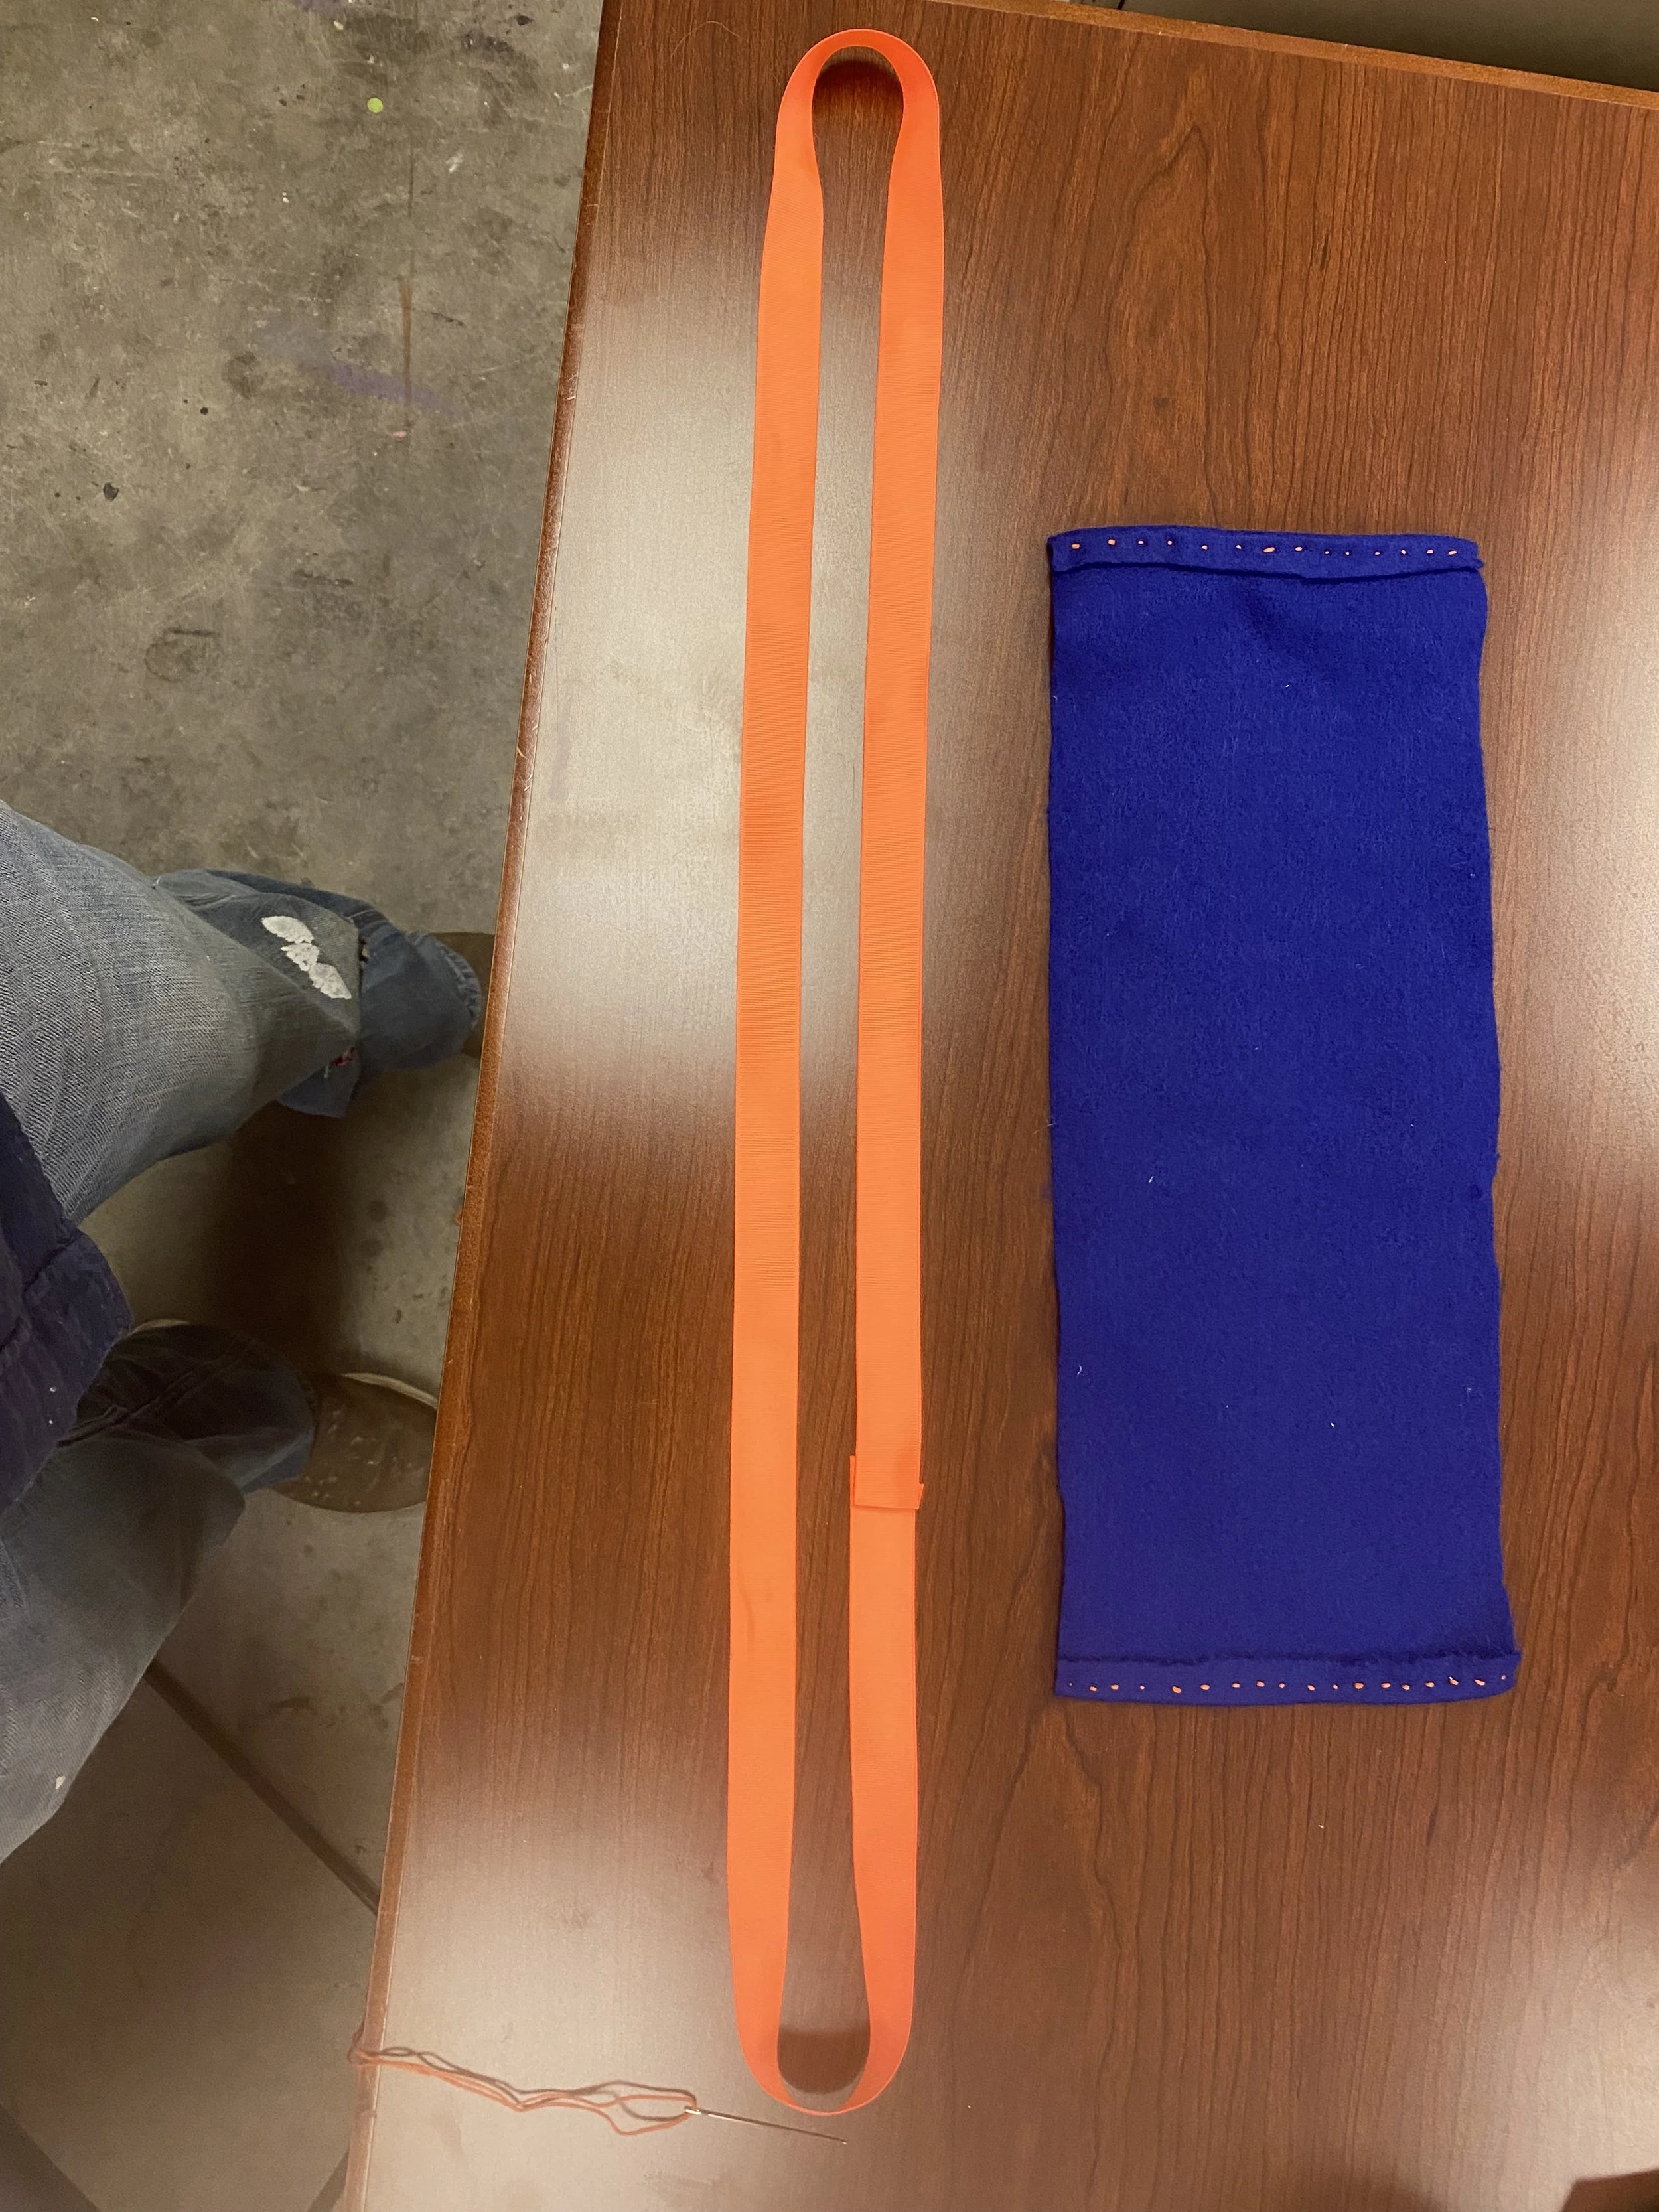
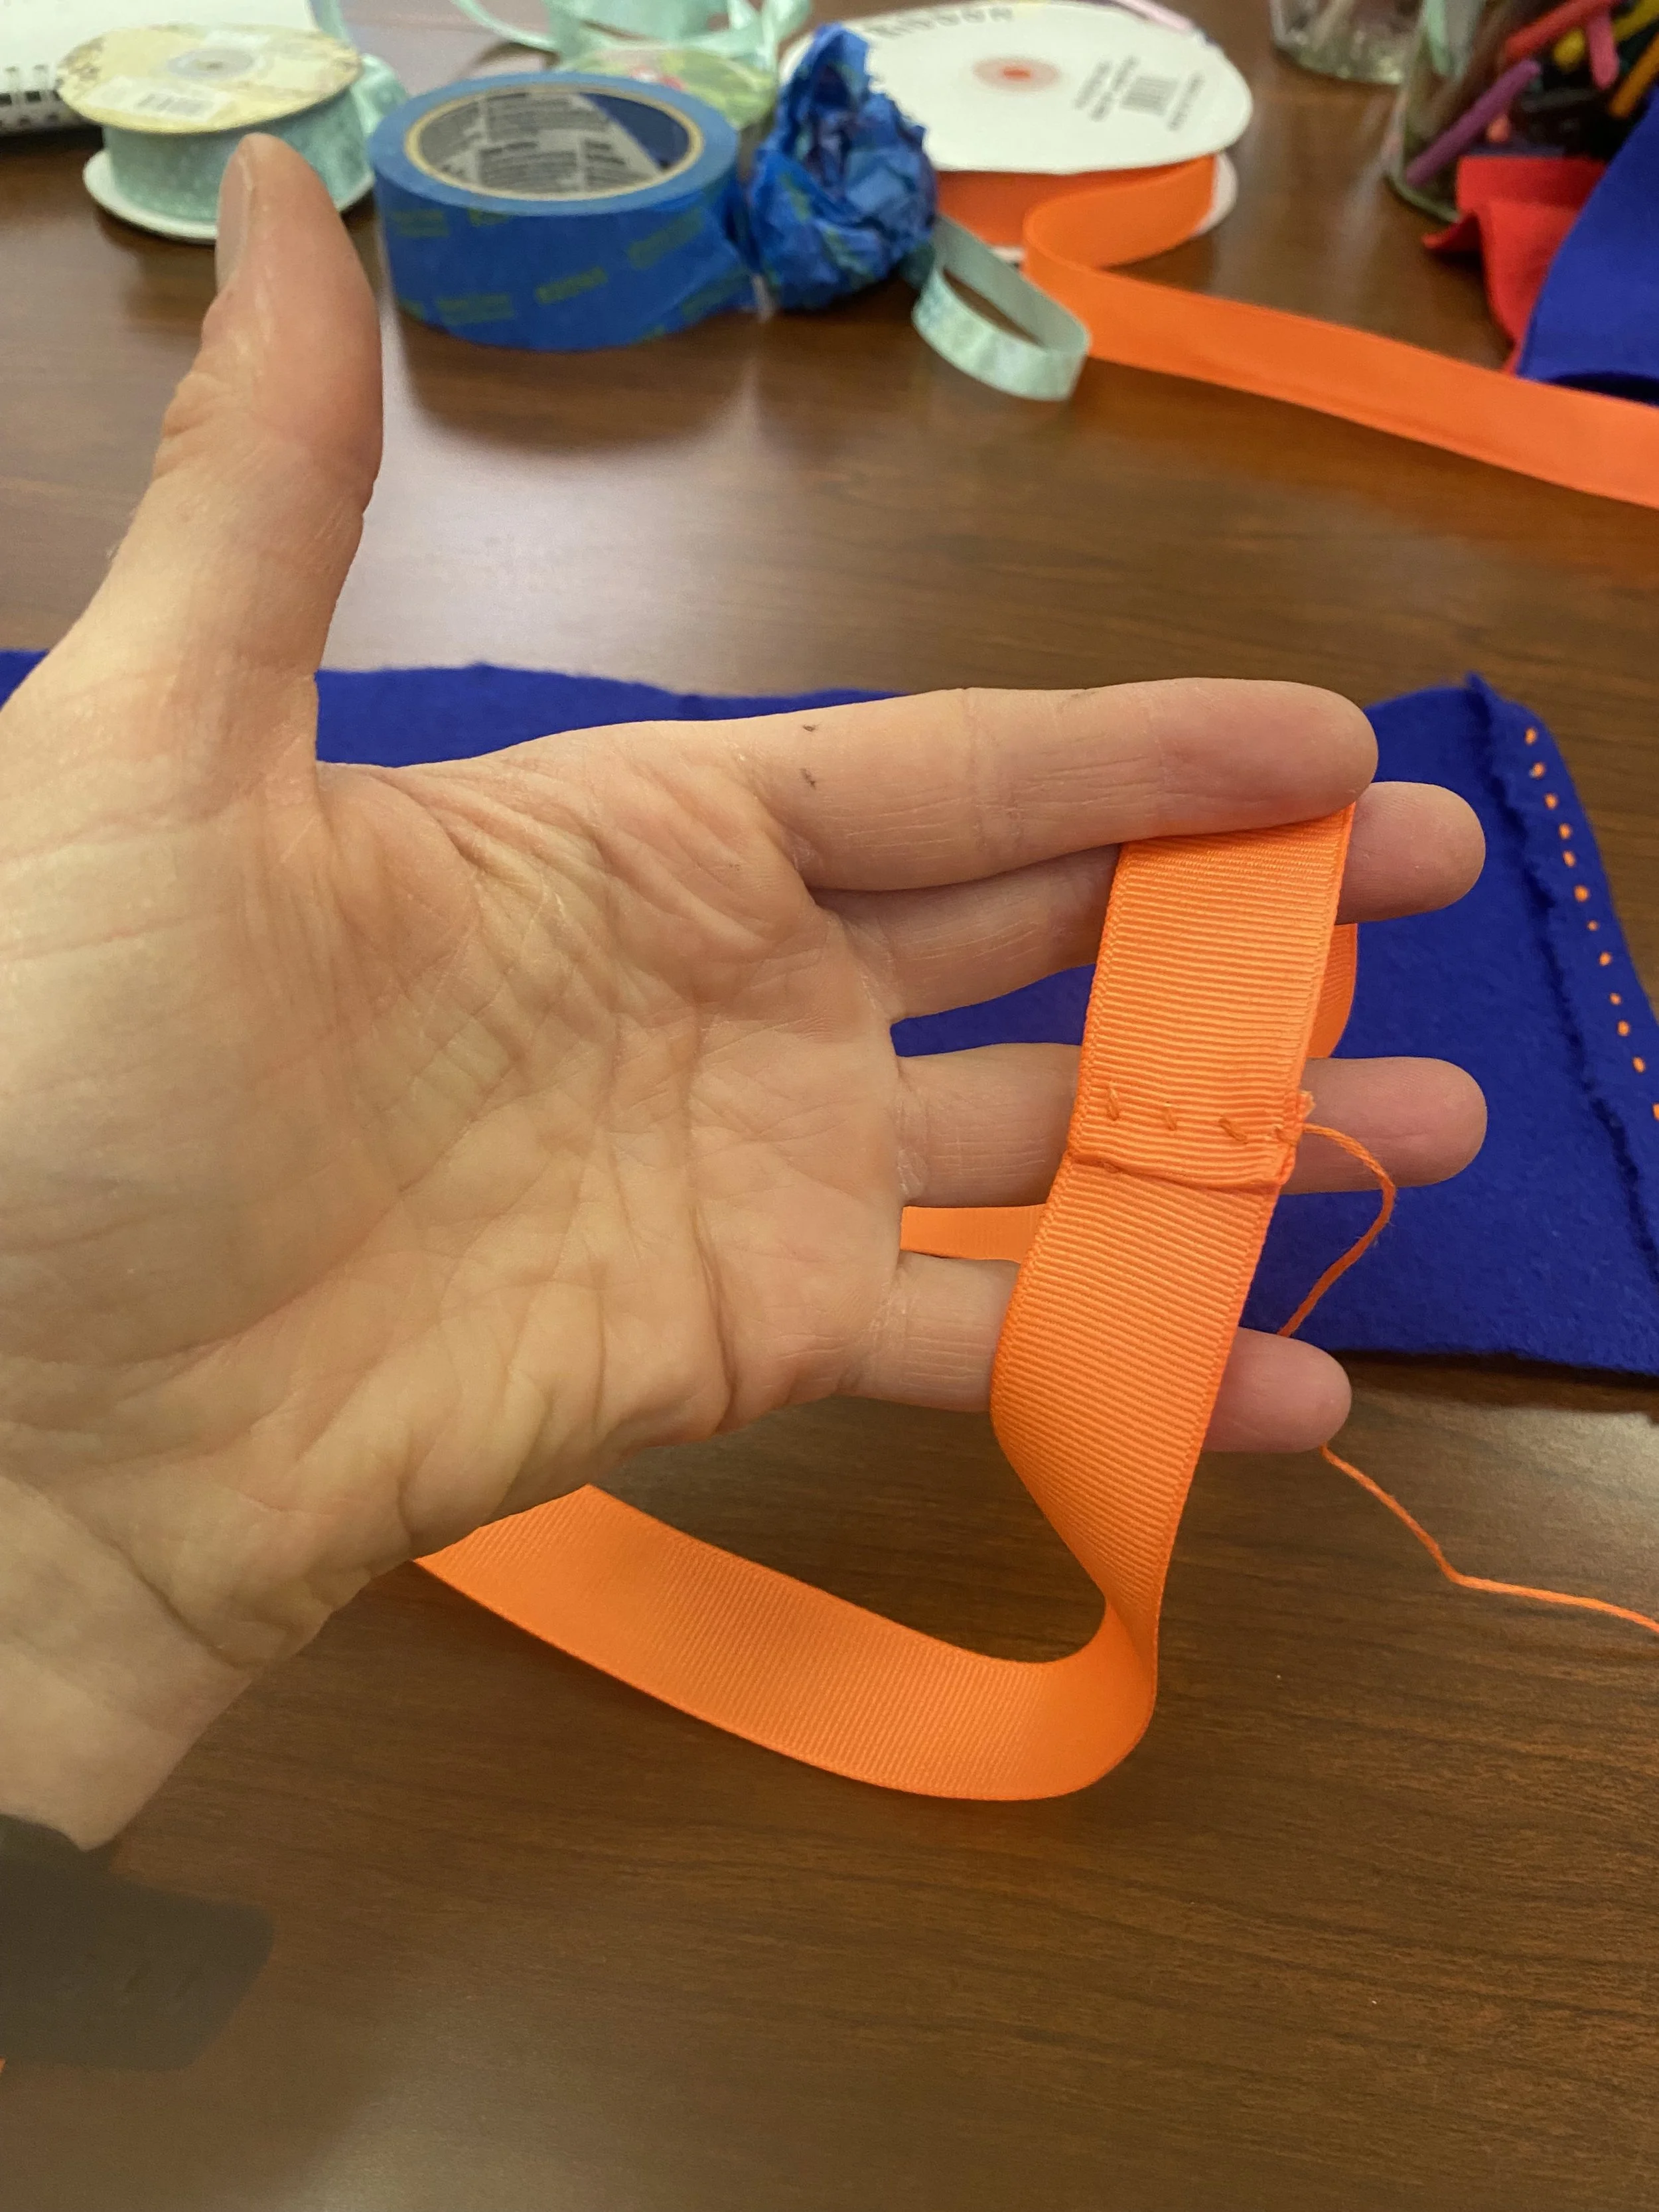
Get a piece of Ribbon and create a loop. This will become the handles of the bag AND provide structural support. Look ahead to future images to see how this will work. Make sure you have enough ribbon to create long enough handles.
Check it out! Successfully marked center point :)

Here is where it all comes together… it is much easier to sew the handle onto your bag while it is laying flat on the table. I forgot to take a photo, but make sure to pin the ribbon in place before you start stitching. Make sure the ribbon is evenly spaced from the edge. This photo shows a sewn on ribbon.
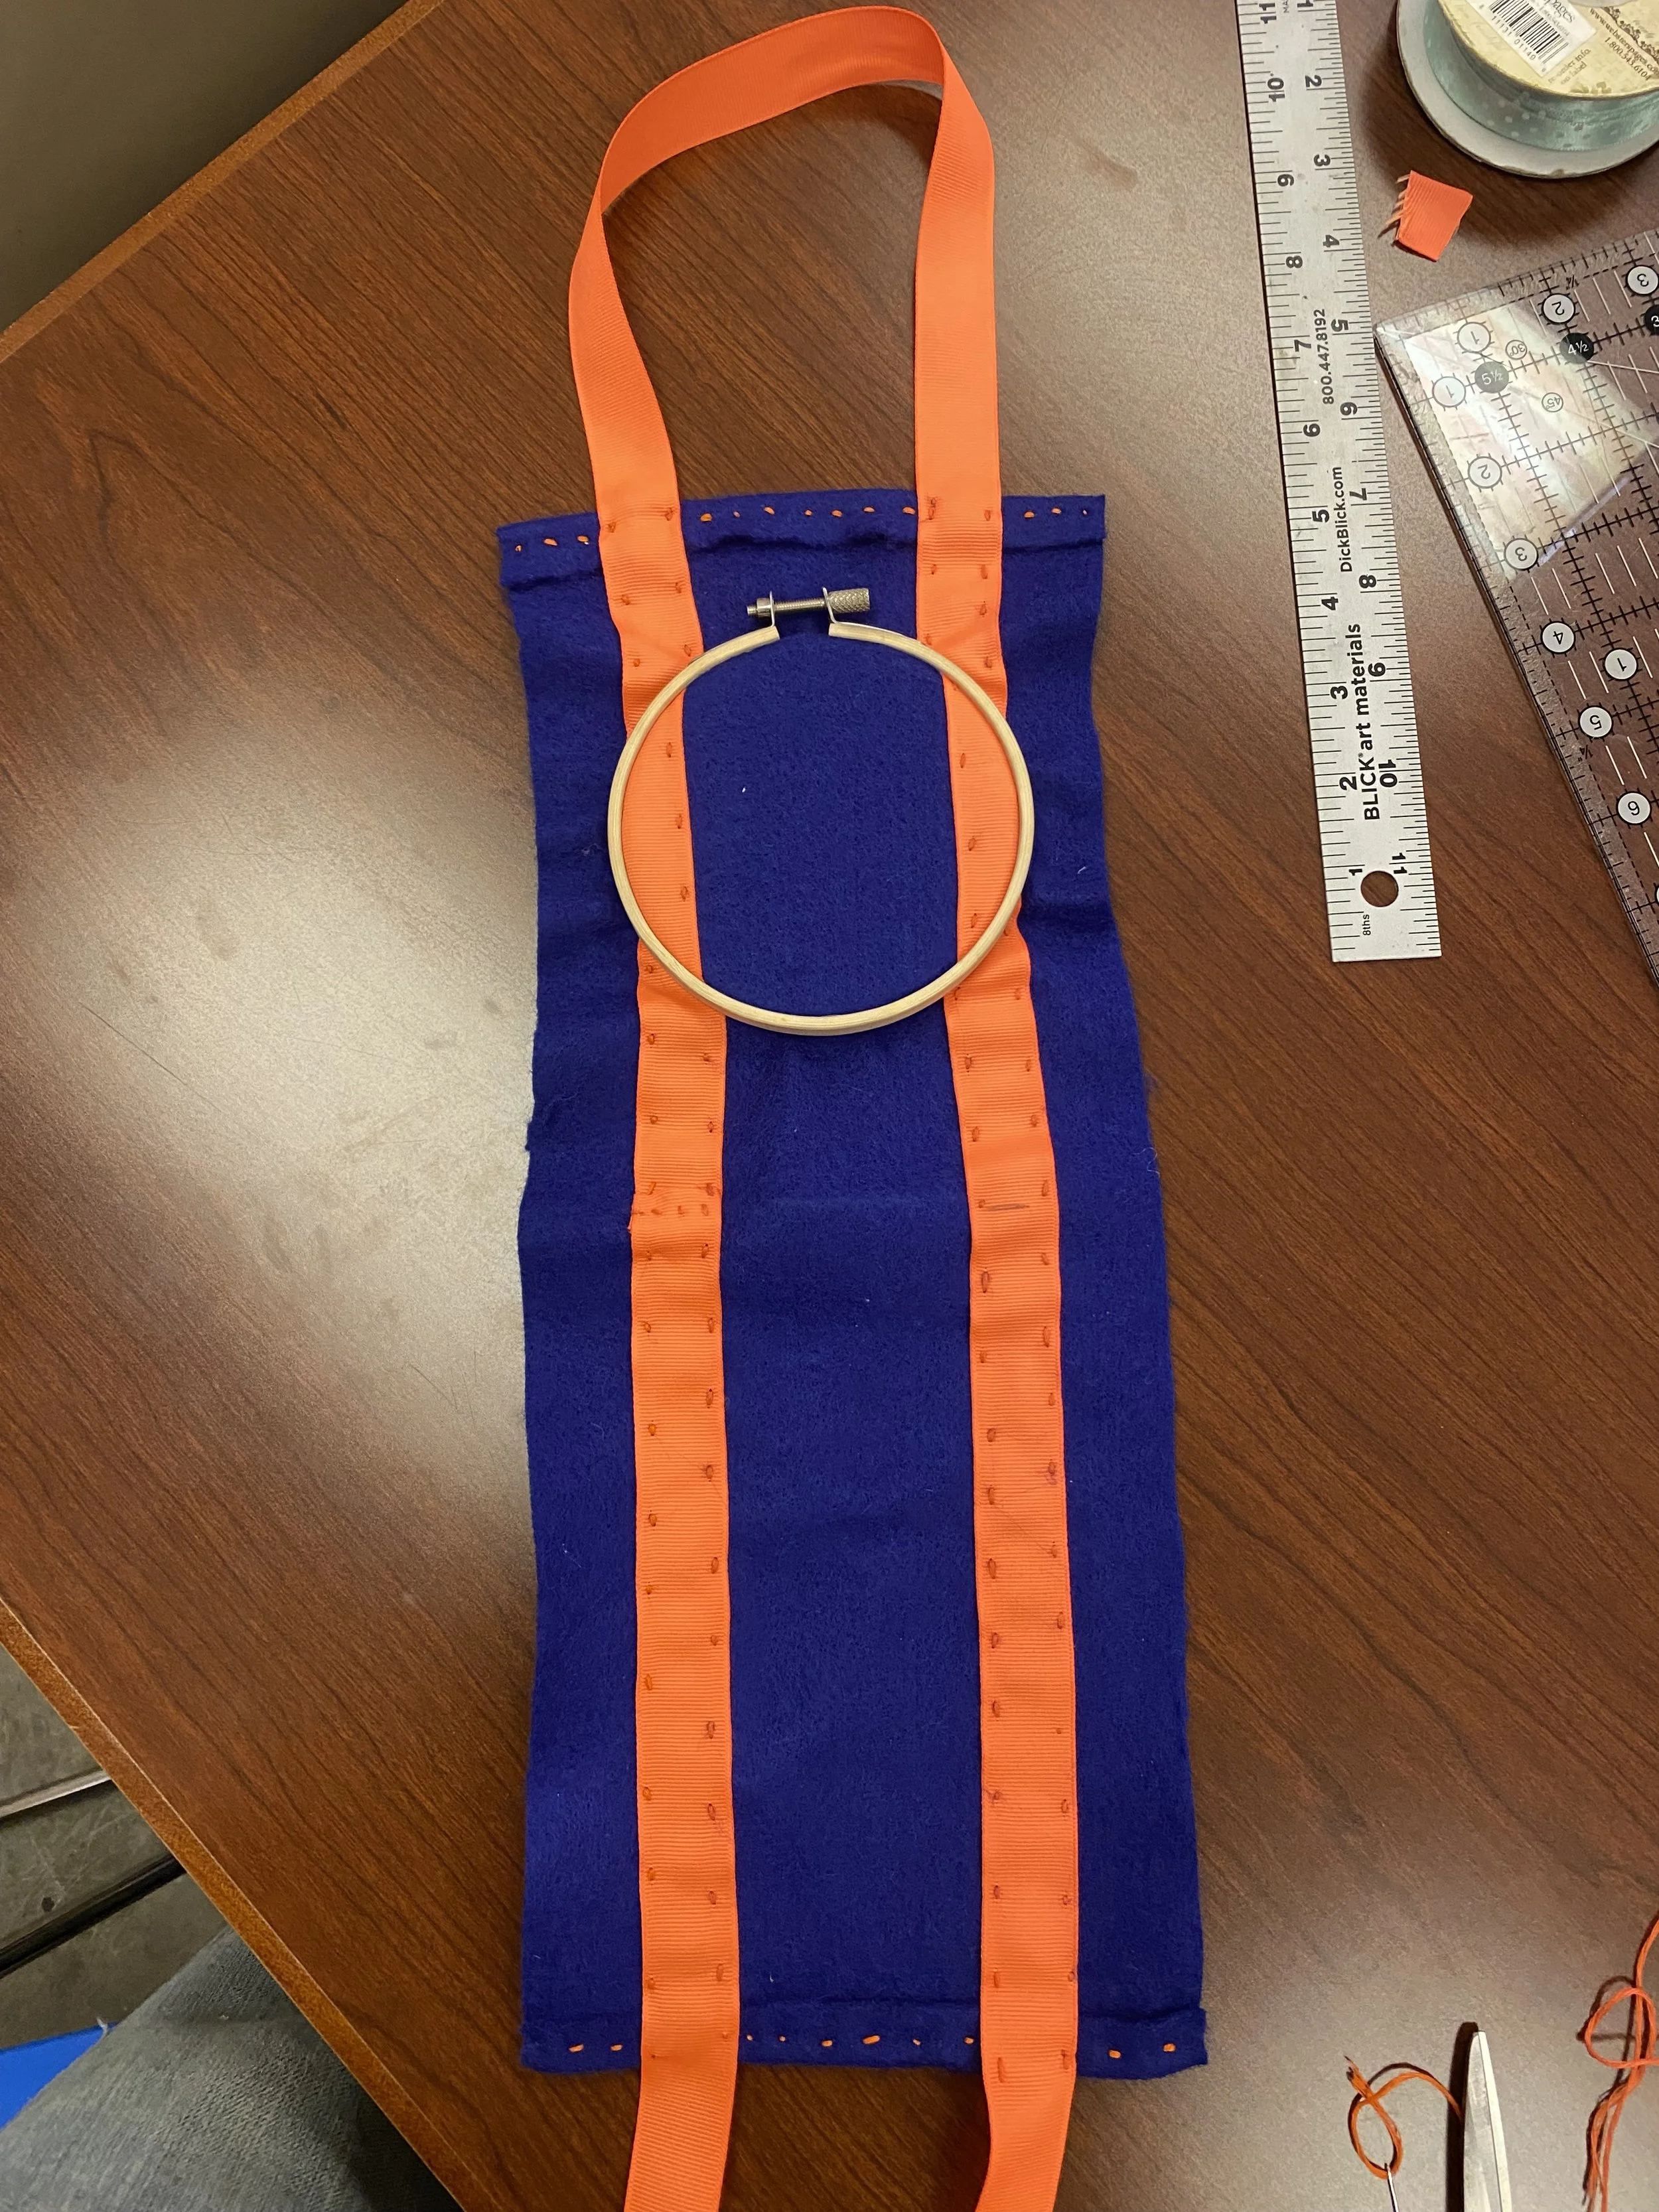
Before you sew the sides of your bag together, try doing some decoration using embroidery. I am using an embroidery hoop here to make it easier to sew a design.
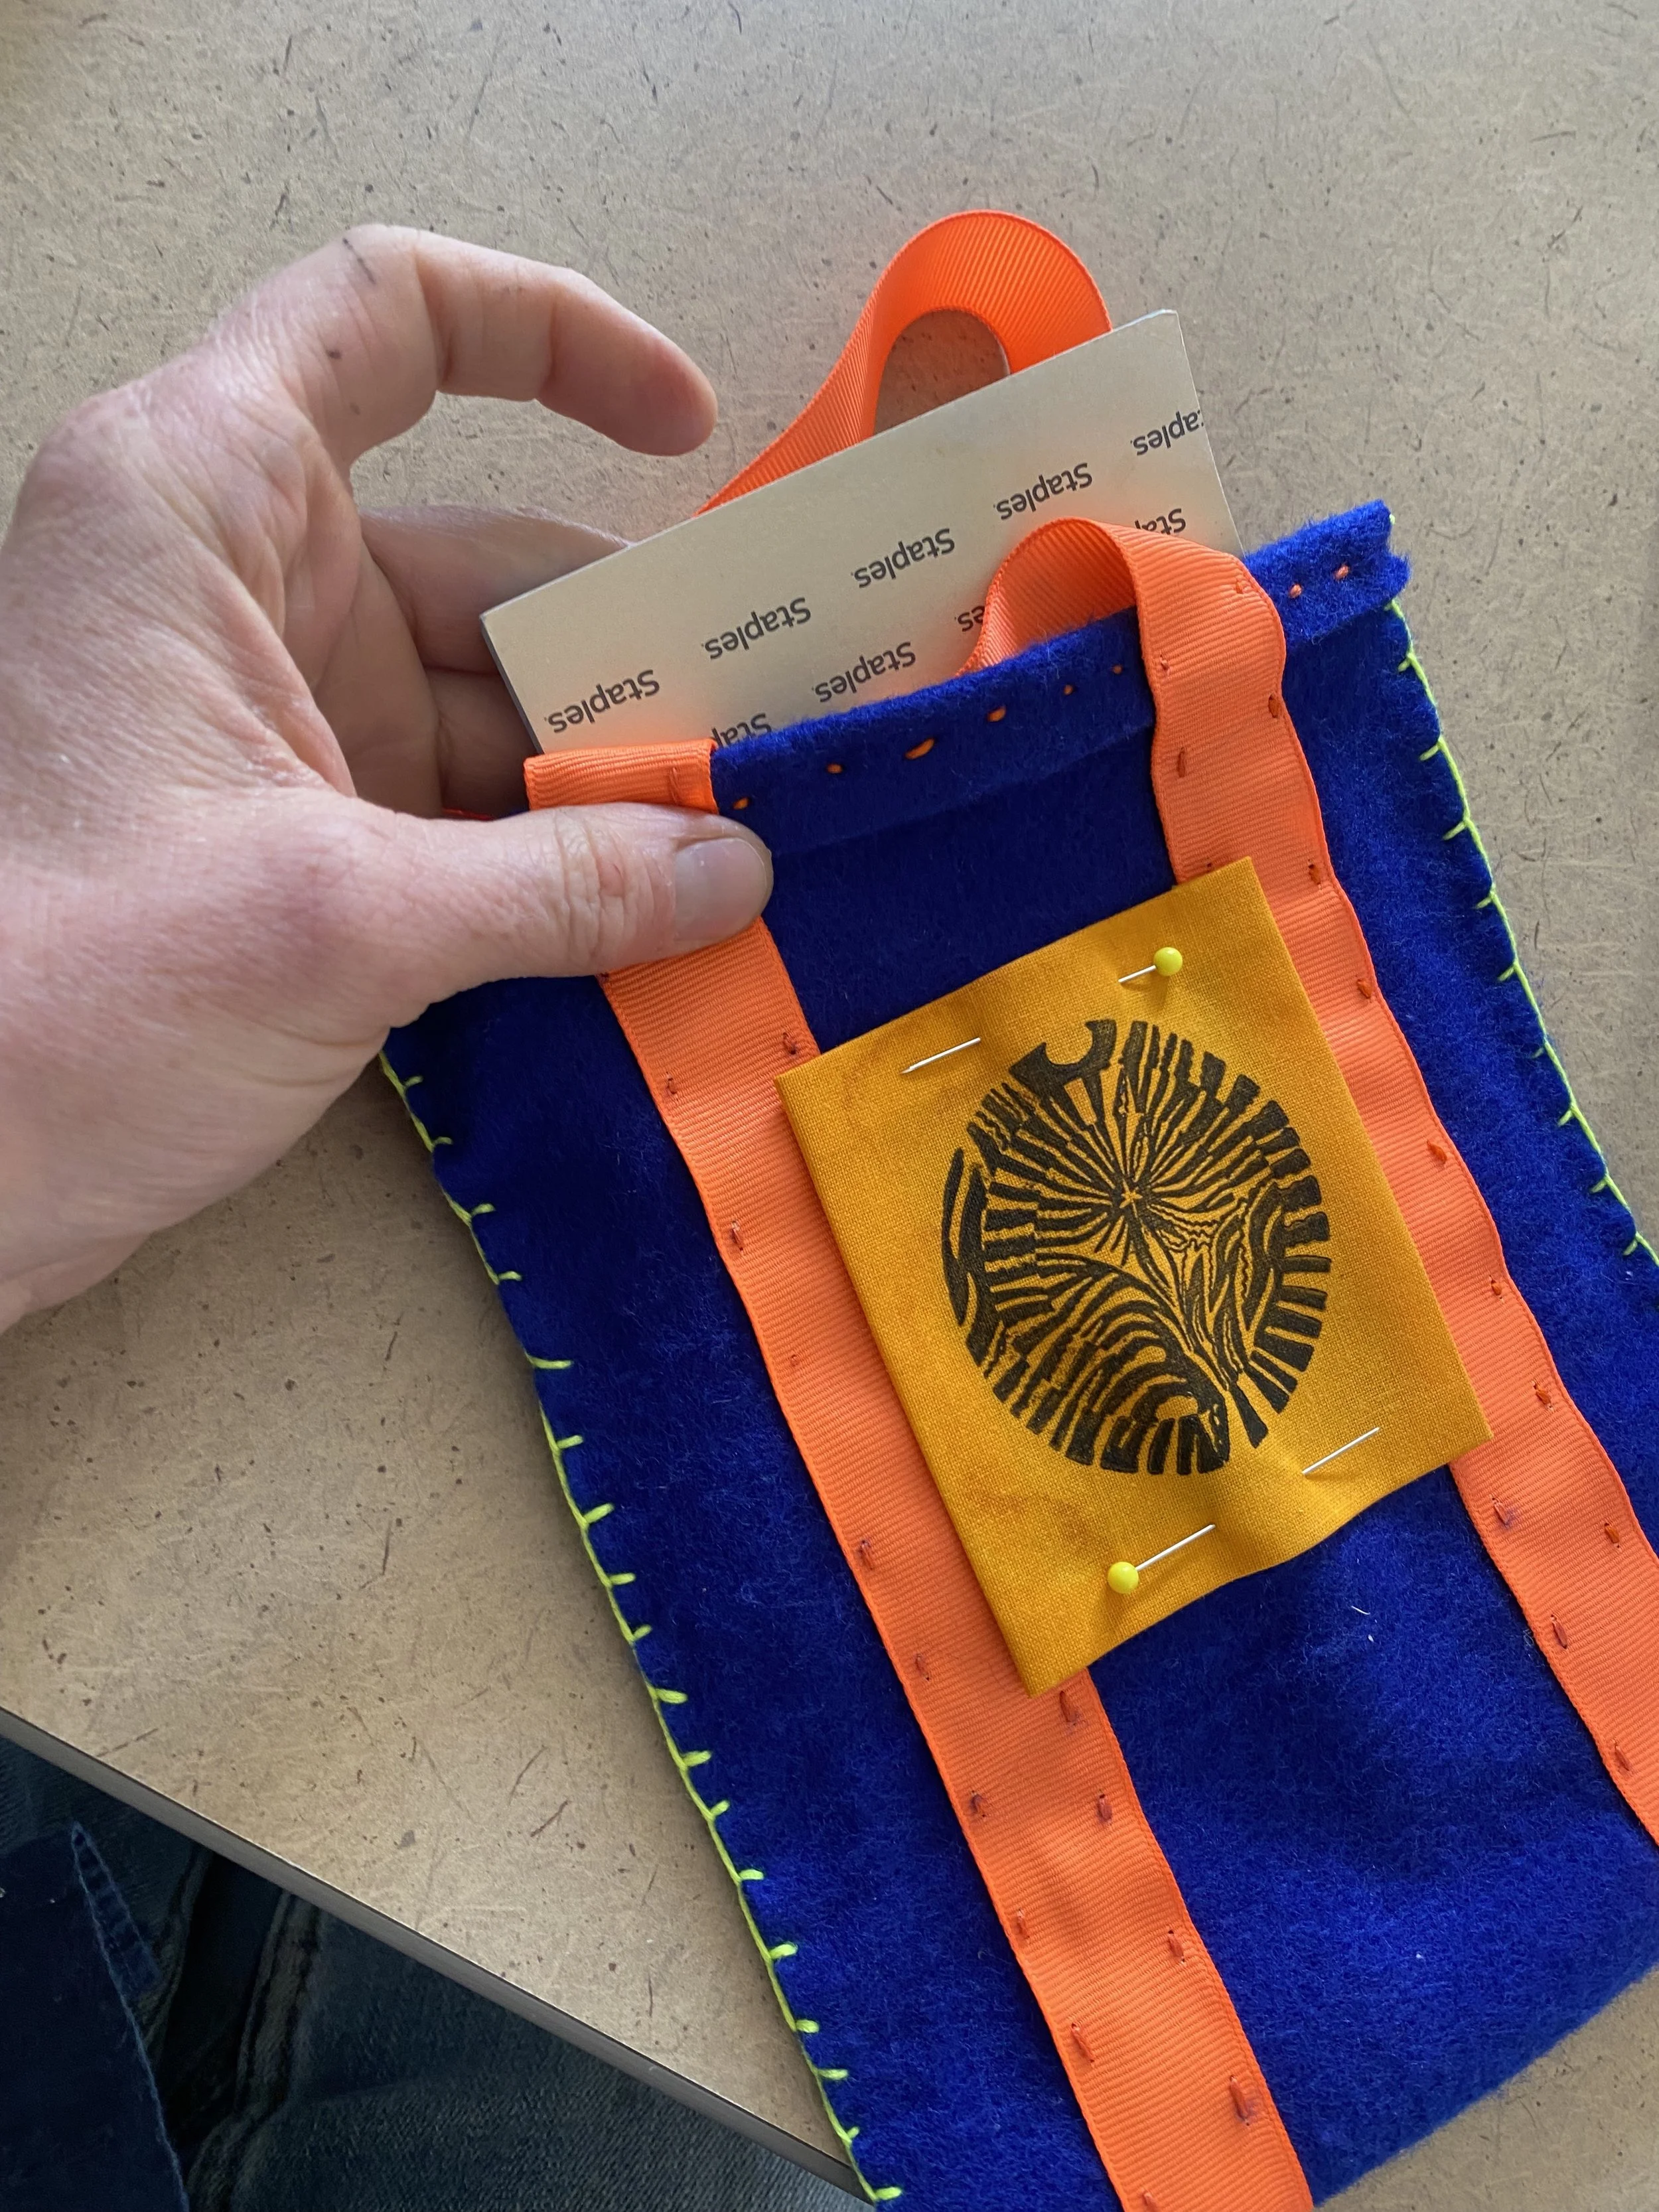
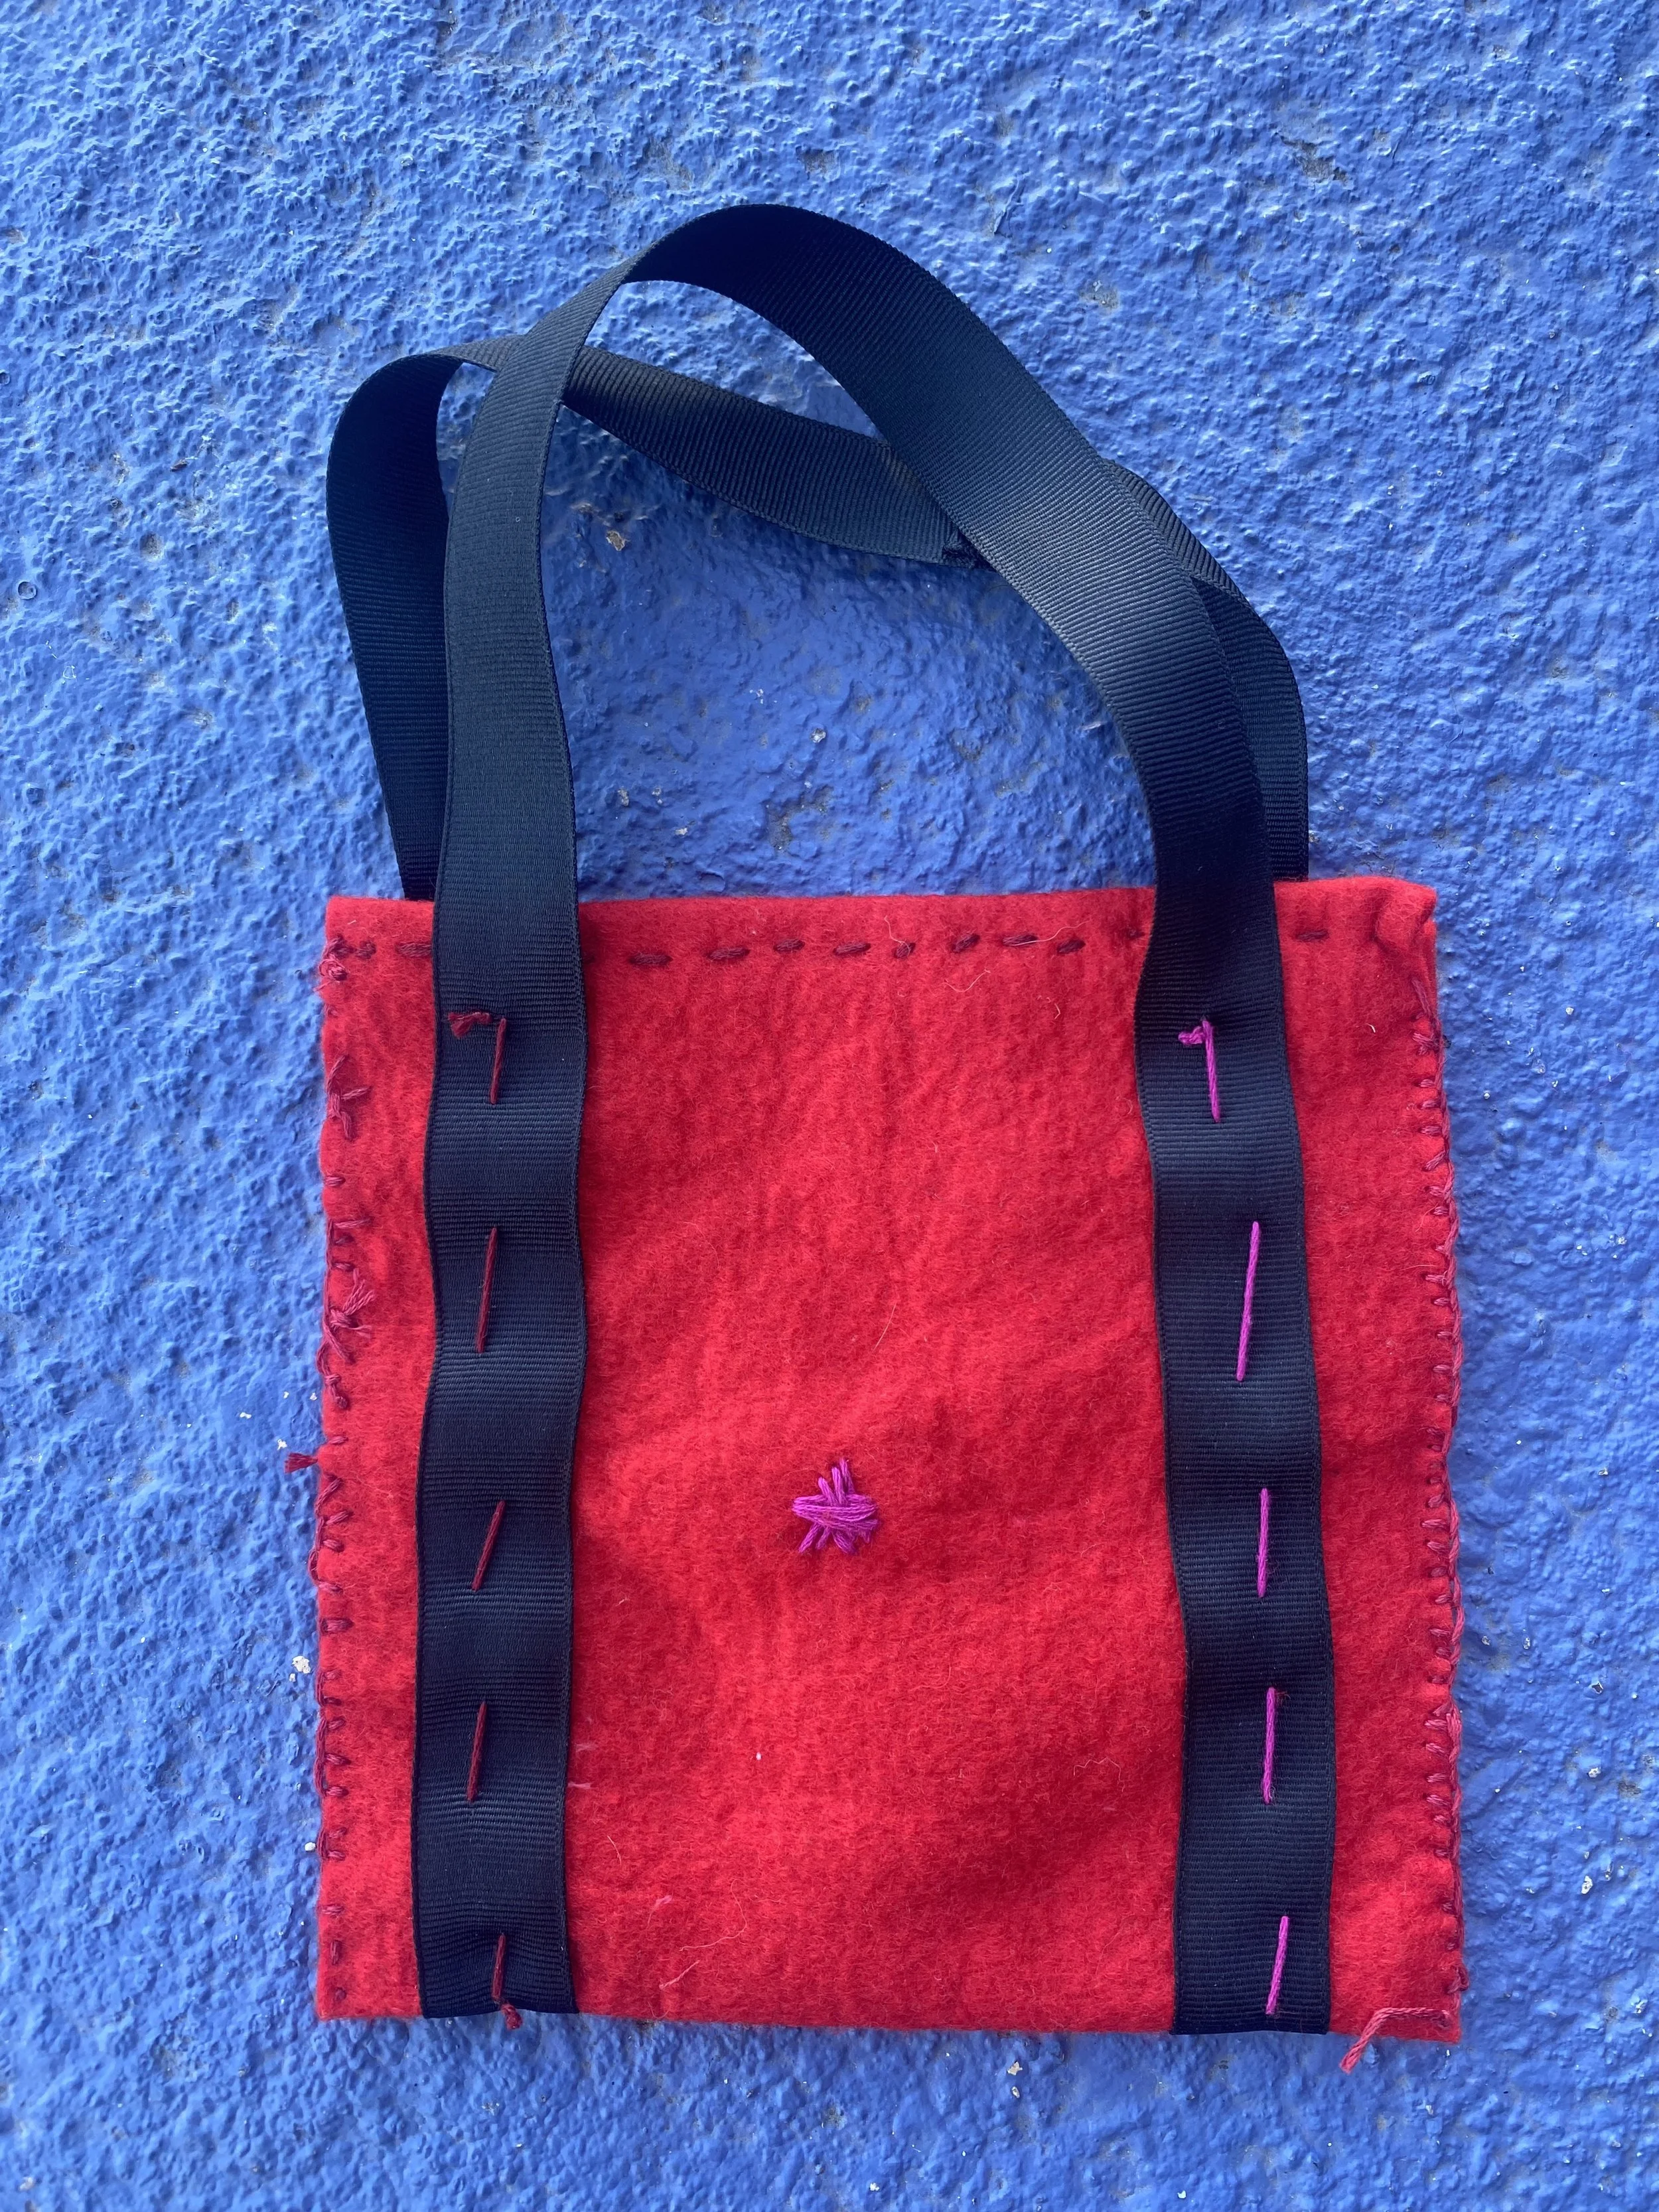
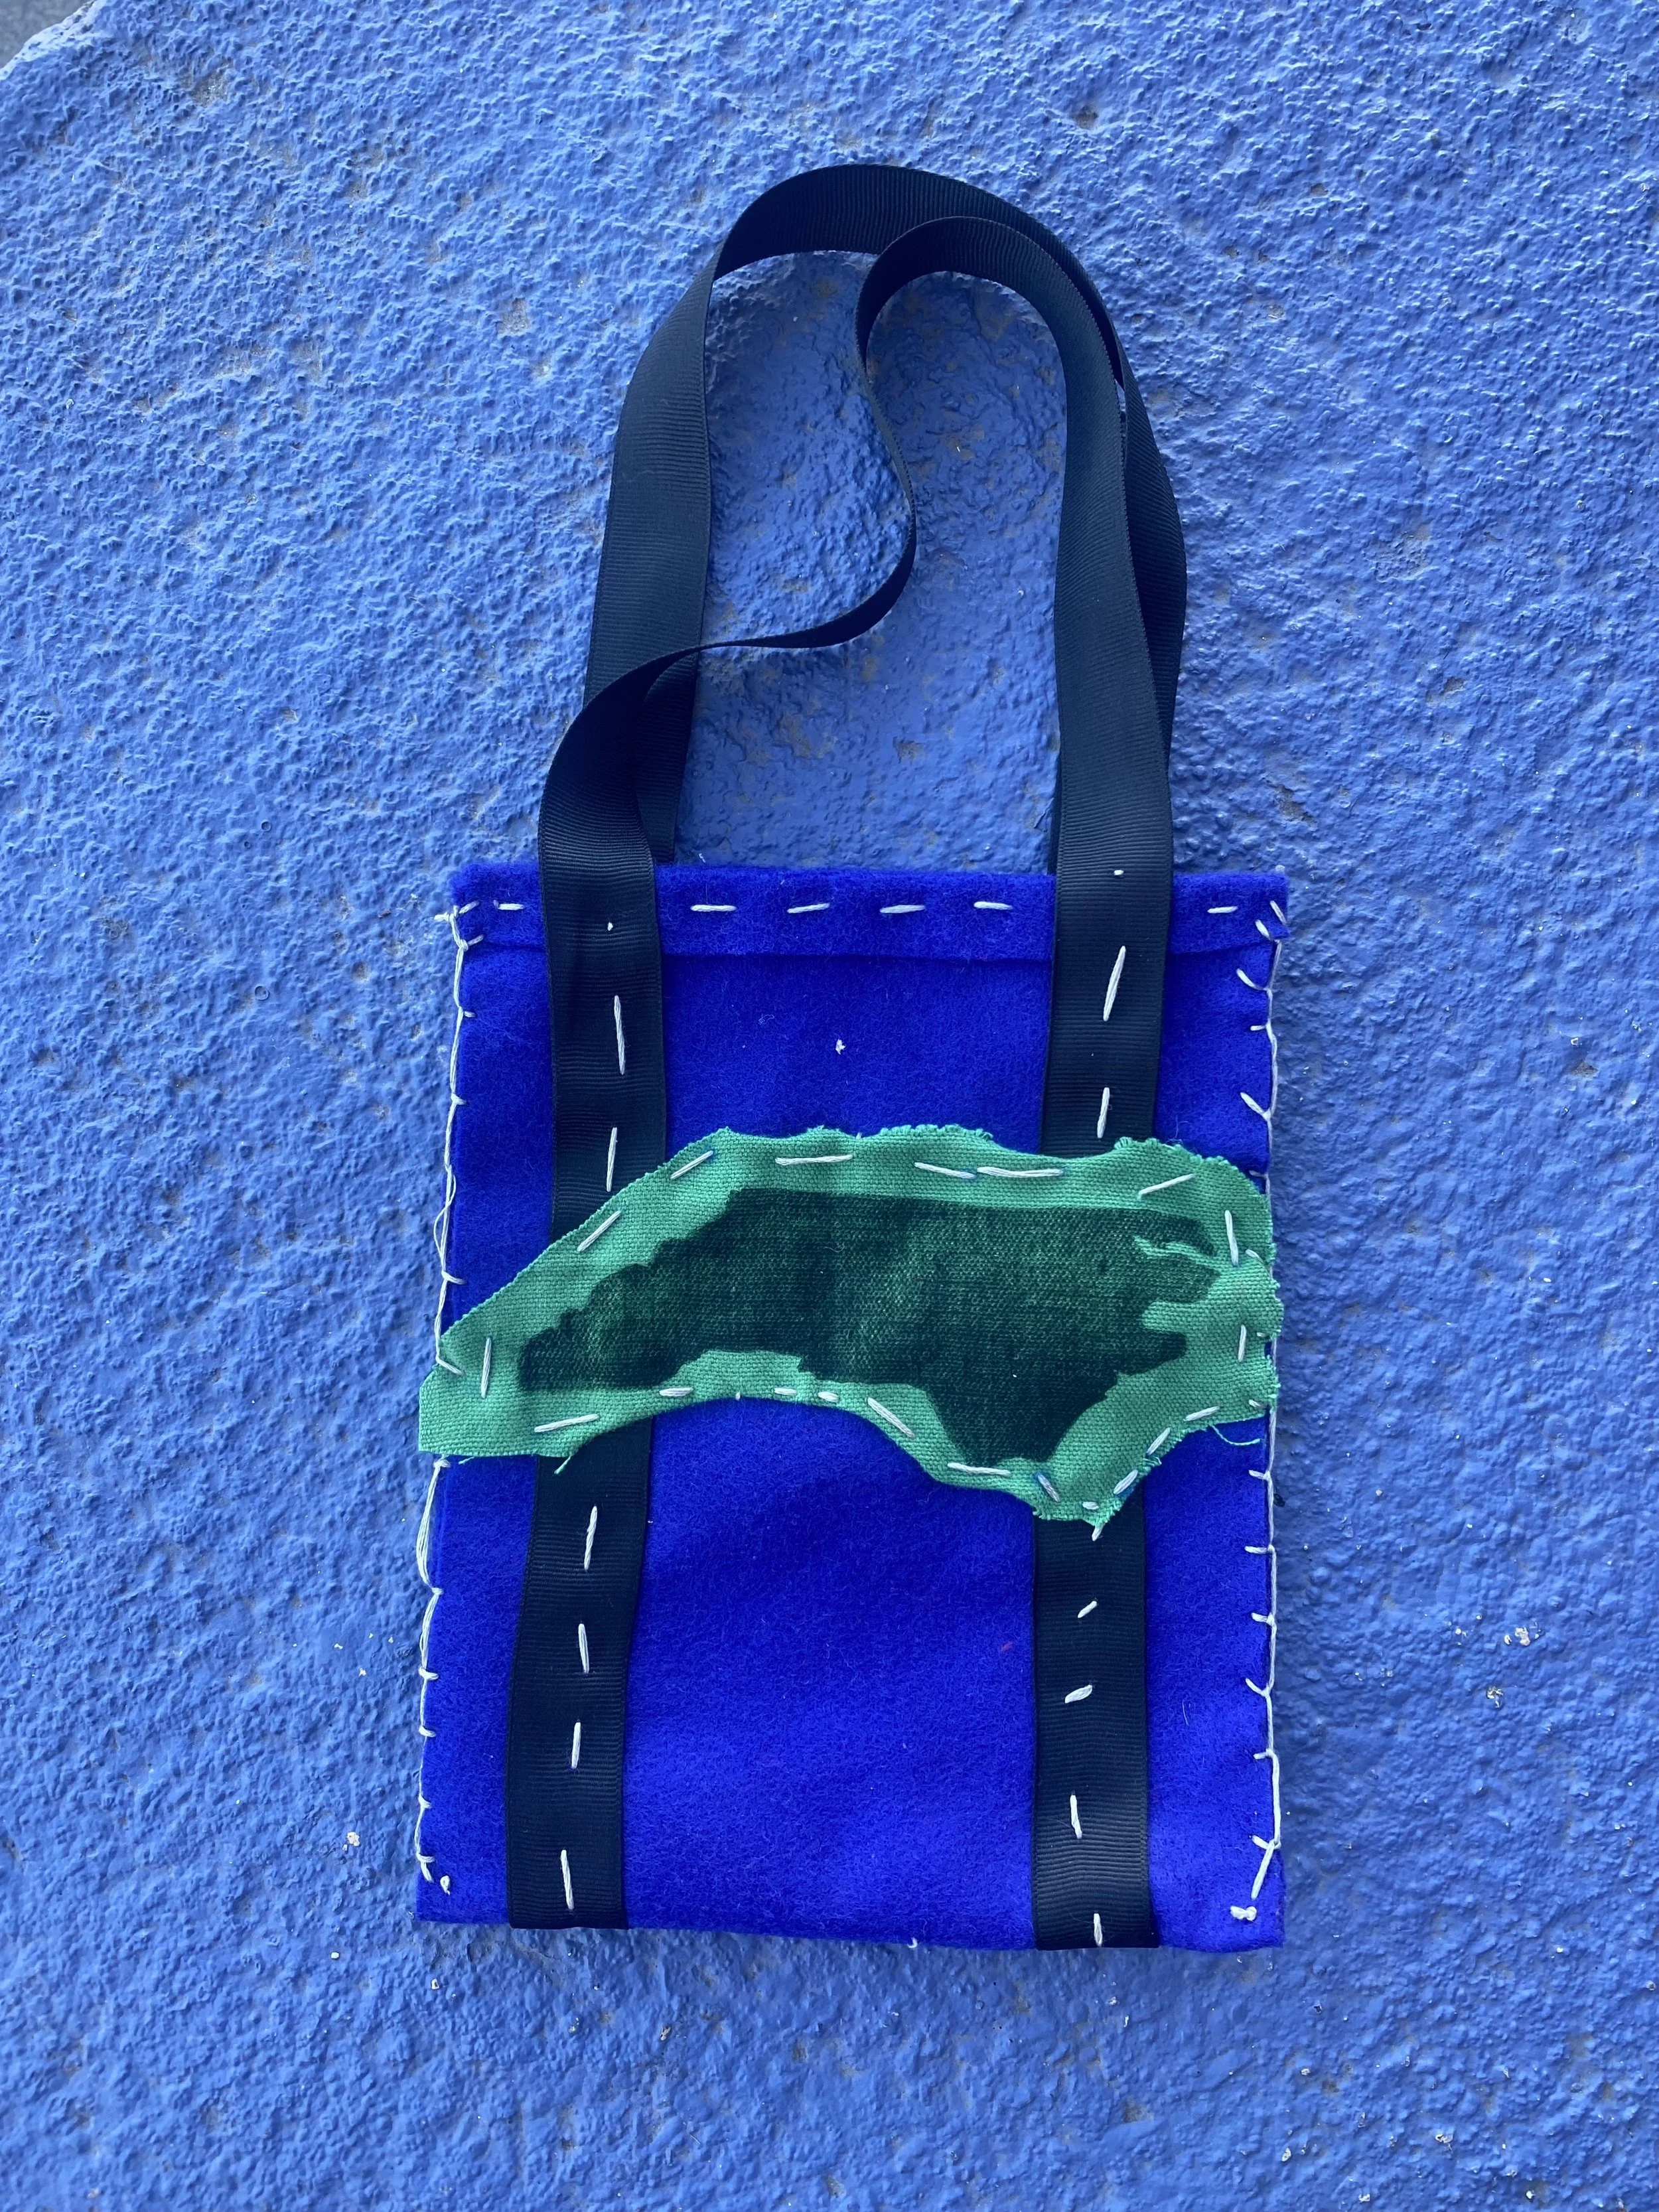
Here is an image of the bag with the completed running stitch. I decided to add a patch after finishing the quilt stitch. In order to prevent myself from accidentally sewing the bag together, I put a piece of cardboard inside to keep from sewing all the way through. I pinned my patch and then used some decorated stitches to attach it. Yay!
Sew your loop of ribbon. Try to find thread in a similar color if you don’t want your stitches to be visible. You can use running stitch and tie a knot when you finish to keep things in place.

Use chalk to make the fold of your bag. This is the center line of your rectangle of fabric. We will use this line to put the ribbon in the correct spot so that you get even handles.

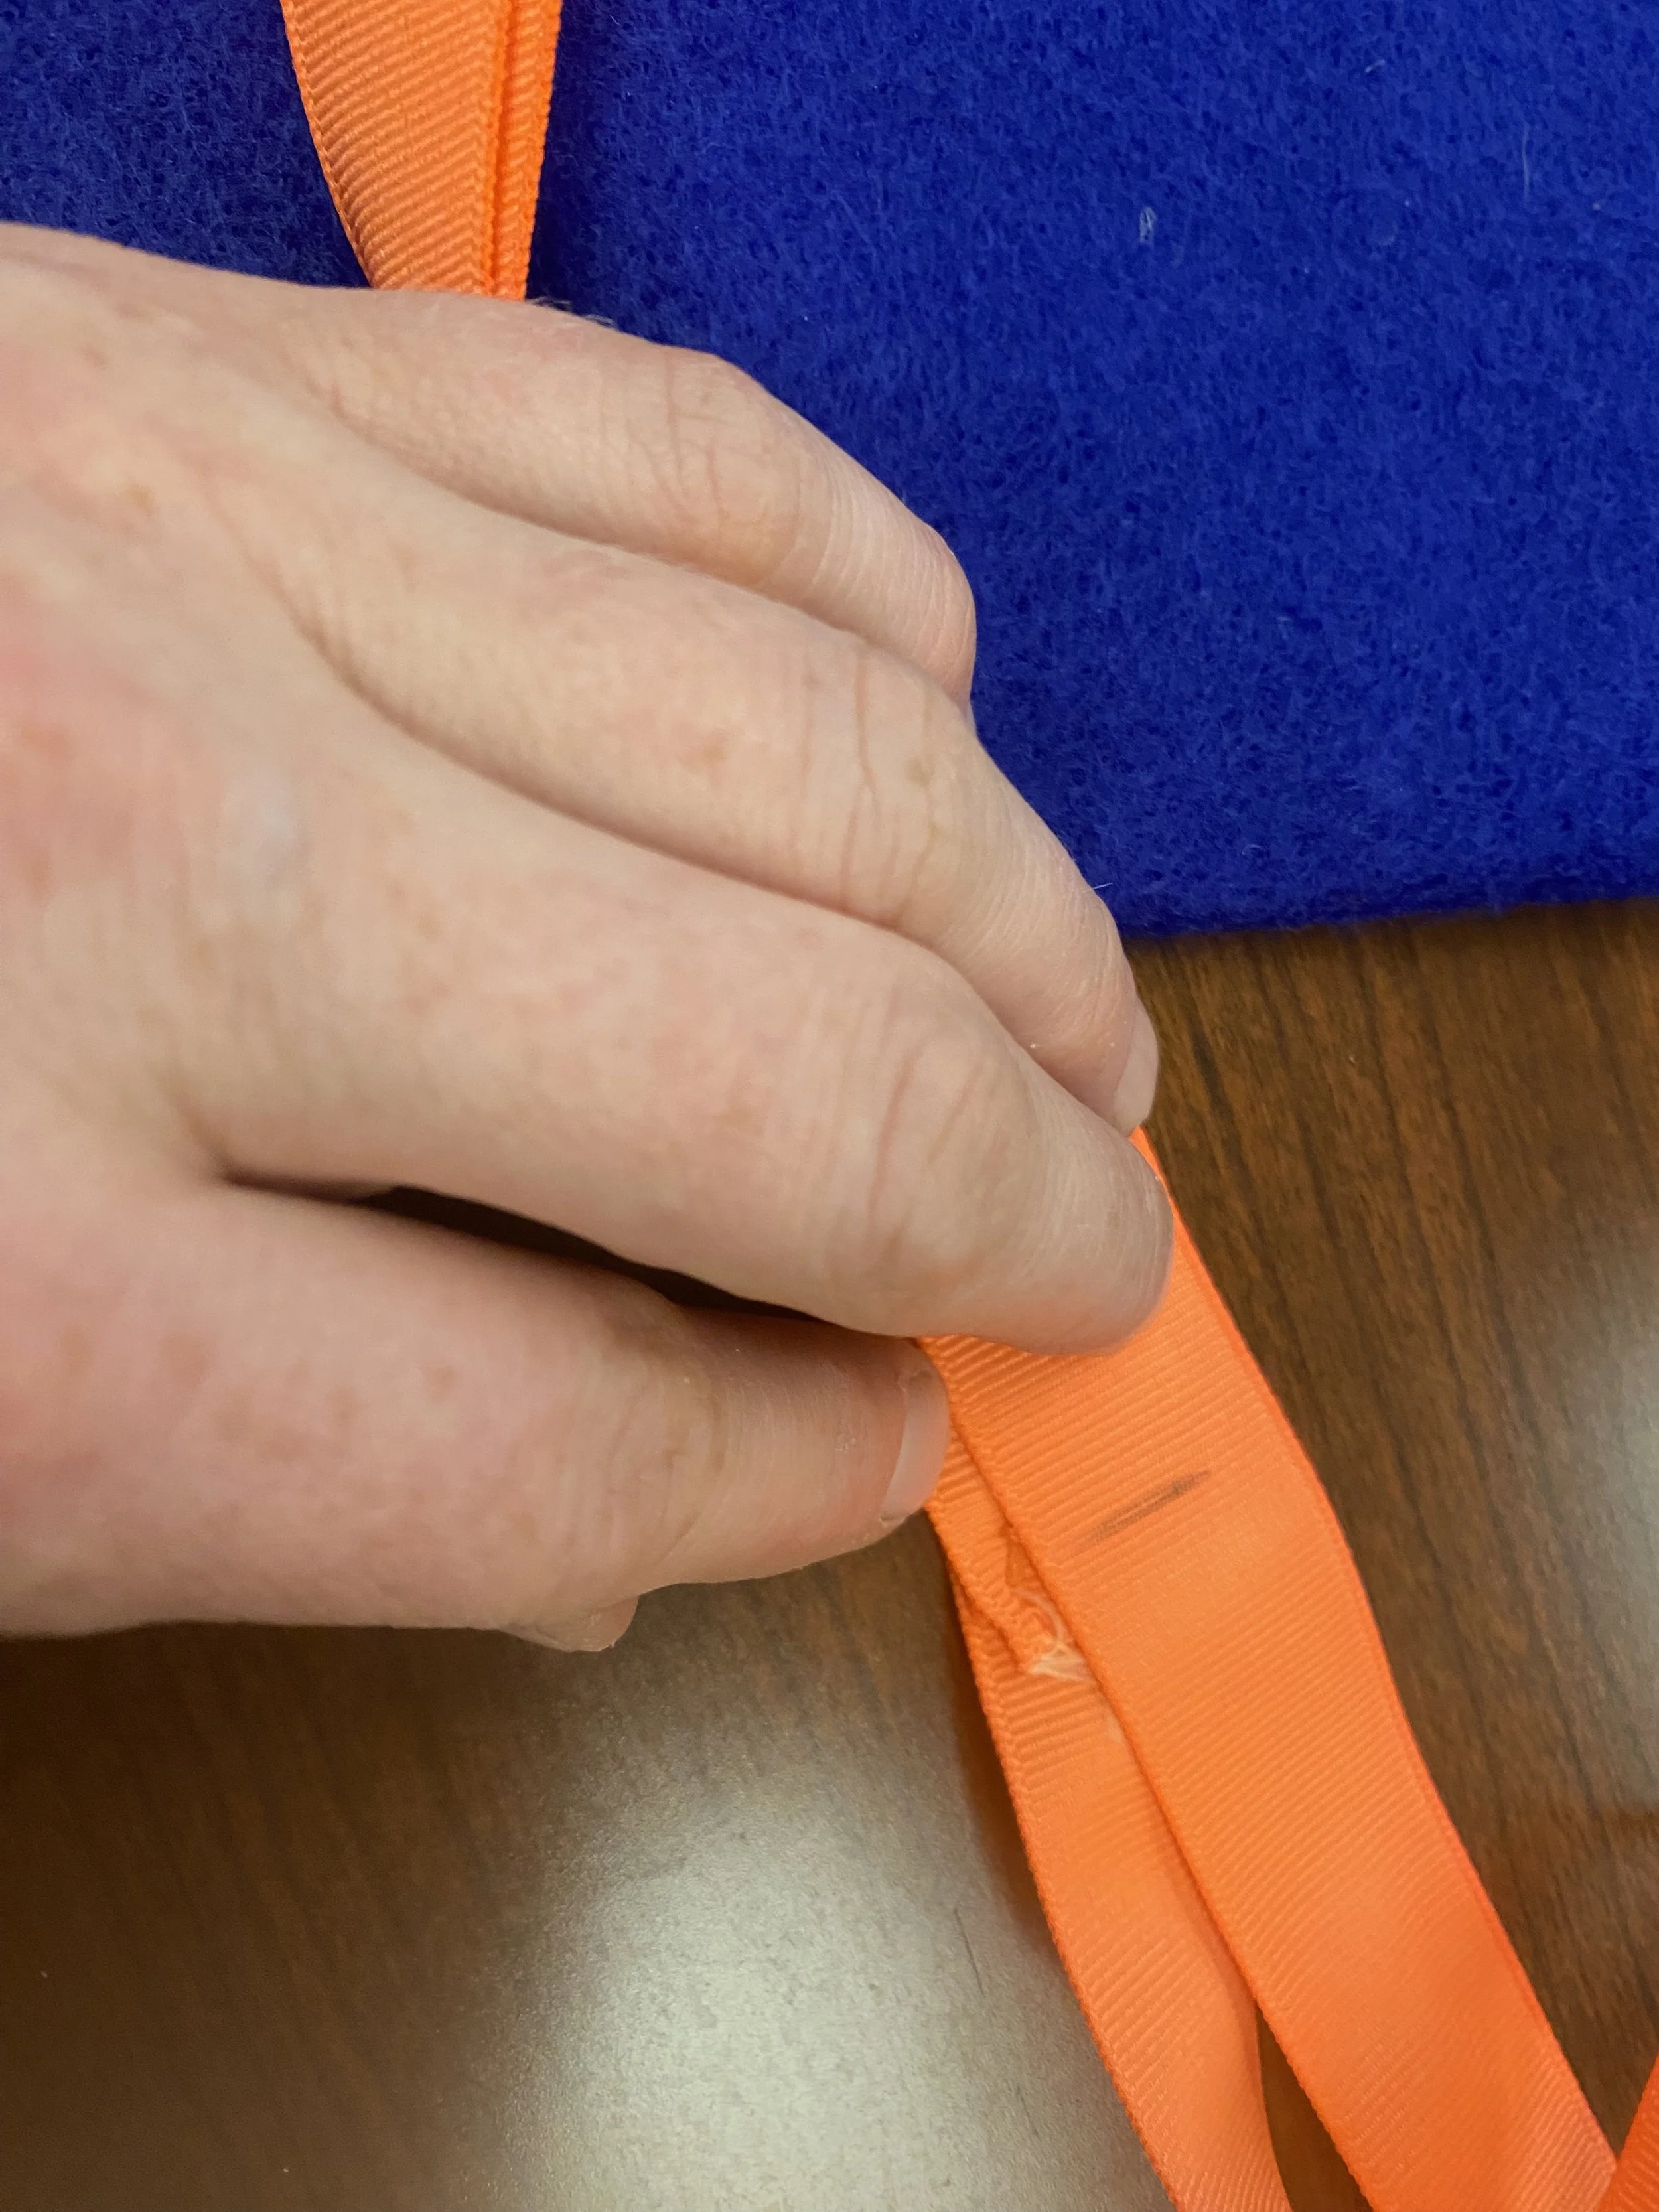
This is how you would check if the ribbon is spaced evenly from each side before starting to stitch.
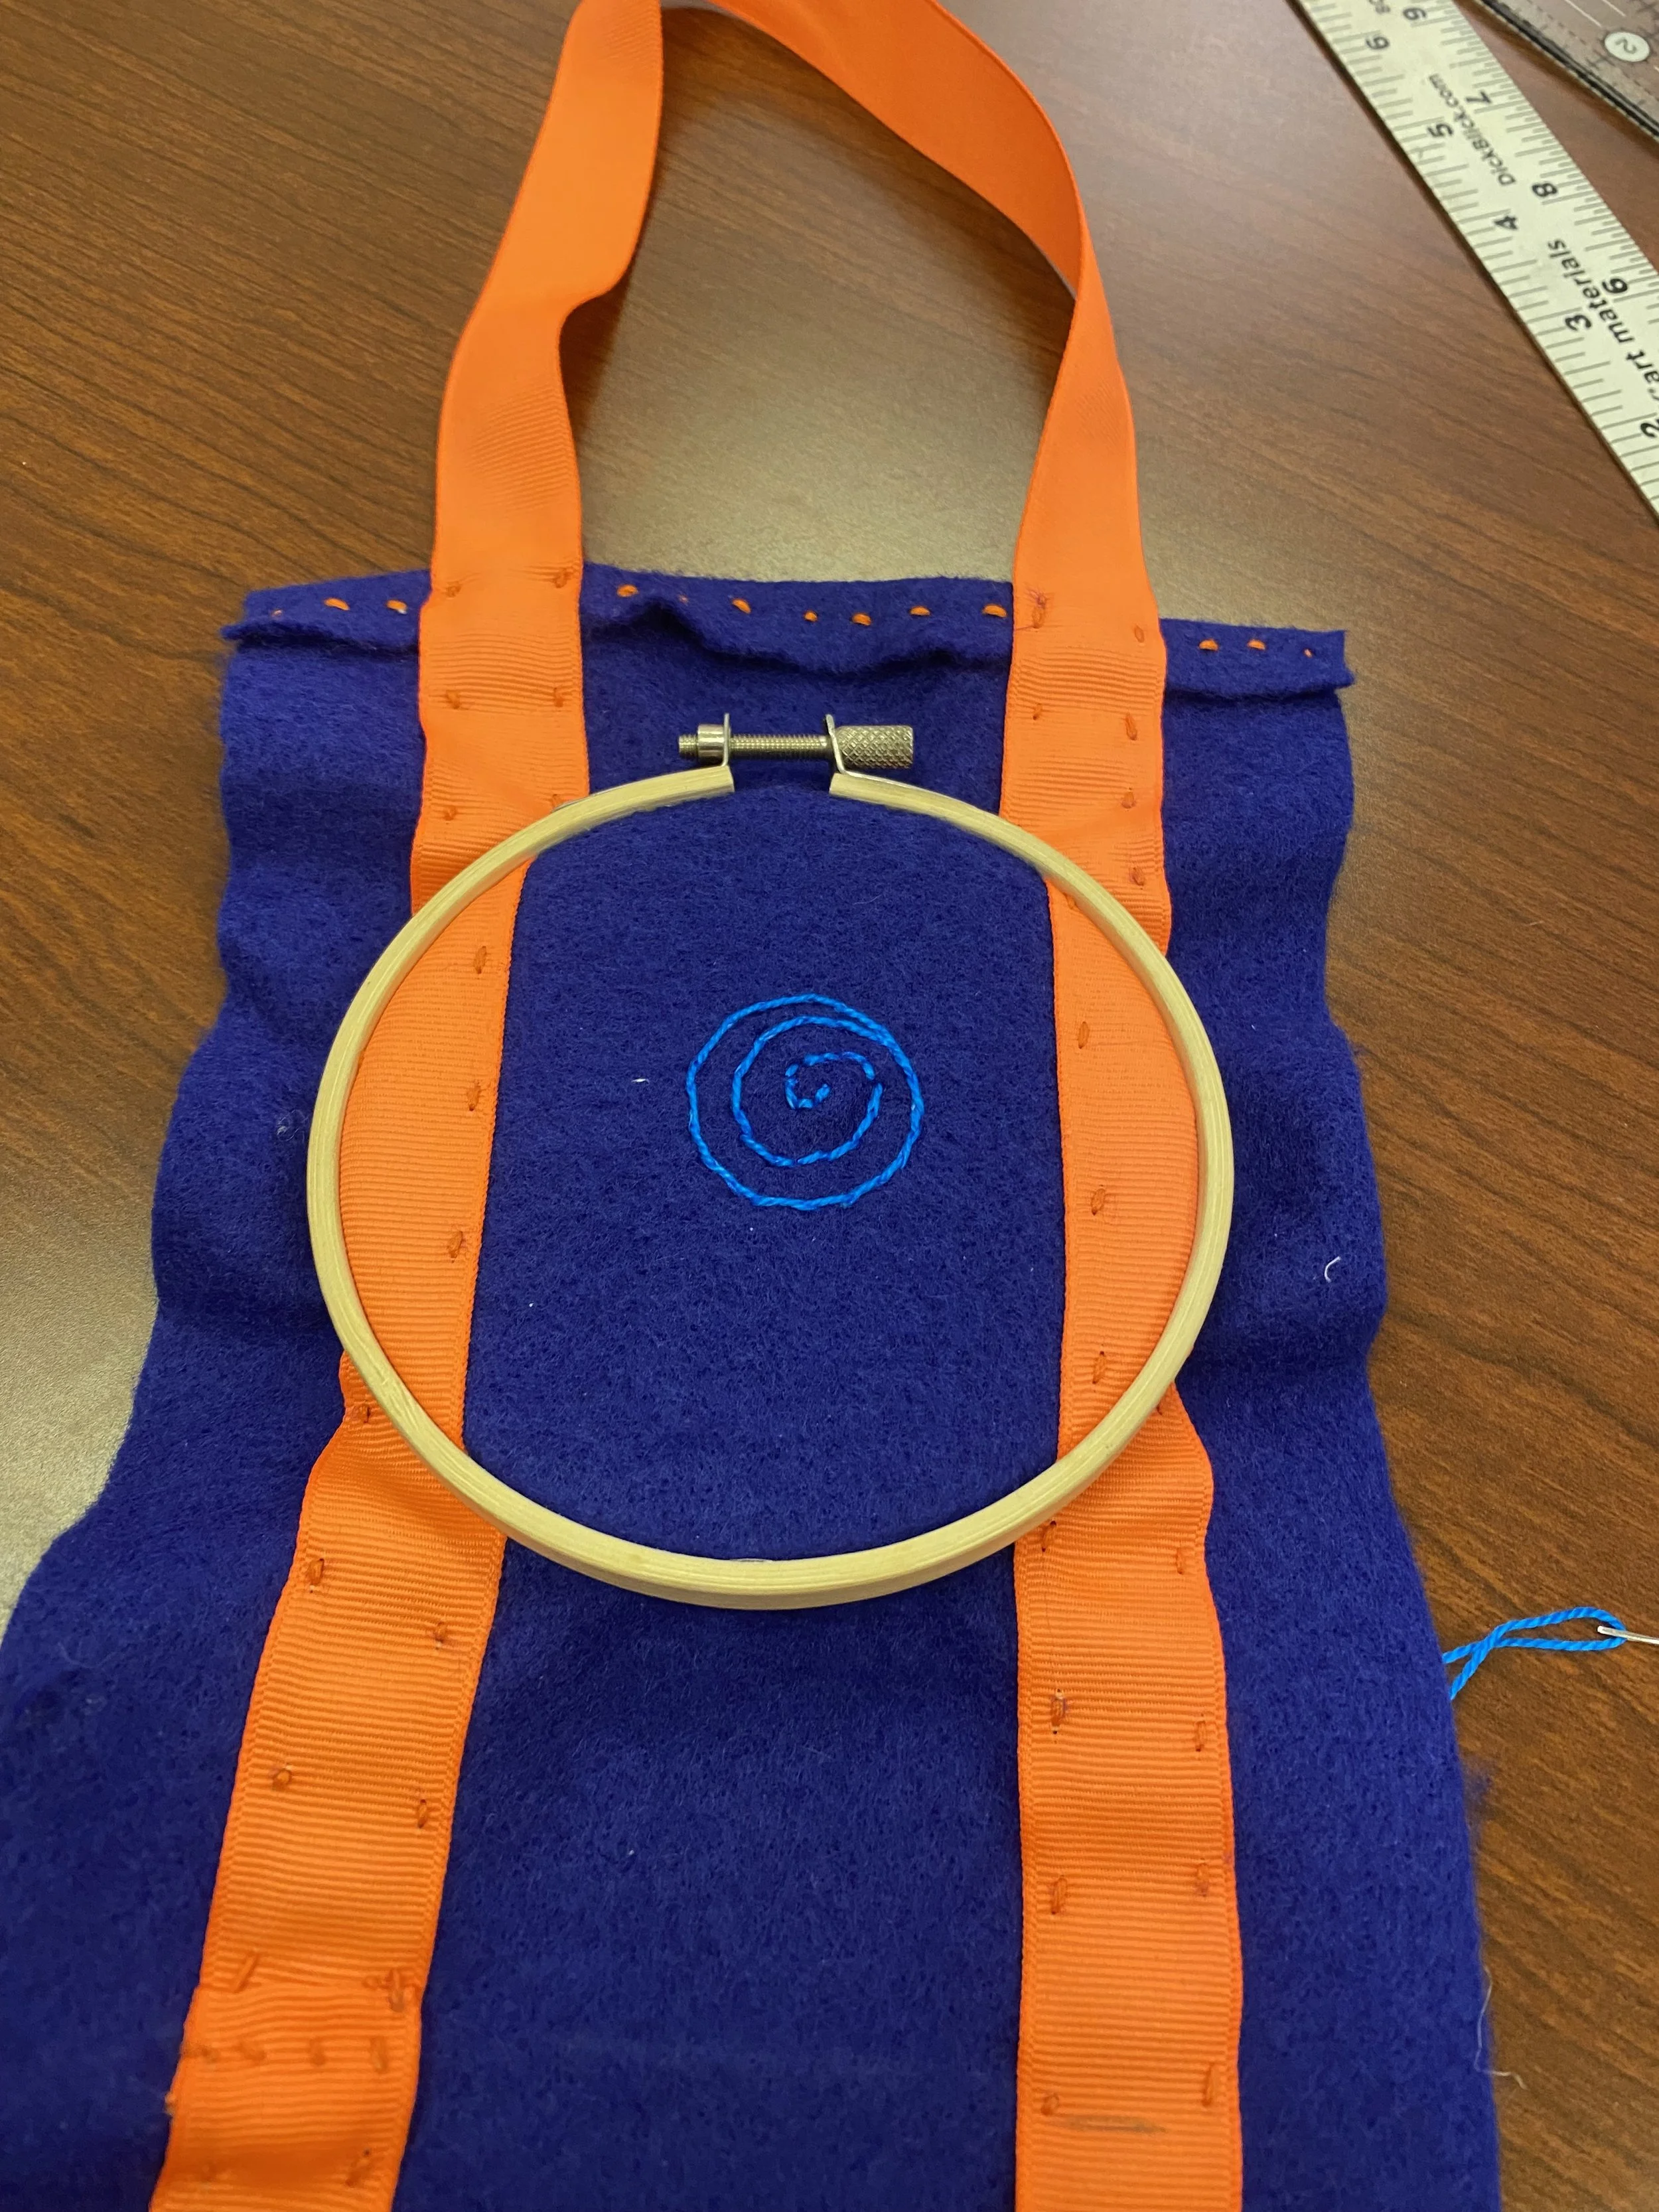
Here is my in-process design up close!
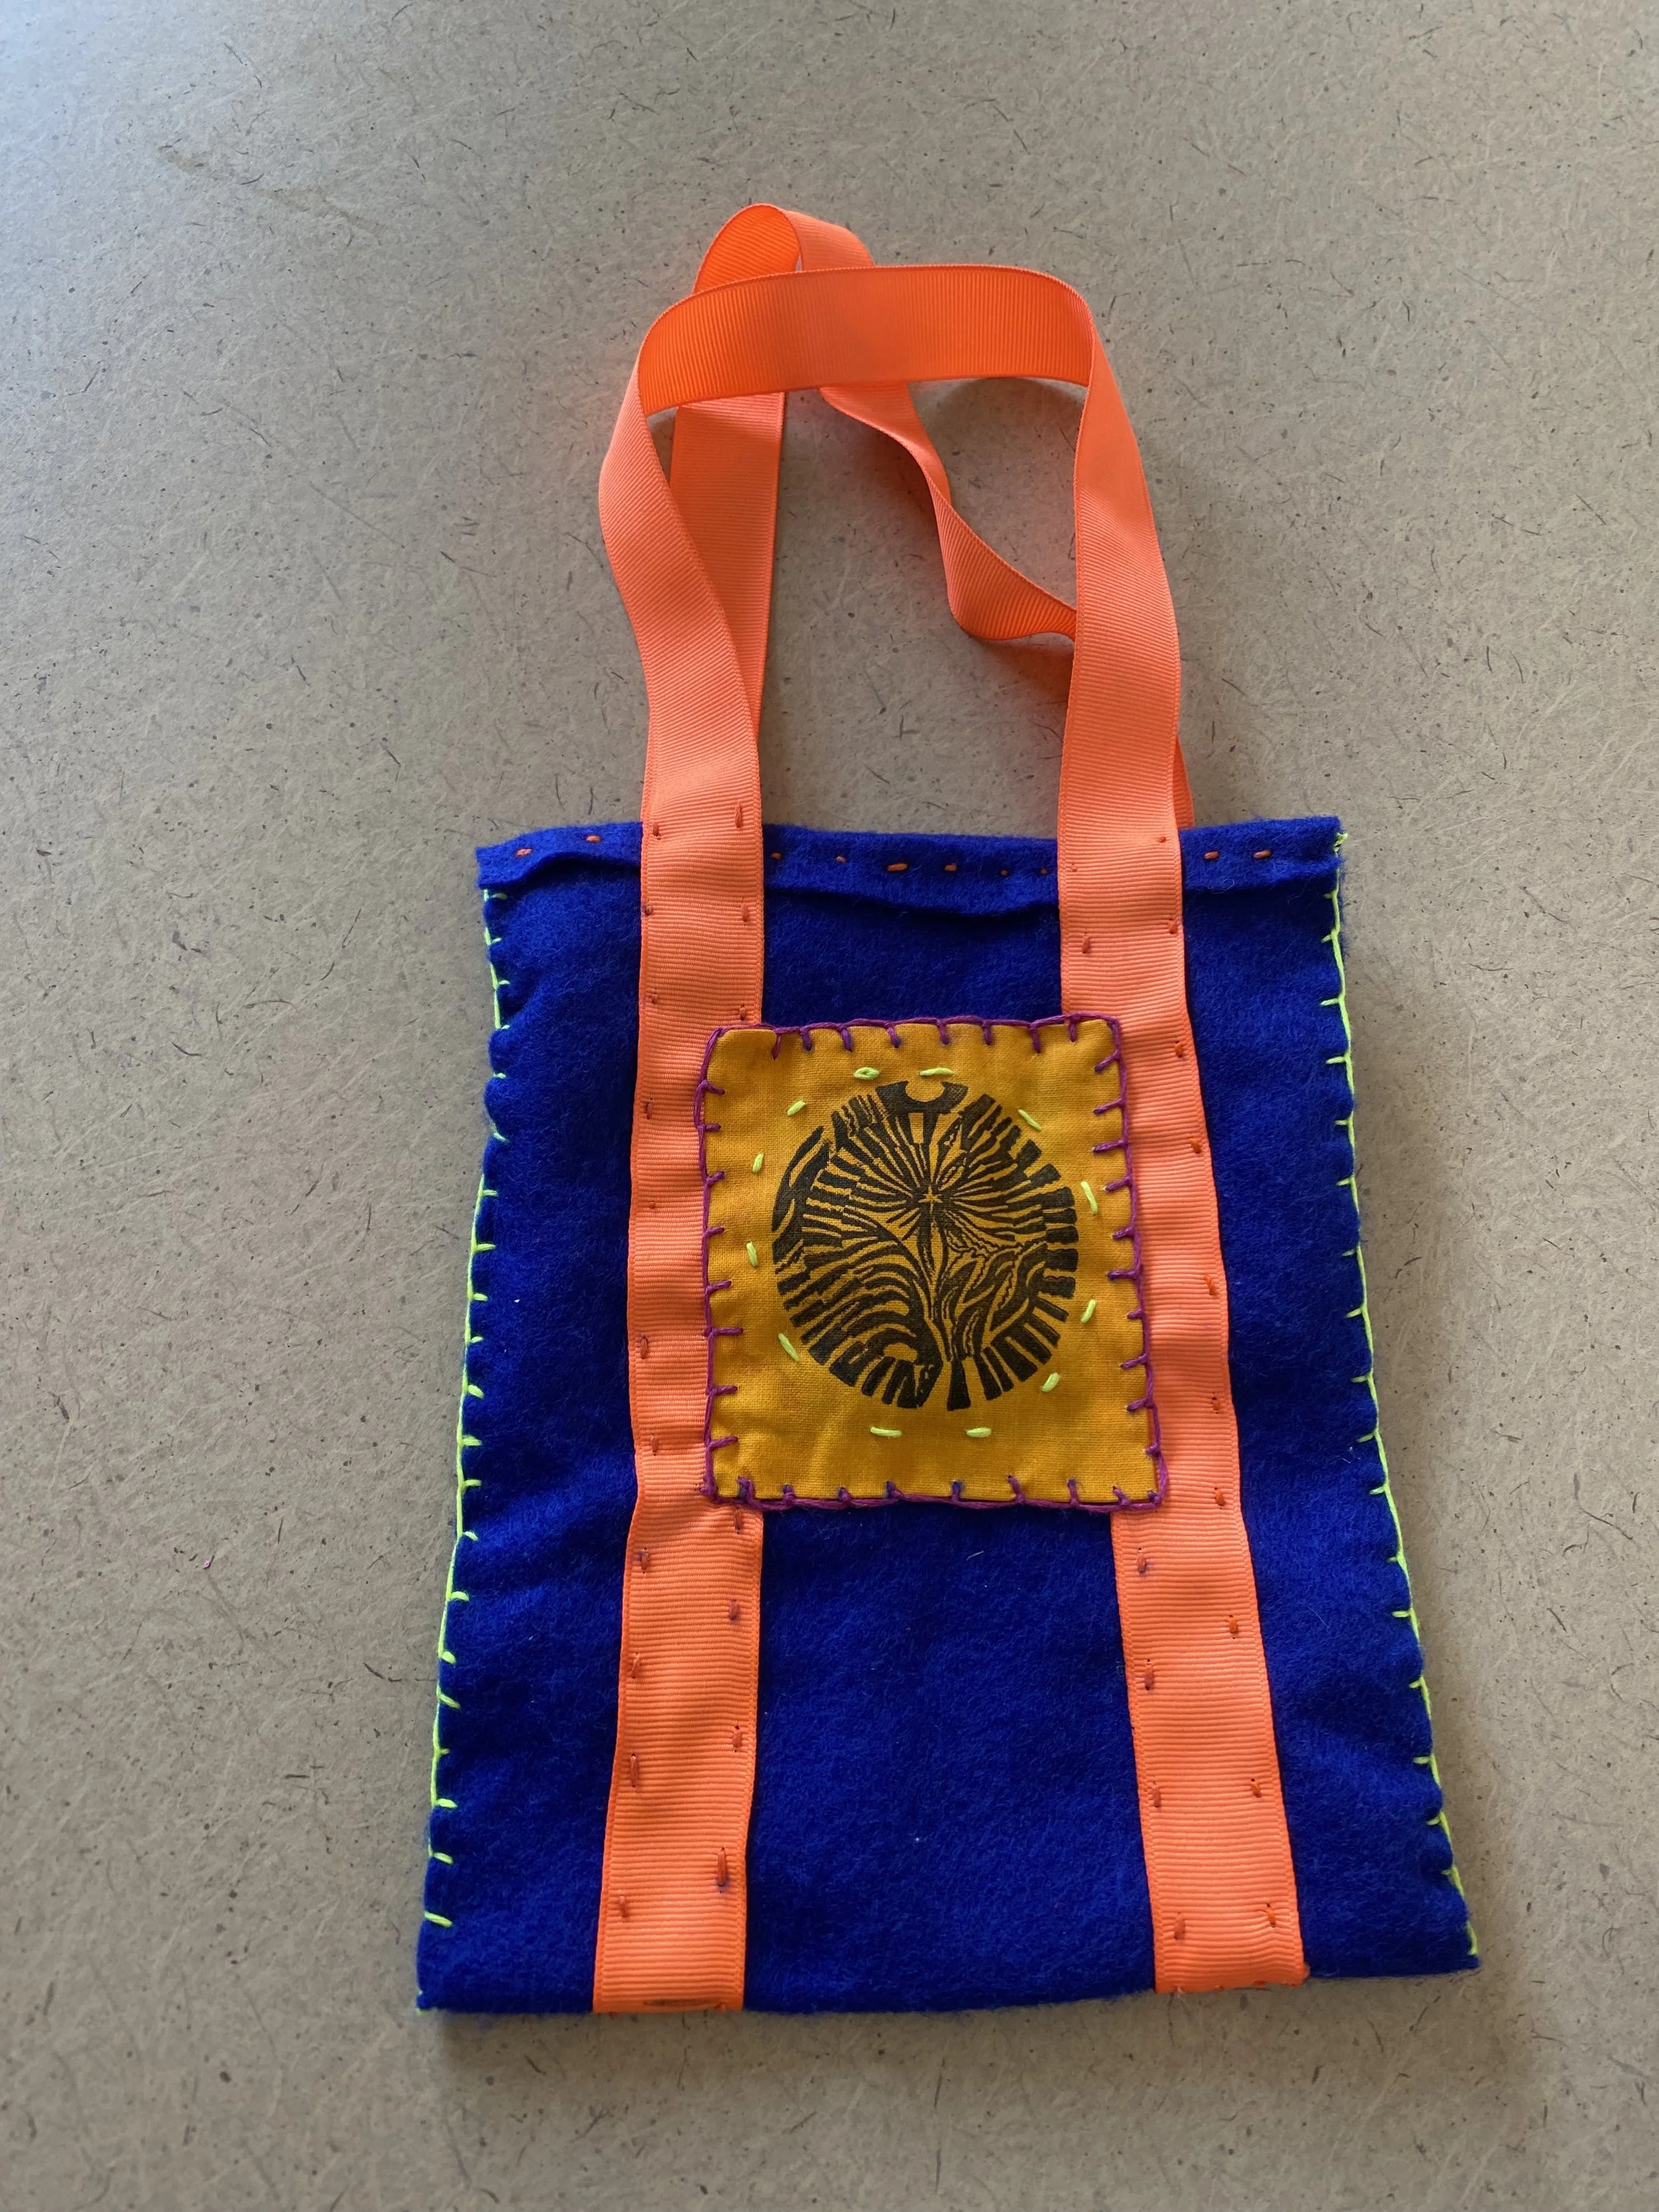
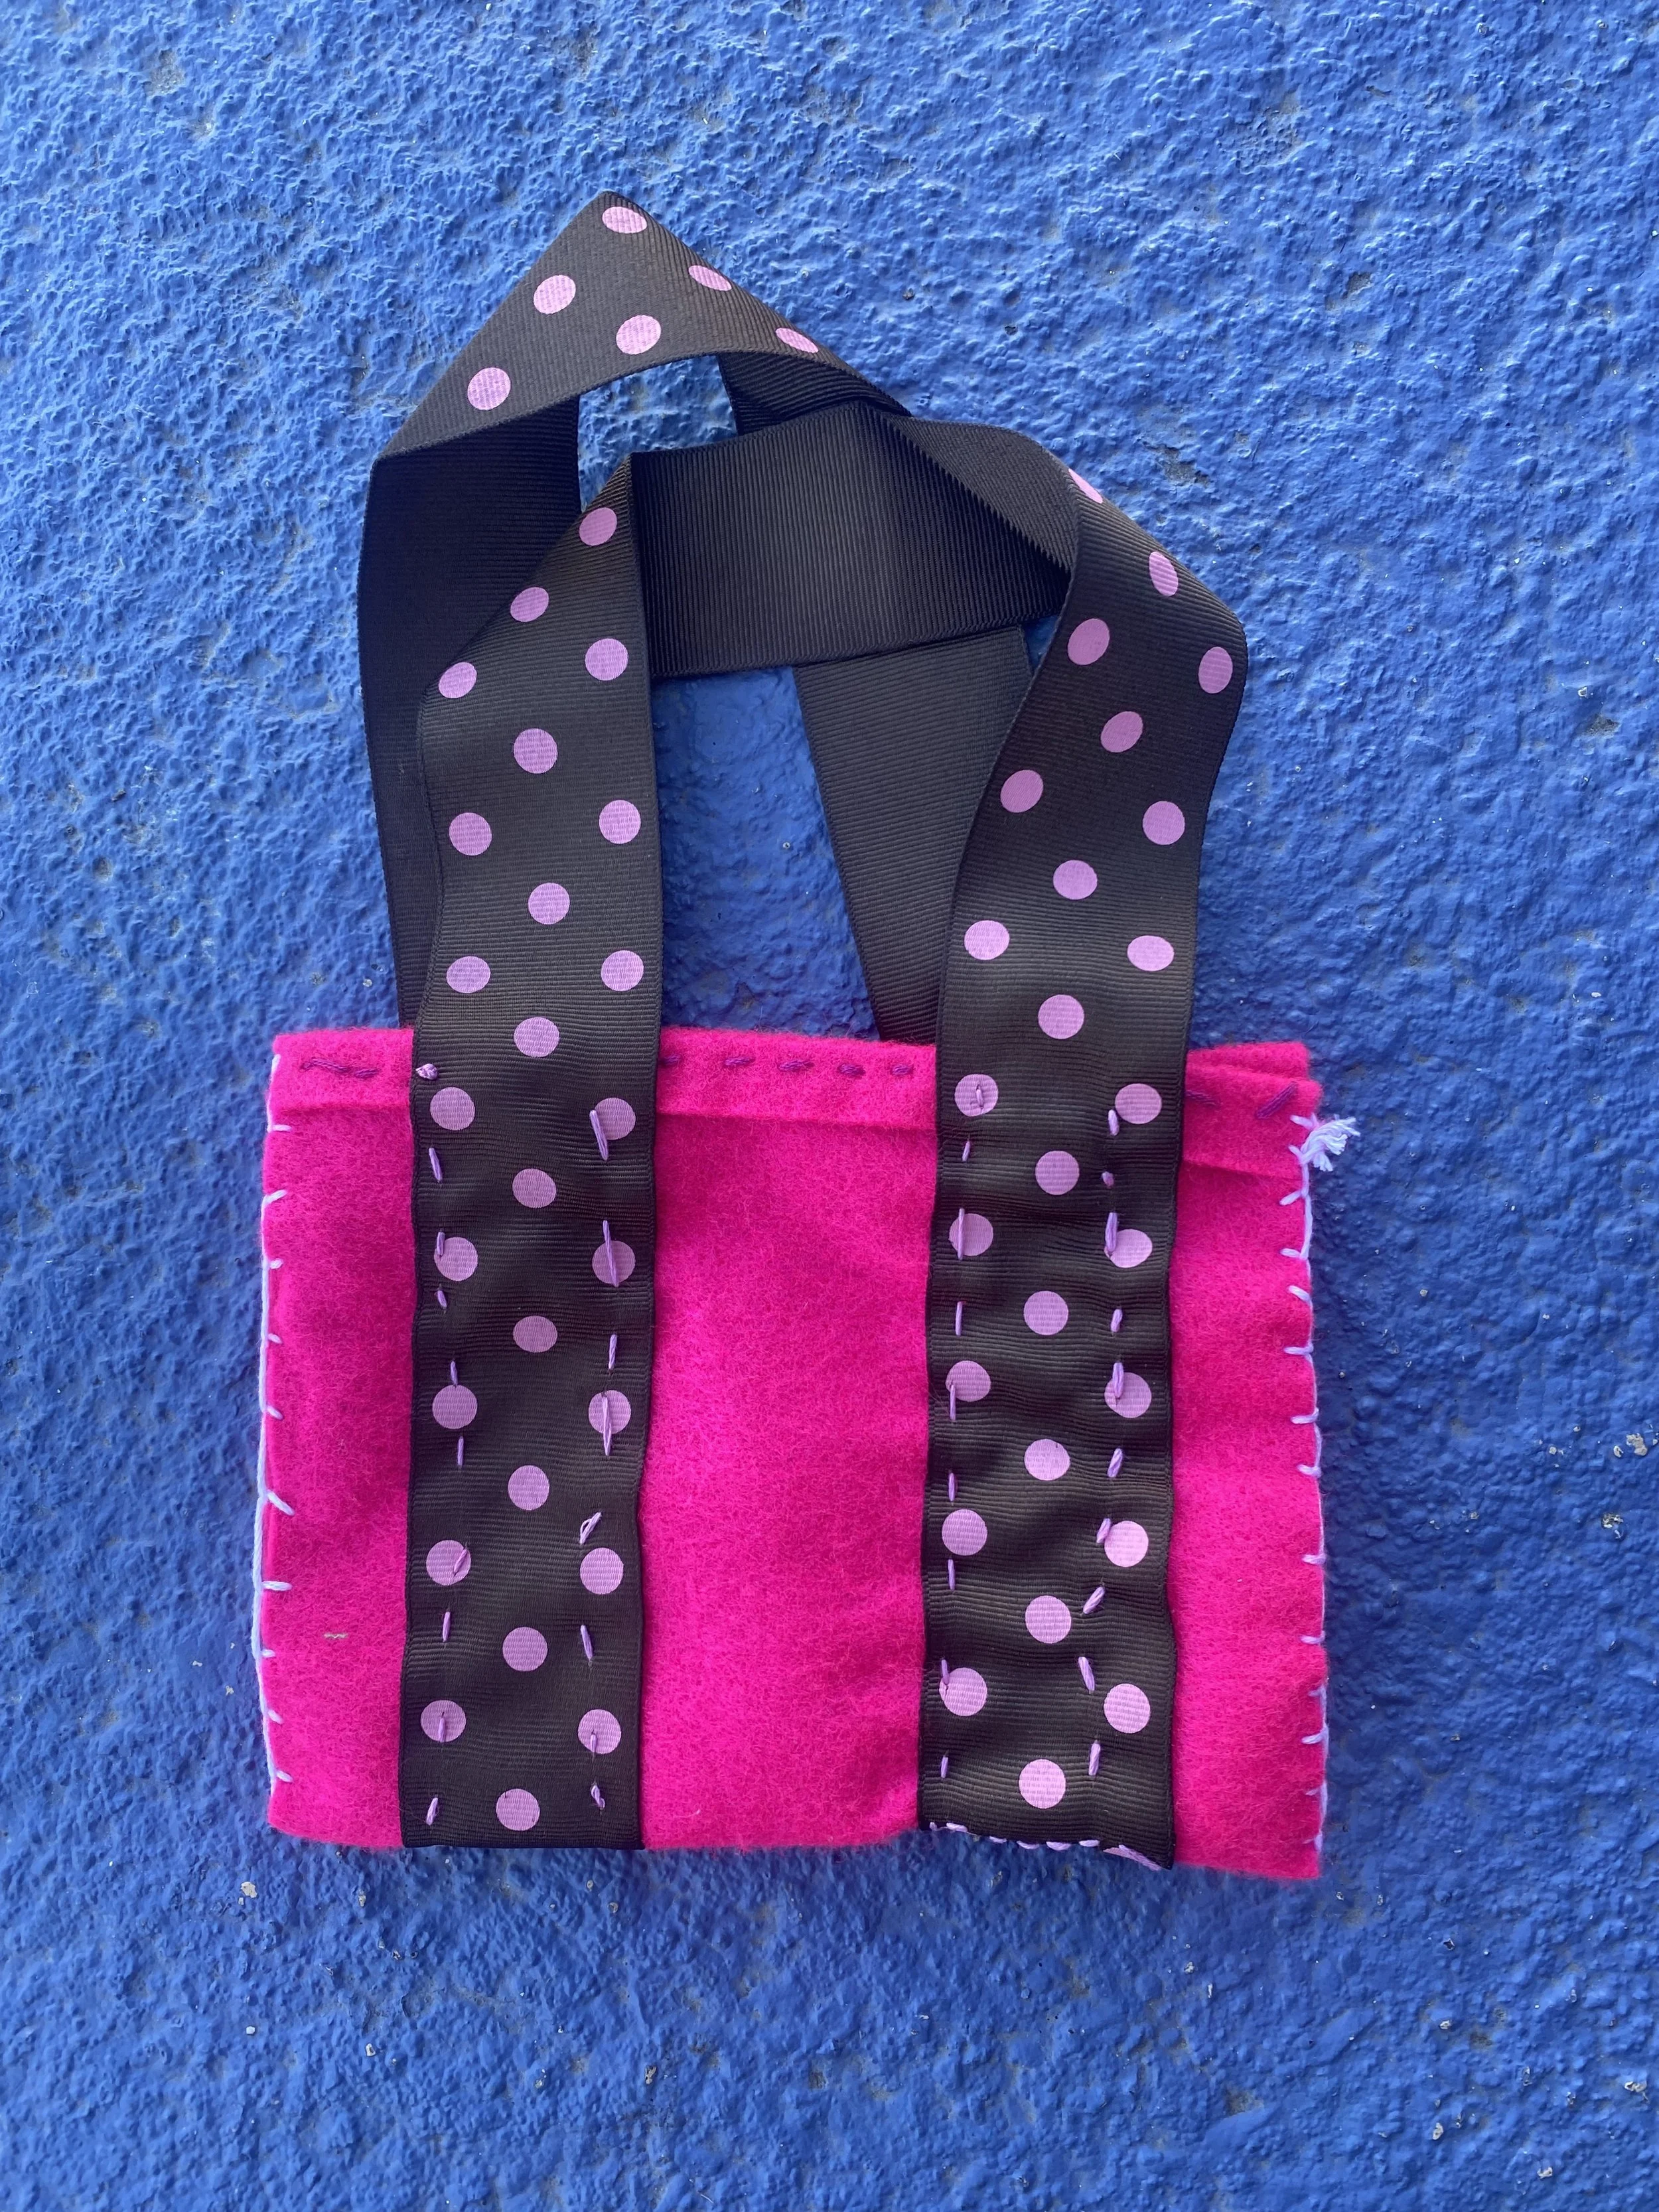
Et Voila! A very handy little bag! Perfect for art supplies :)
Works in Progress…

Student Work

For this assignment, each student chose a piece of piece of felt and ribbon in order to make a small bag. The purpose of this assignment was to learn basic hand sewing stitches and and decorative embroidery stitches. This also gave us a chance to learn how a simple tote bag is constructed before moving on to working with the sewing machine while using a similar design.


MIRHANDA
This is a placeholder set of images (process image in the small circle, completed totebag to the left. When students are finished with their projects they will submit images to billy in class to upload to headrush.
RILEY
This is a placeholder set of images (process image in the small circle, completed totebag to the left. When students are finished with their projects they will submit images to billy in class to upload to headrush.

ROSIE

EILA
This is a placeholder set of images (process image in the small circle, completed totebag to the left. When students are finished with their projects they will submit images to billy in class to upload to headrush.
CONNOR
This is a placeholder set of images (process image in the small circle, completed totebag to the left. When students are finished with their projects they will submit images to billy in class OR upload to headrush.
Assignment 3:
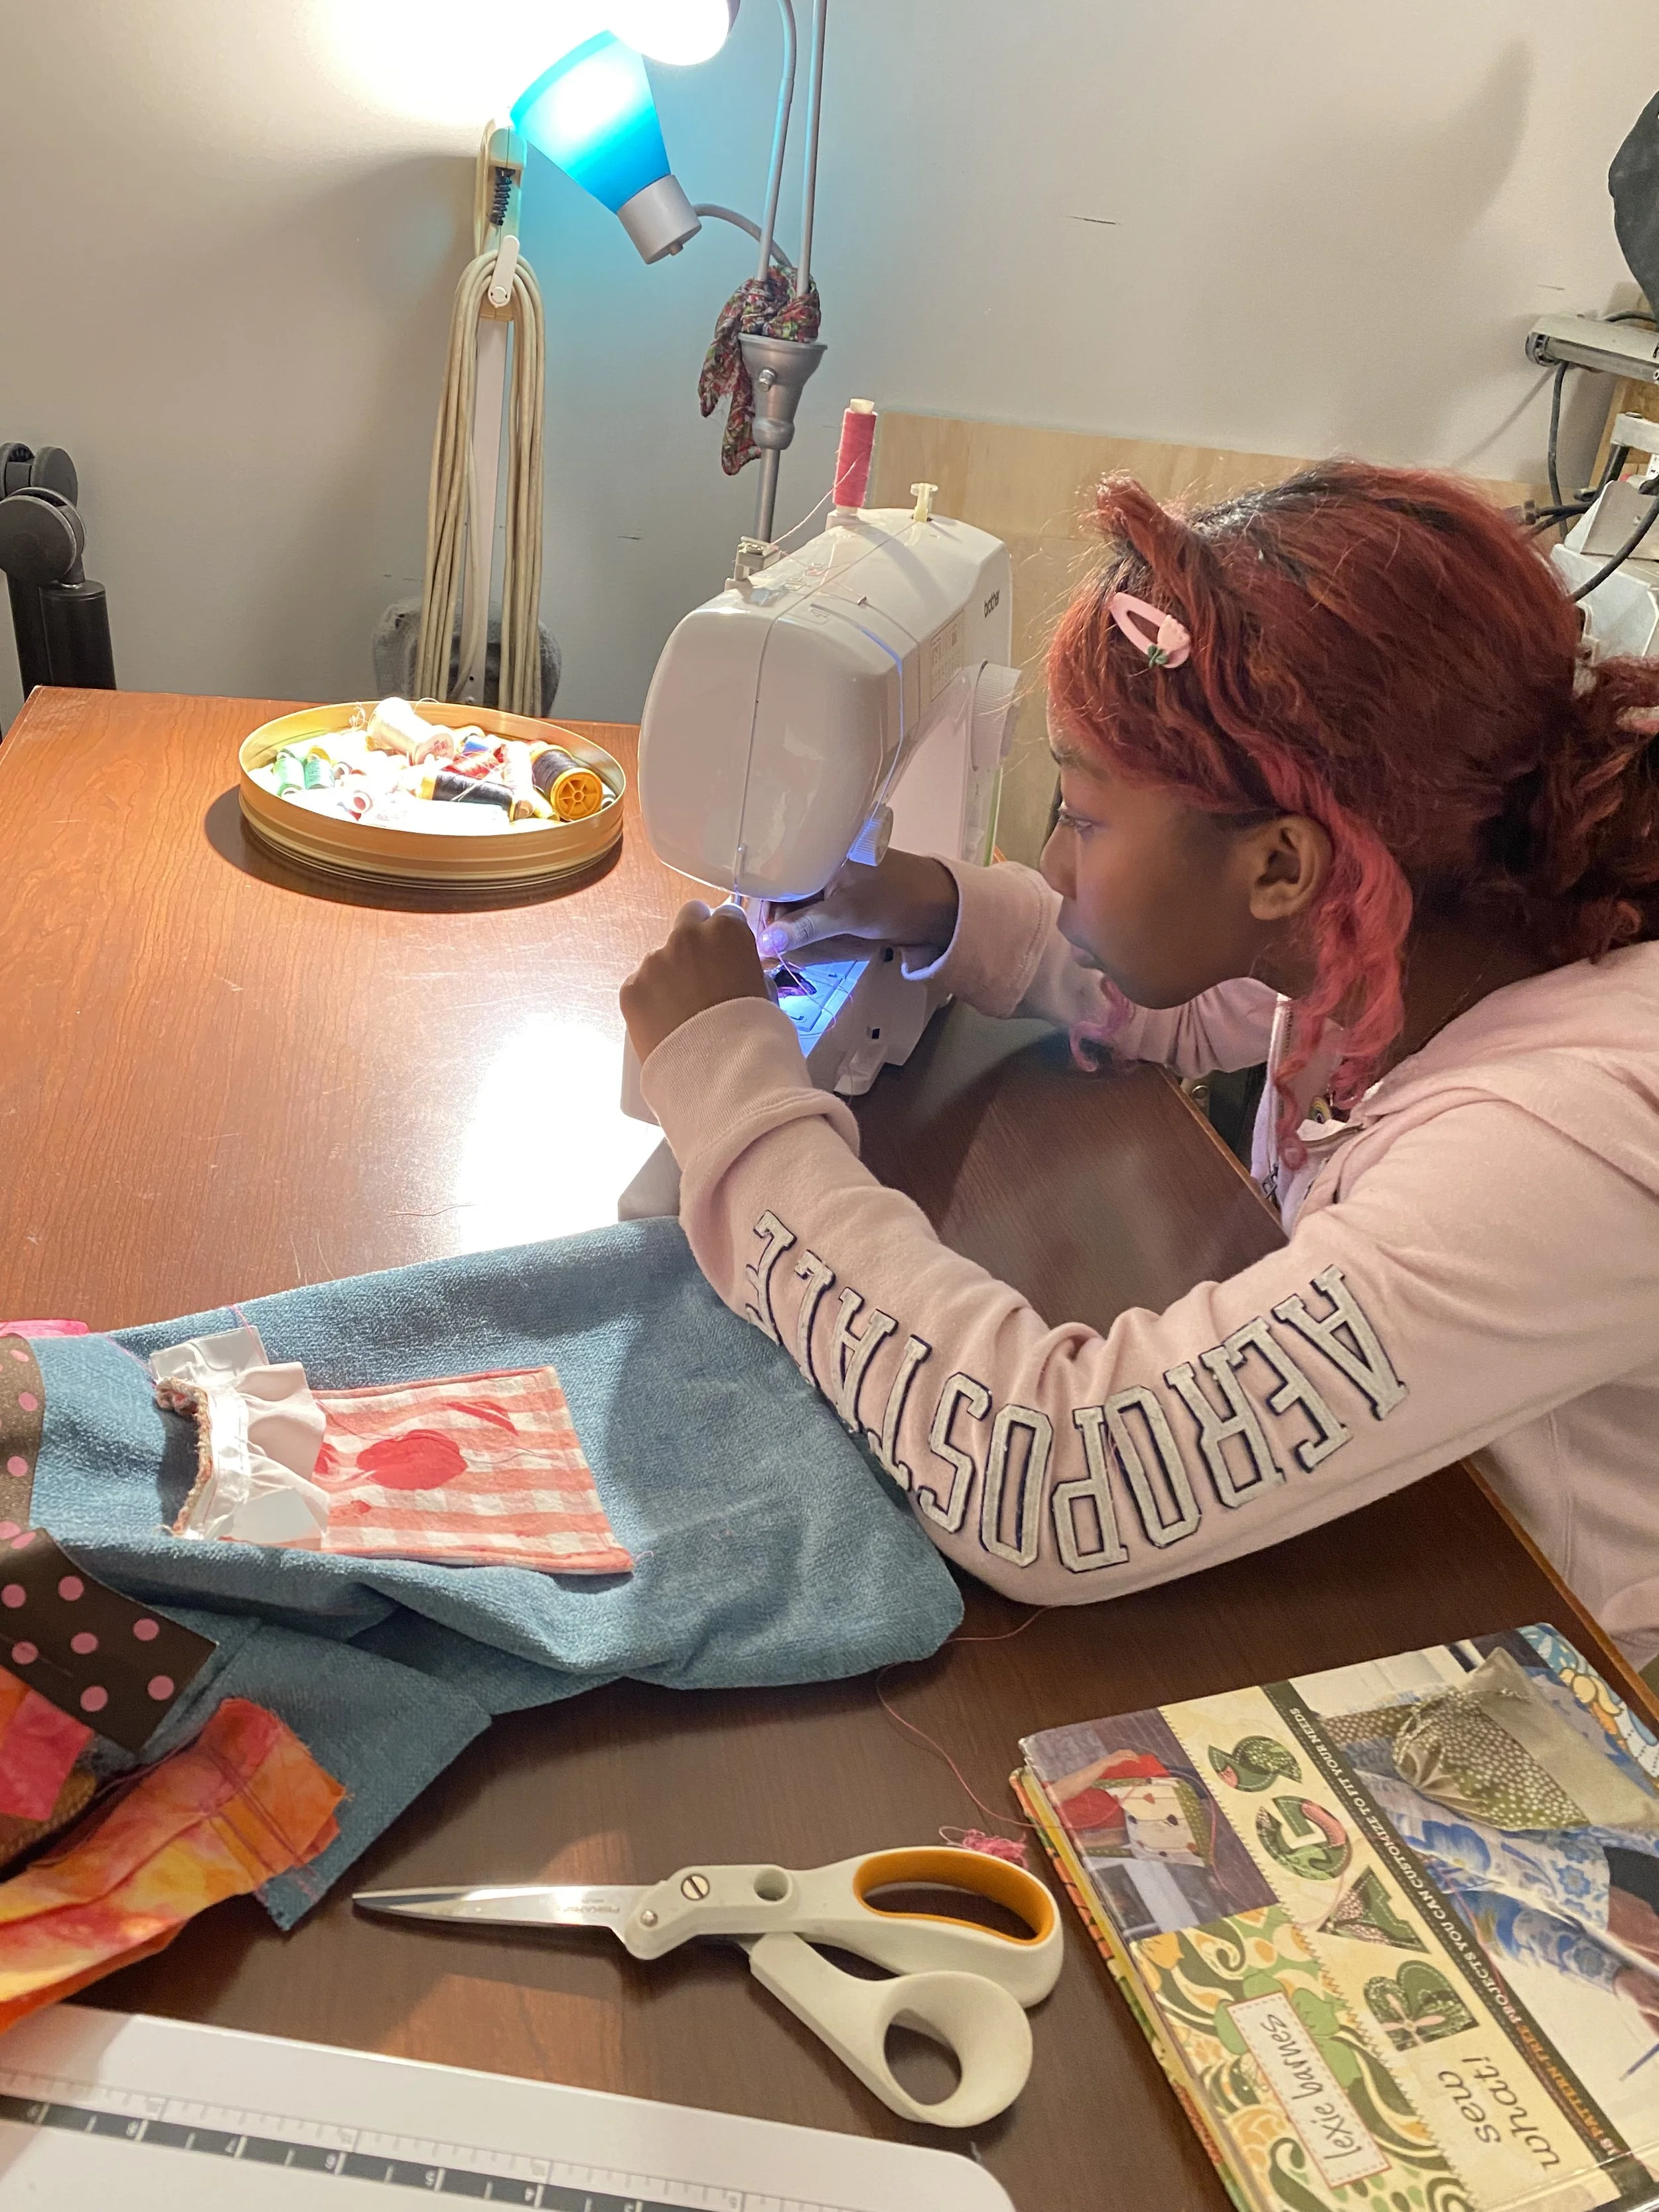
MACHINE-SEWN TOTE BAGS
For this assignment, students will learn how to use the sewing maching to create a tote bag. They will incorporate linoleum block prints directly onto the fabric of the bag or add as patches.
Student Work
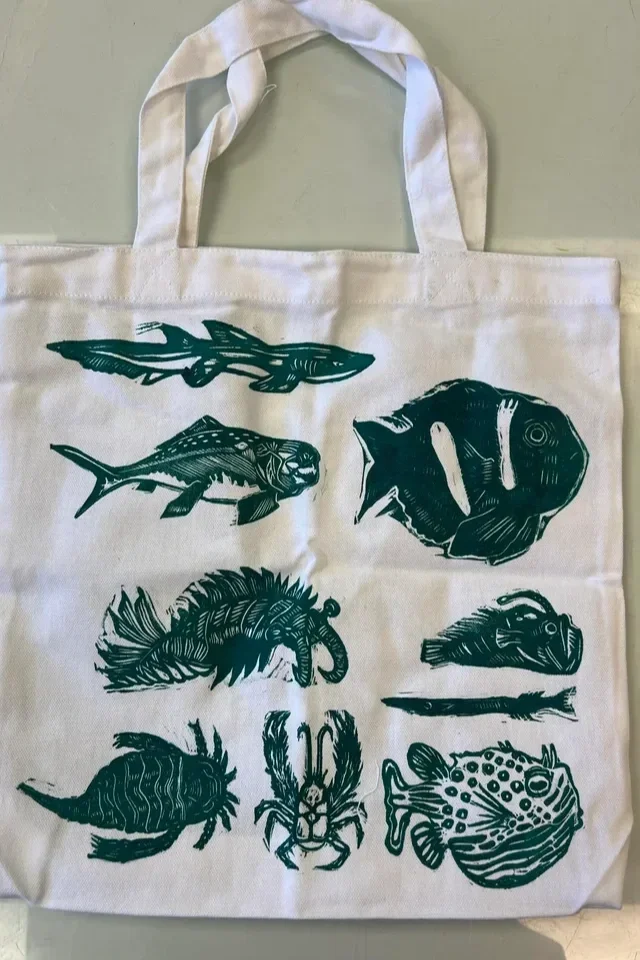
For this assignment, each student started by drawing a sketch of the tote bag they wished to make, and then worked to create that using a sewing machine. This image is a placeholder from this site: https://www.reddit.com/r/printmaking/comments/1eu7x8t/actually_trying_lino_blocks_on_totes/
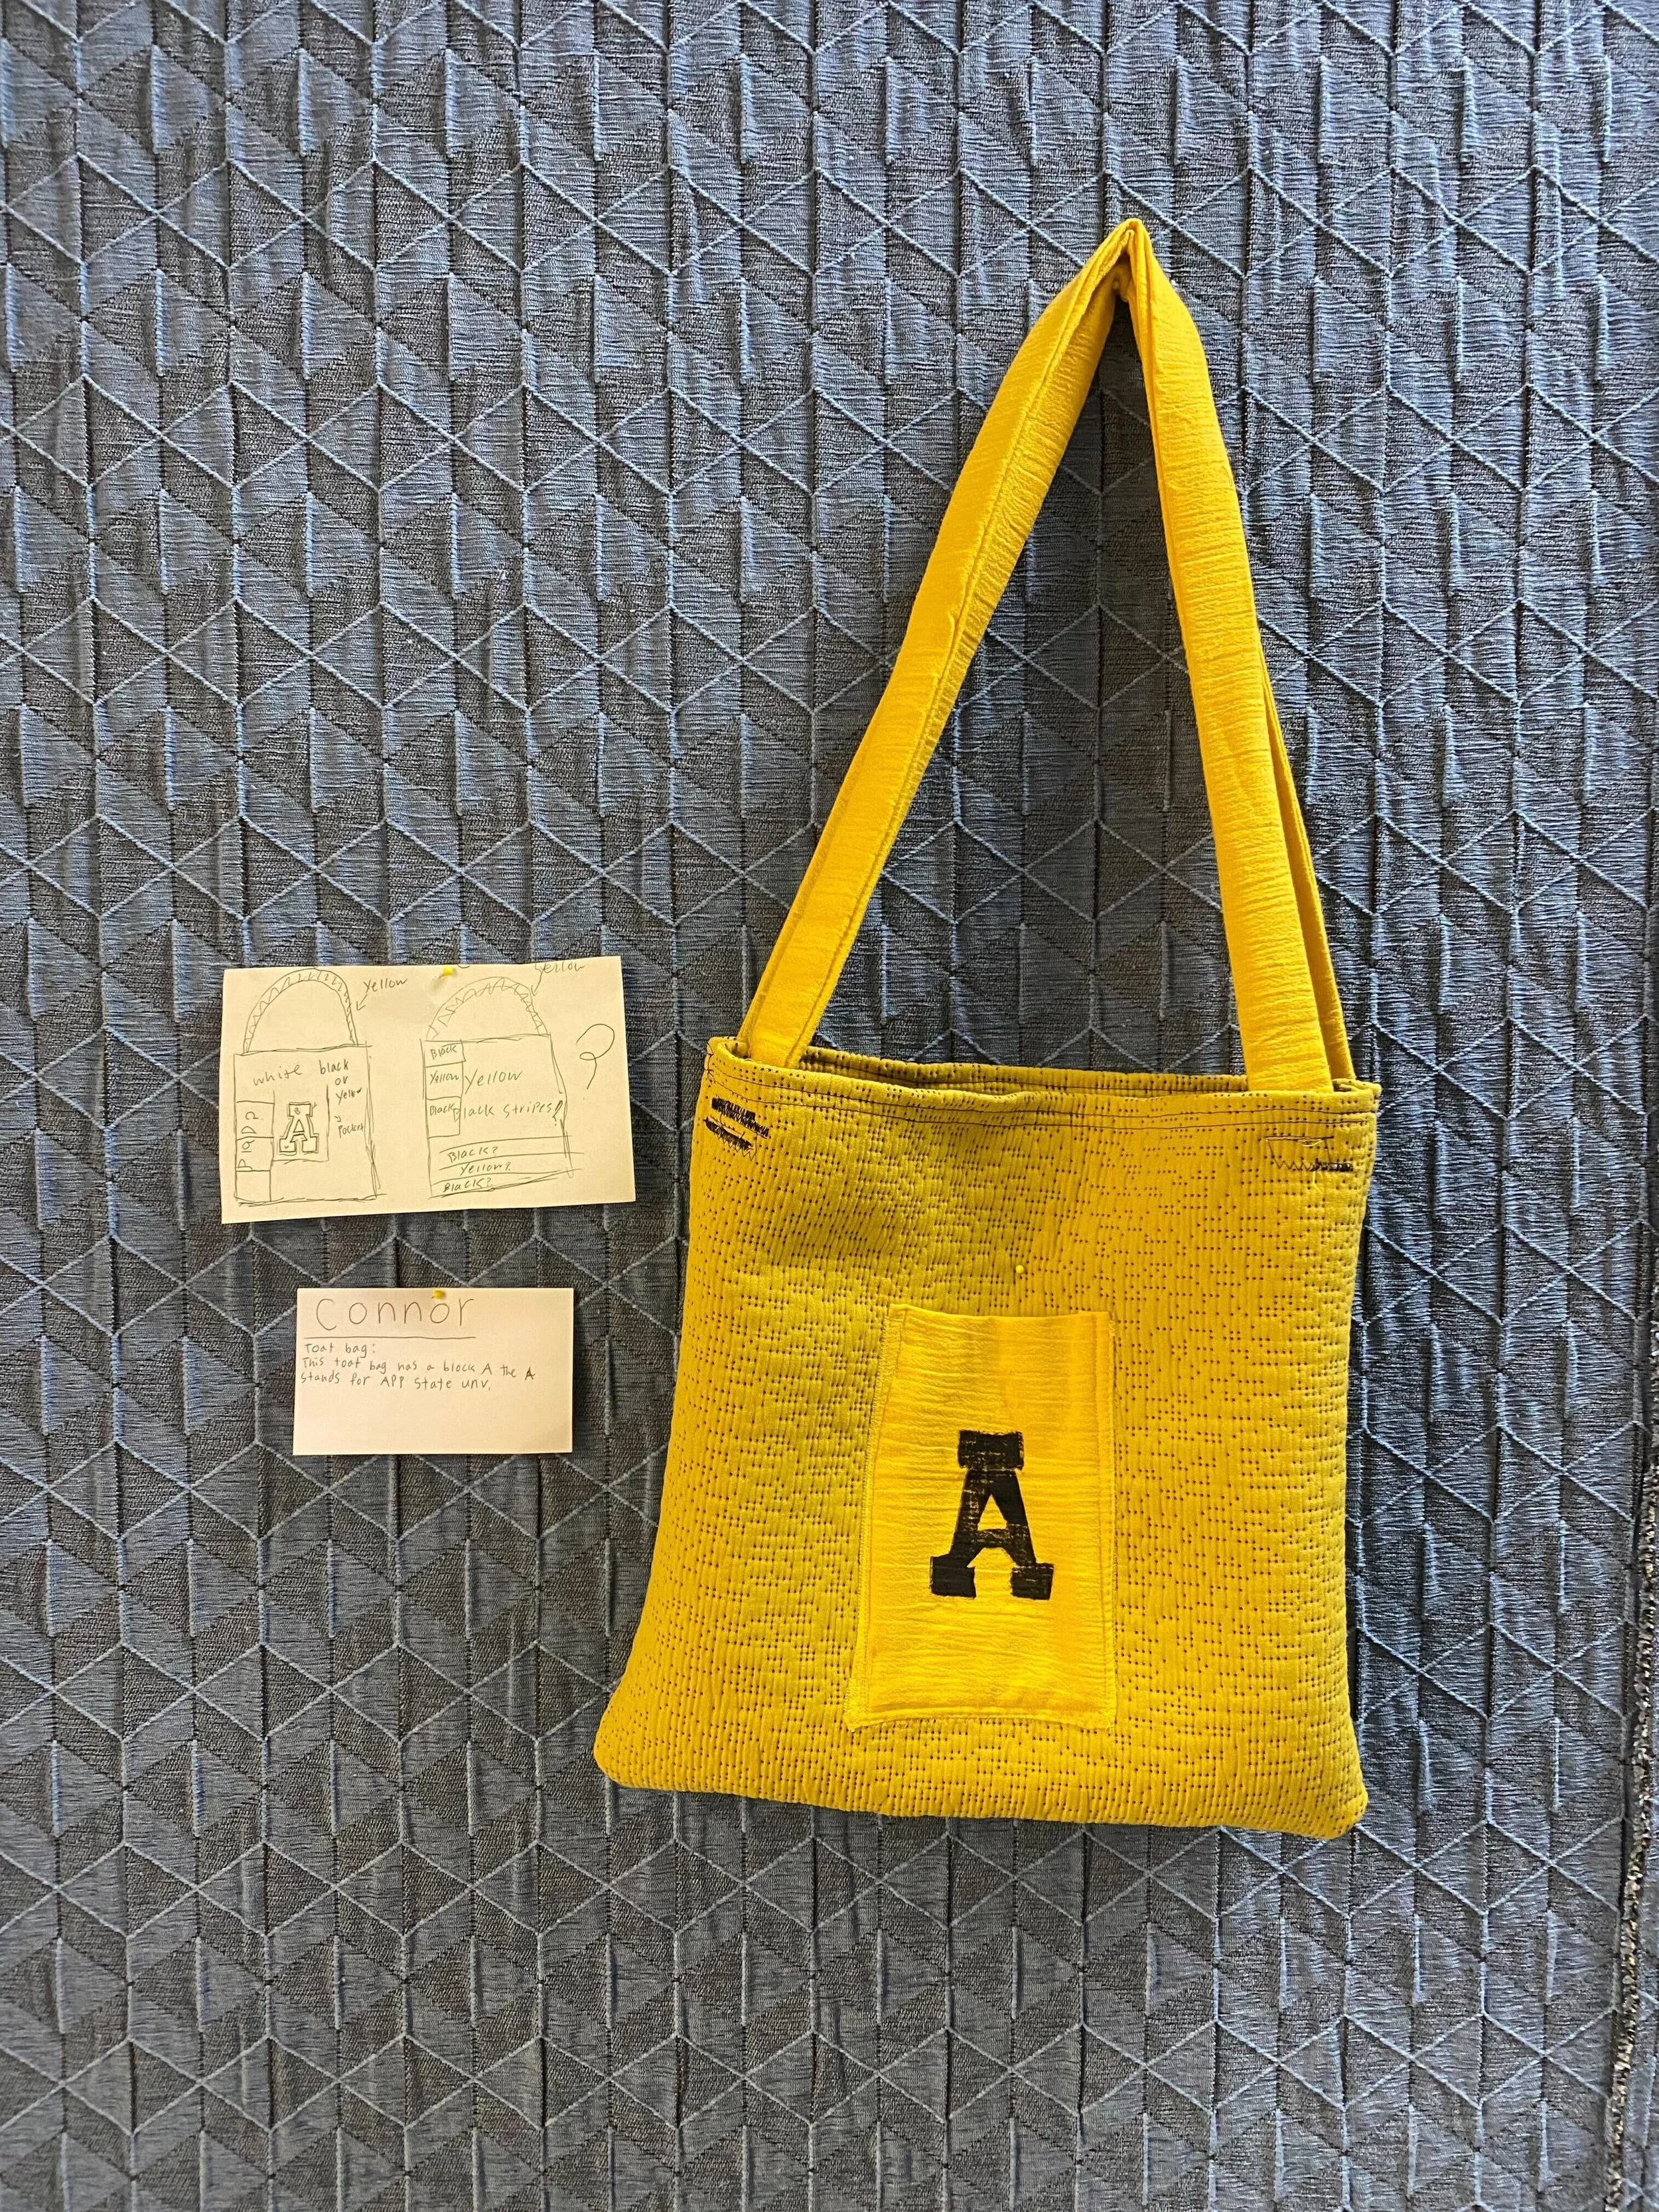
CONNOR
RILEY

NAOMI
MIRHANDA

ROSIE
EILA

example
This is a placeholder set of images (process image in the small circle, completed totebag to the left. When students are finished with their projects they will submit images to billy in class OR upload to headrush. This source image is from: https://medium.com/@rajbir.singh123/a2-soft-materials-tote-bag-c49d95998749
Tote Bag is from here: https://www.depop.com/products/petracreative-hand-printed-canvas-tote-bag/
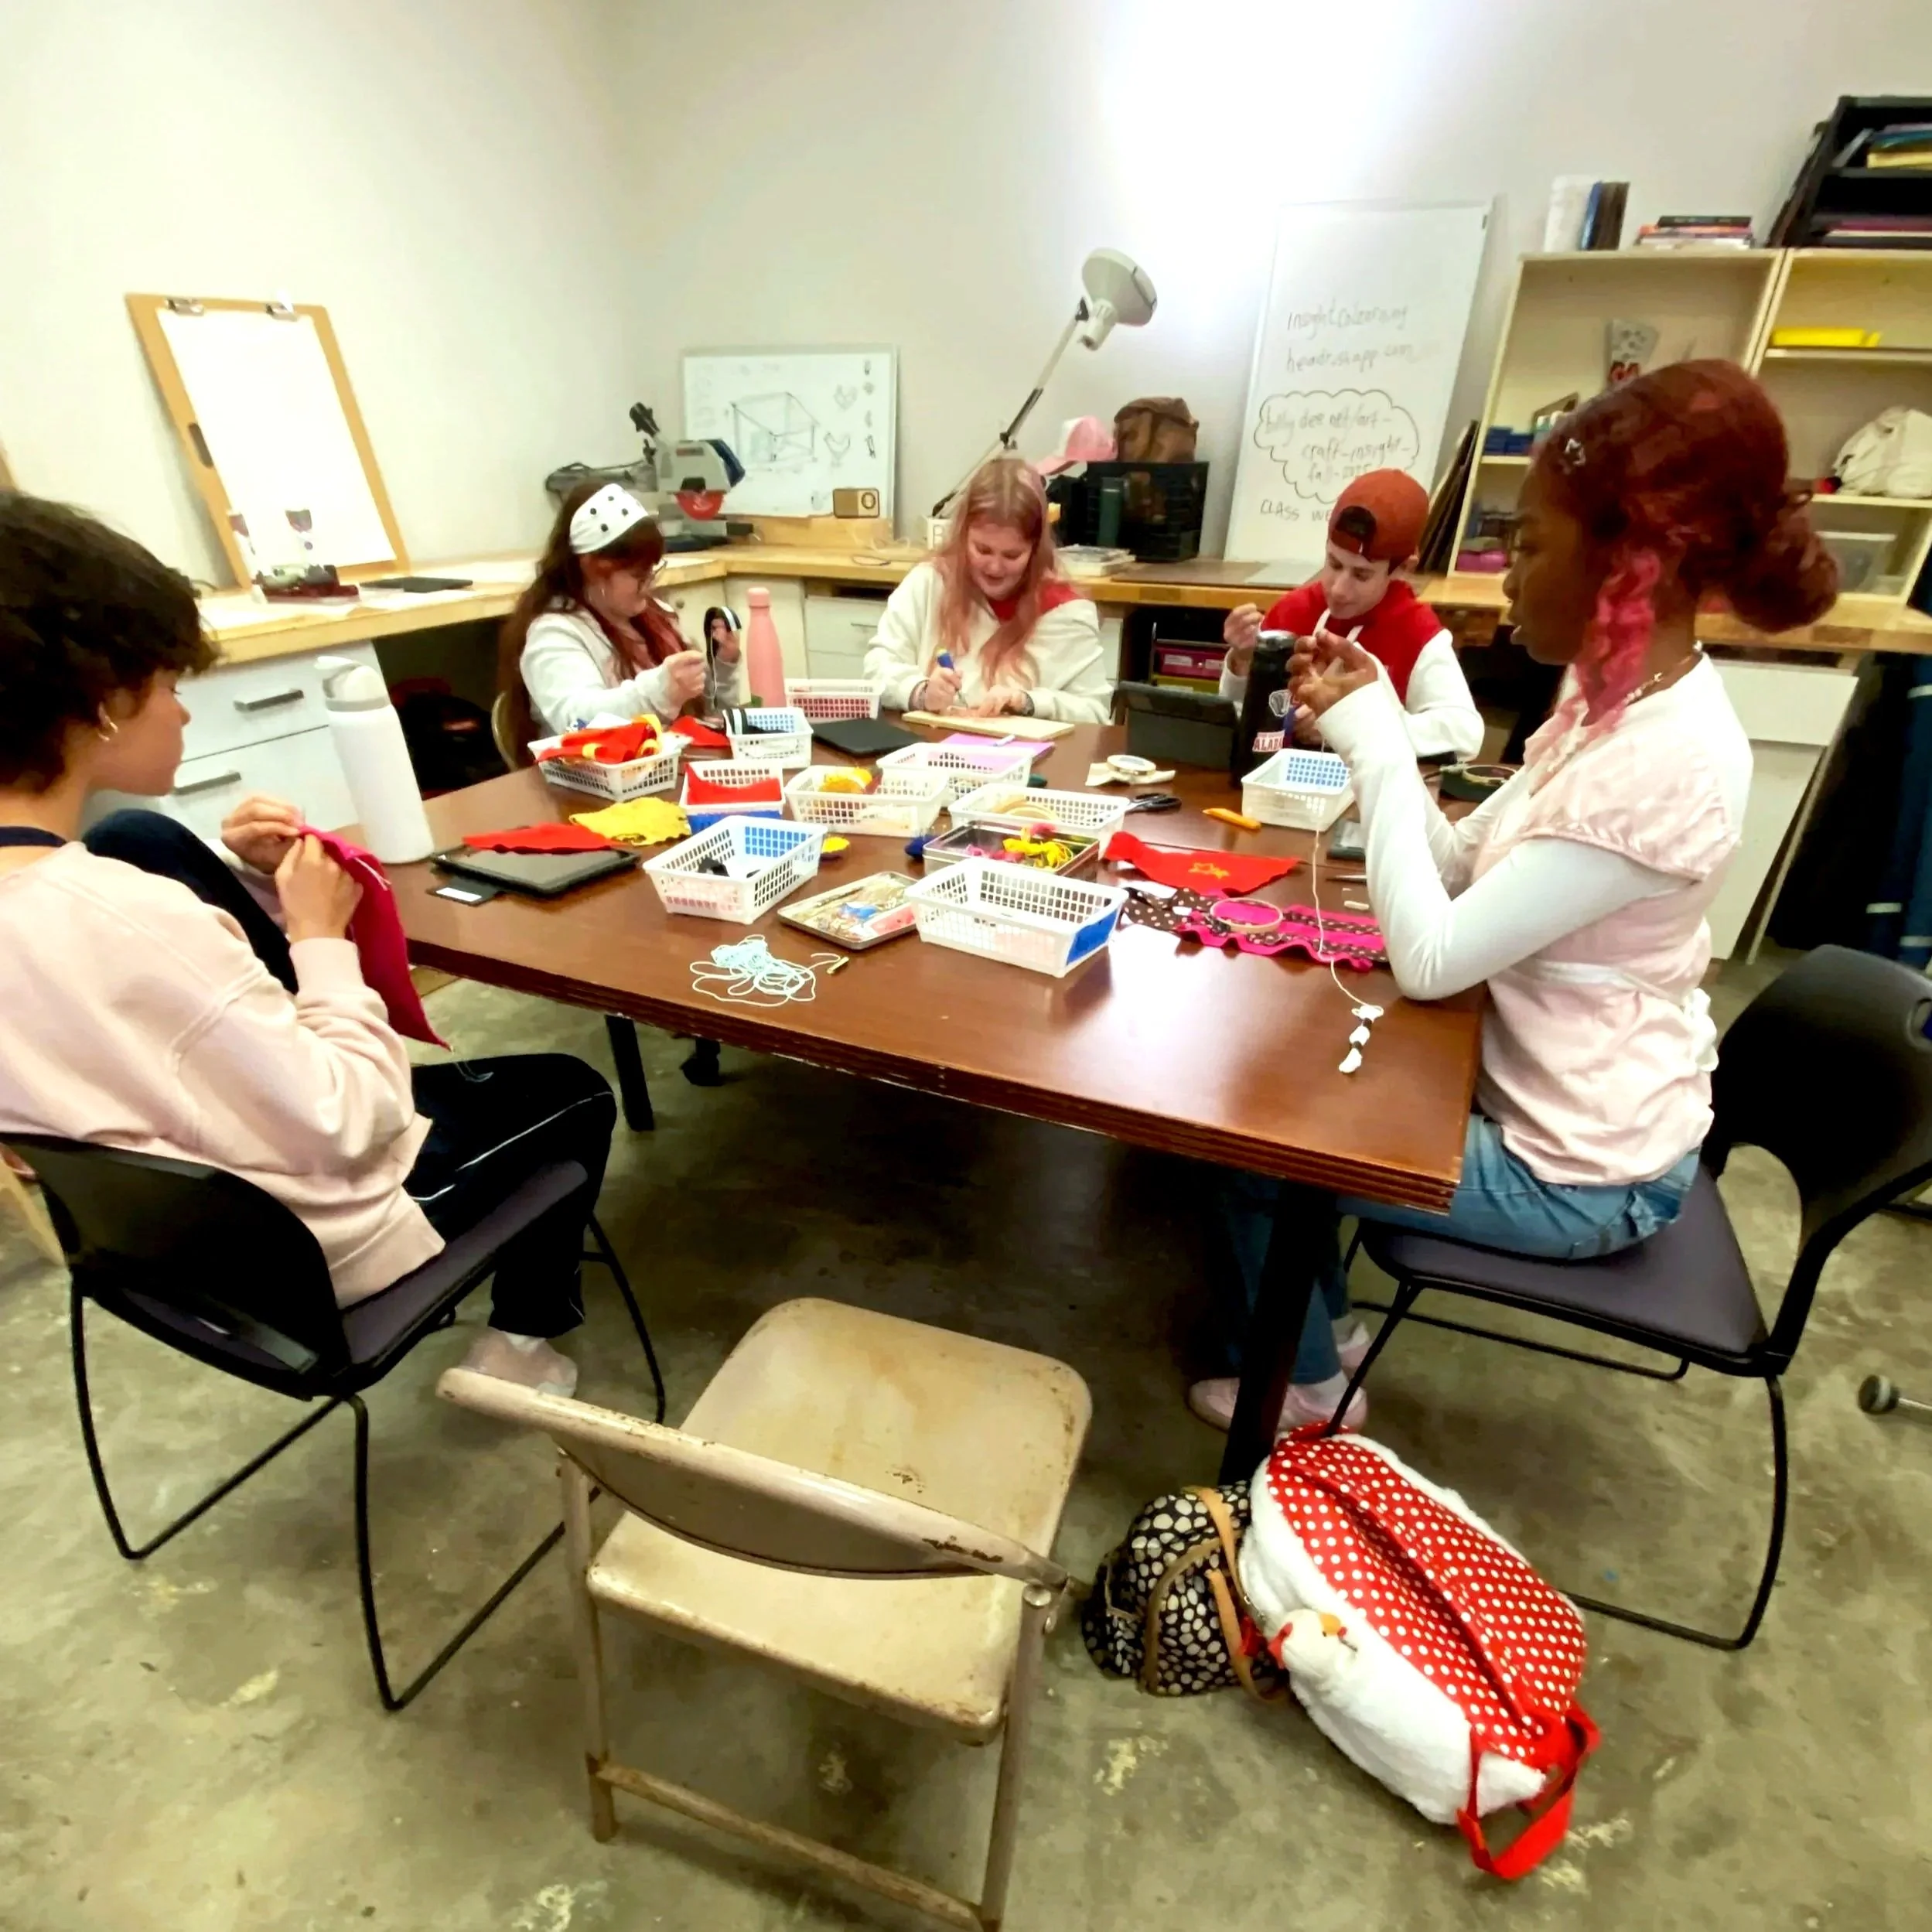
Studio time …